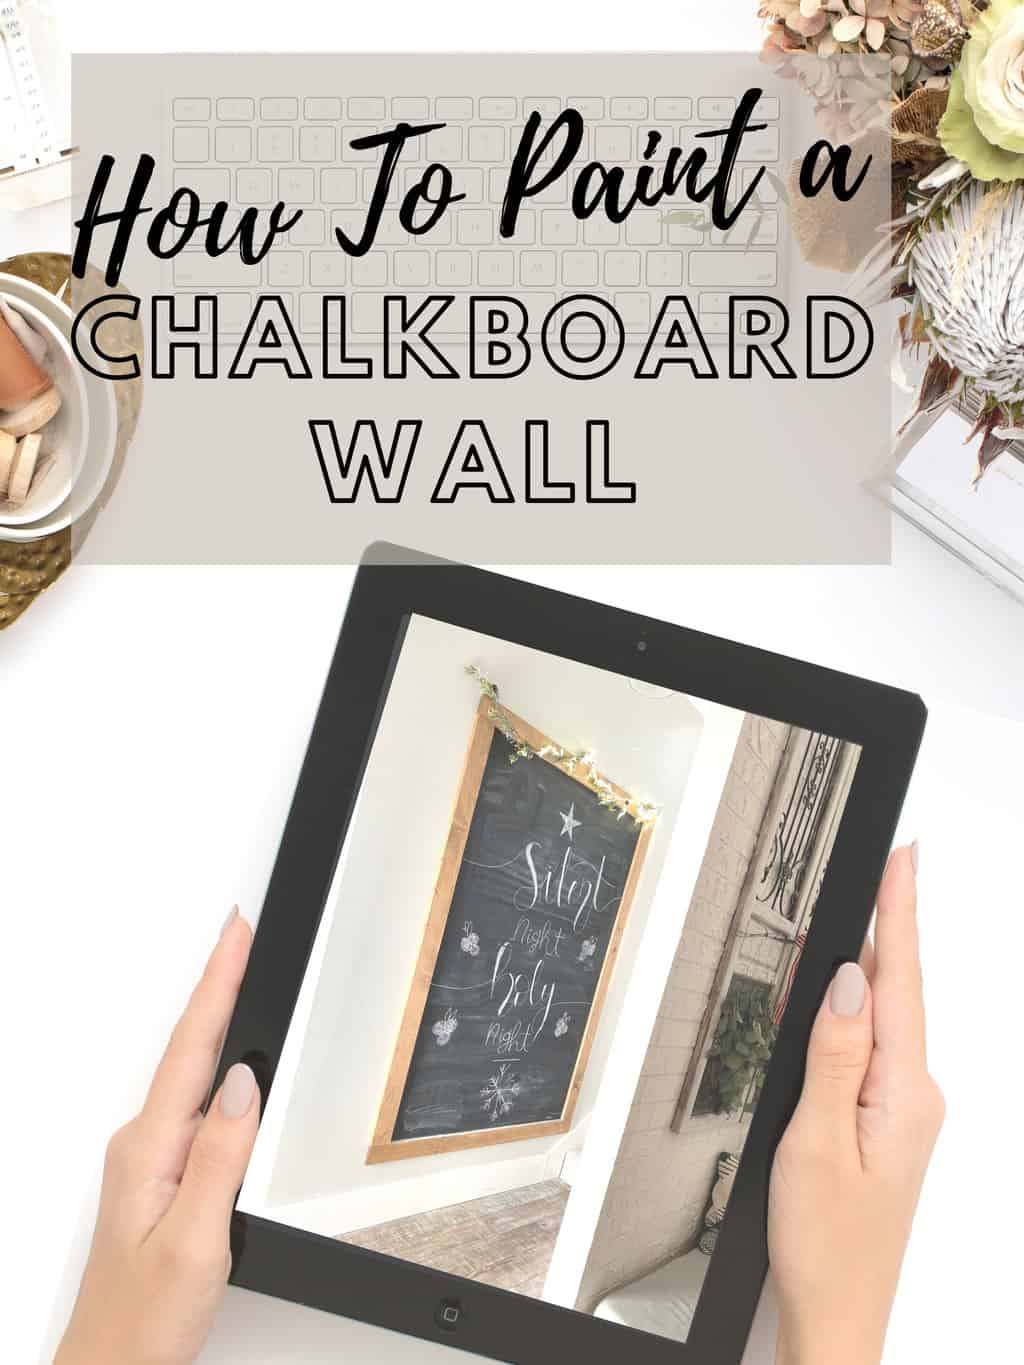
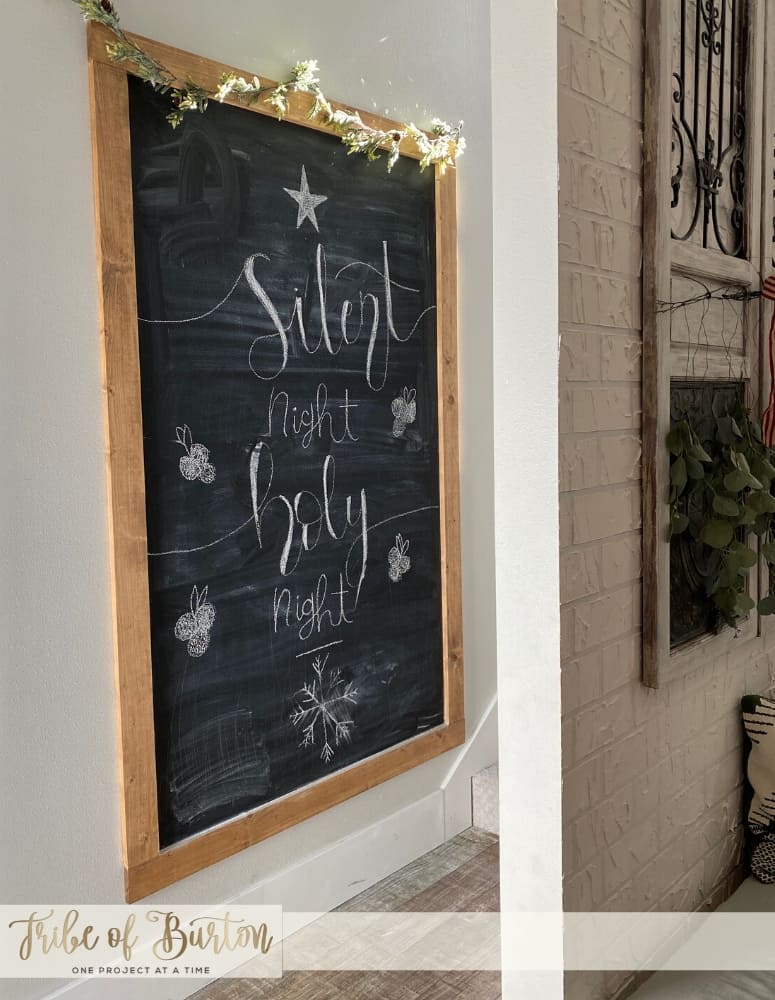
Chalkboard walls have been around for years. I think the first one I saw was over ten years ago at one of my friend’s house. I knew then I wanted one but wanted to make sure it fit with the decor.
There may be affiliate links in this post. Please read my policy on affiliate links (here) if you want.
Sometimes when I go to Mr. Tribe of Burton with ideas – he turns and then he rolls his eyes. Yep. He does. (By the way he proofs a lot of my post too so he will see this and probably roll his eyes then laugh).
Most of the time when I get ideas it’s when I can’t sleep. I get crazy ideas sometimes. And sometimes the ideas aren’t that crazy. He has known for years I wanted a chalkboard wall.
The year was 2018. I had just had a baby and was bored by staying home all the time. So, we did a lot of projects in a matter of months. We made our toddler’s room into a big boy room [HERE]. And we also did the faux brick wall [HERE] which is still one of my most favorite projects.
I knew from reading and researching that the chalkboard wall literally could be done in a matter of hours. Which is always a plus side when going to my husband with these ideas.
Uses for a chalkboard wall
- Recipe Chalkboard Wall
- Chalkboard Wall with Family Calendar
- Chalkboard Wall as Decor
- Playroom Chalkboard Wall
Decide on location
Before you begin you need to decide where you want to put your chalkboard wall. Do you want it in a main room or somewhere else more functional? I had read they can get messy and I knew having 4 kids – it wouldn’t be perfect art all the time.
I also knew I wanted it to be somewhere that everyone could access. A lot of people put their wall in a kitchen or family room or even in a hallway (like me).
Supplies
- Chalkboard Paint [HERE]
- Rags [HERE]
- Stain [HERE]
- Paint Roller and Frame [HERE]
- Painters Tape [HERE]
- Pencil
- Level [HERE]
- Wood 1×4 [HERE]
Painting a Chalkboard Wall
Once I decided on where it was going to go, I had to figure out the size. Since I wanted a fairly large space, I took a picture of the space and played around on my phone with what size looked good.
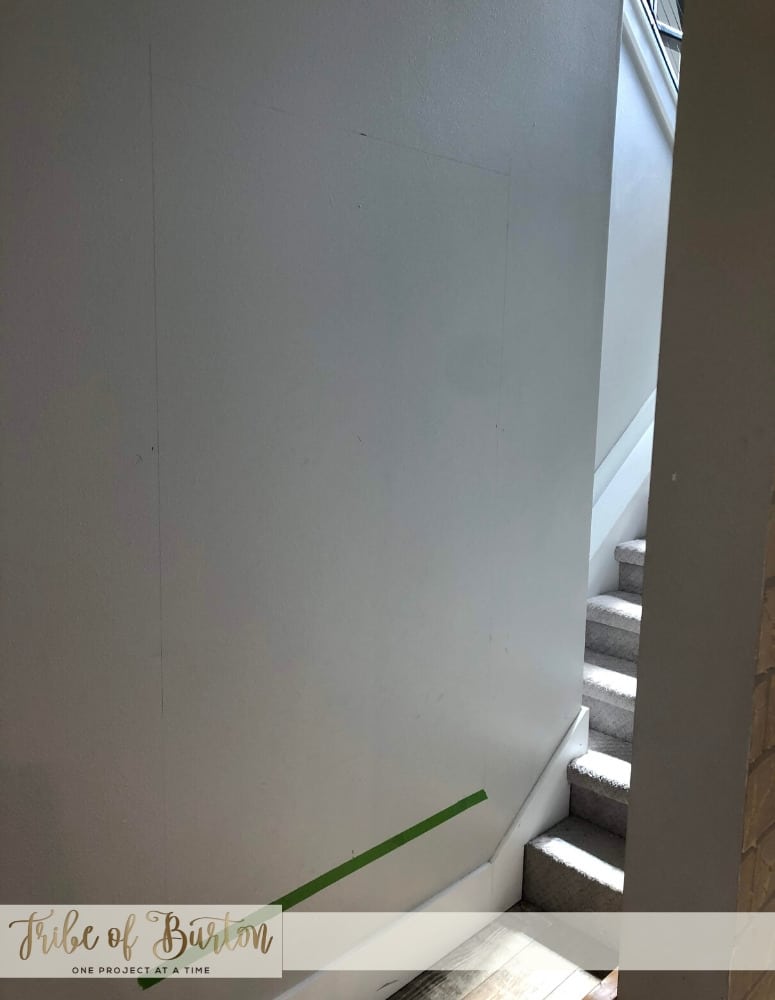
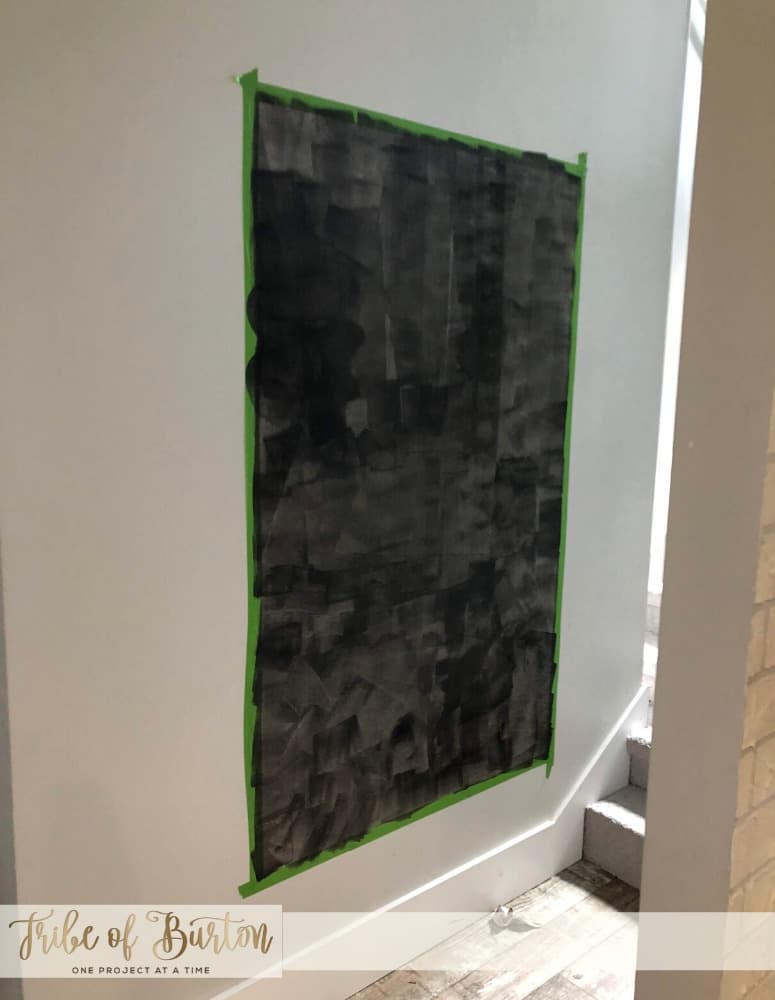
I decided on the size then got my pencil and level out and marked the space. After it was marked, I placed painter’s tape right outside of the pencil mark (so I would paint over it).
I highly recommend living with your taped up wall for a day or two and see if that area suits you. Sometimes people would paint it and then determine it was too big or too small and would have to start over.
Get a roller and start painting. We did two coats. Follow the instructions on your paint can.
Cut Frame for Chalkboard Wall
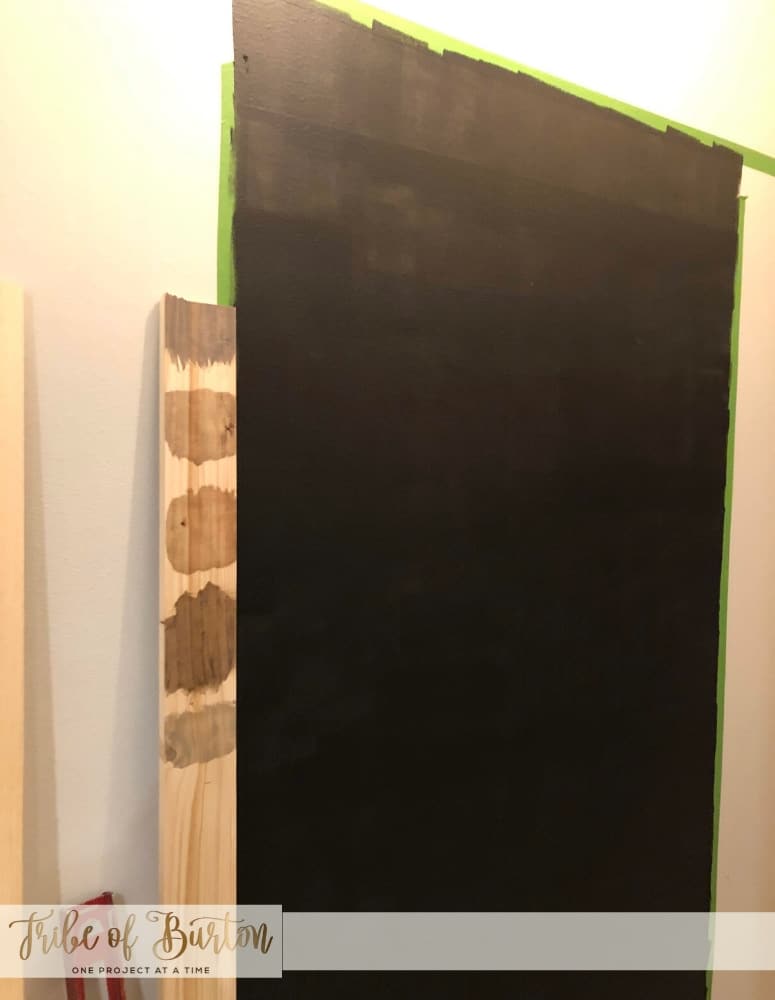
While the first coat of paint was drying, I got my husband to cut the 1×4 boards.
Once they were cut, I sanded the 3 sides of the wood that would be shown.
Make sure you wipe off the wood after sanding to get all the dust off.
Grab an old rag and stain the wood. I’ve seen some wood frames painted on chalkboard walls, but I preferred the wood look.
I used Early American by Minwax stain- It’s one of my favorites.
Let the stained or painted wood dry!
Hang the Wood Frame for the Chalkboard Wall
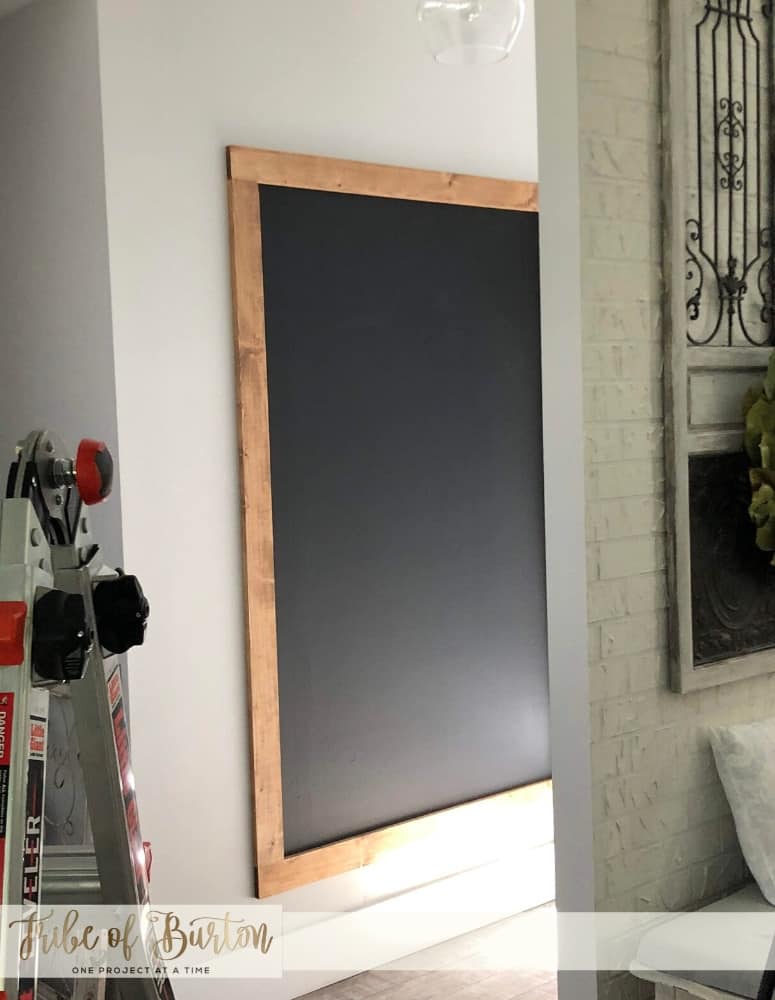
I let my husband do this part. All he did was take a nail gun and nail the boards in various places while holding a level against the board to make sure they were level and straight. You could also manually nail them in or even use liquid nails. If you nail them in, make sure you use finishing nails. *Note: Liquid nails will ruin your wall if you decide to remove the wood later.
Tips for Chalkboard Wall
- If you have texture on your wall please know that the chalk may not move smoothly over these areas. You may see slight ridges when you write on the wall. That was fine with me. If you don’t like seeing the ridges – some have suggested to sand the wall. PLEASE remember!!! If you do this. And decided later to paint the chalkboard wall over then you will need to add texture back.
- I honestly don’t remember where I read this so if you told me let me know and I will be glad to give you credit. After the chalkboard paint dries take a piece of chalk and rub the entire wall. It’s like seasoning a pan 😉
- Cleaning – we use a magic eraser to clean
Once you get finished with your very easy chalkboard wall please let me know! I would love to see a tag on social media.
Please go check out the brick wall [HERE] I’m telling you it’s my favorite wall in our house.
Take a Look at these cute DIY Pillows.

