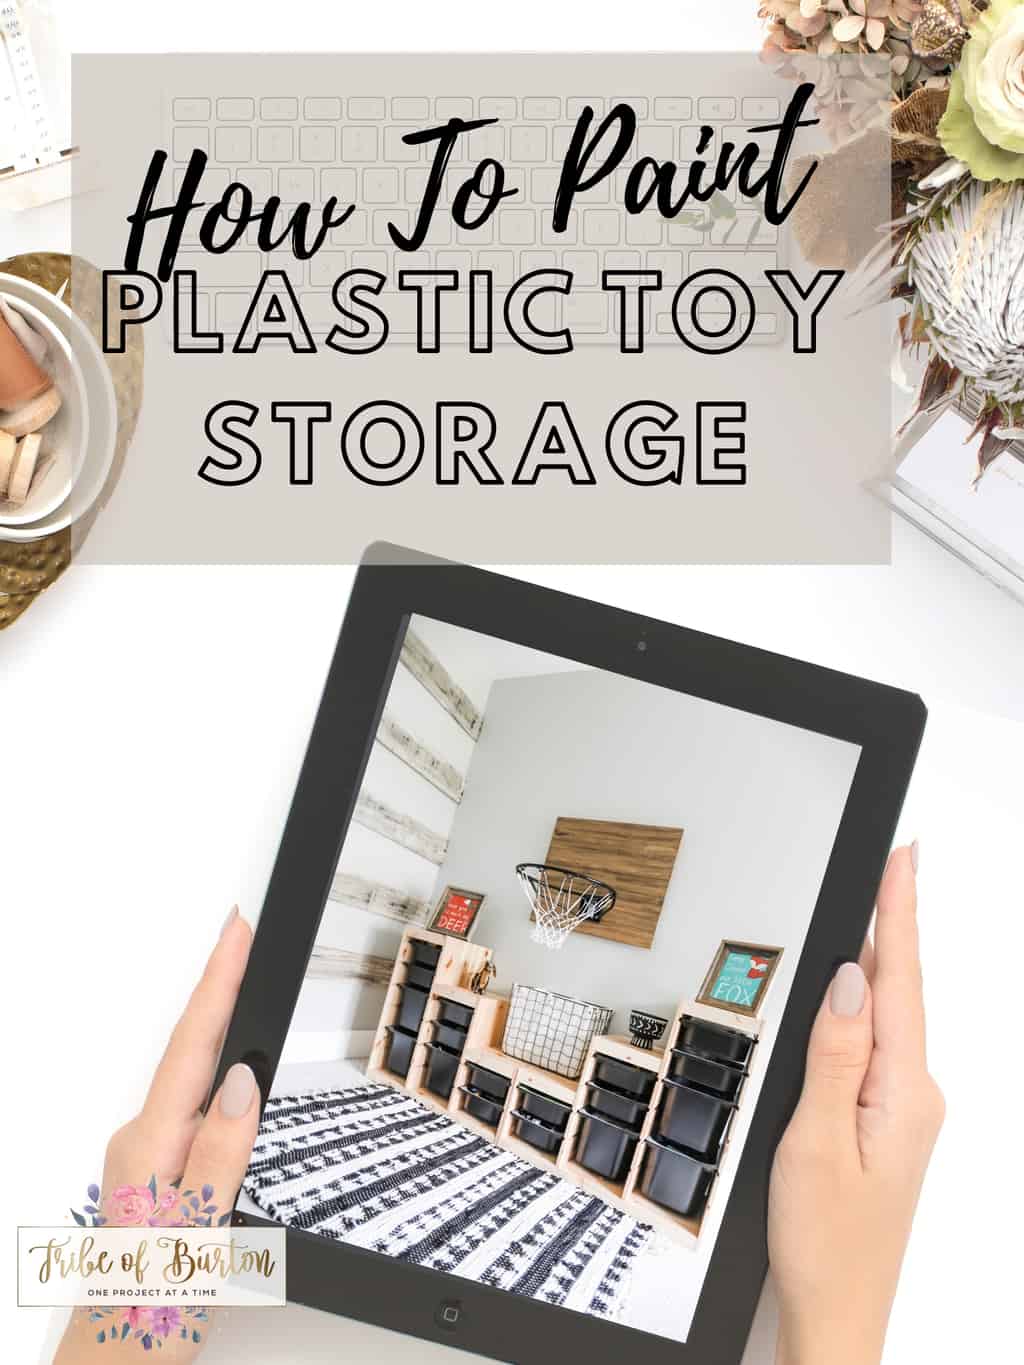
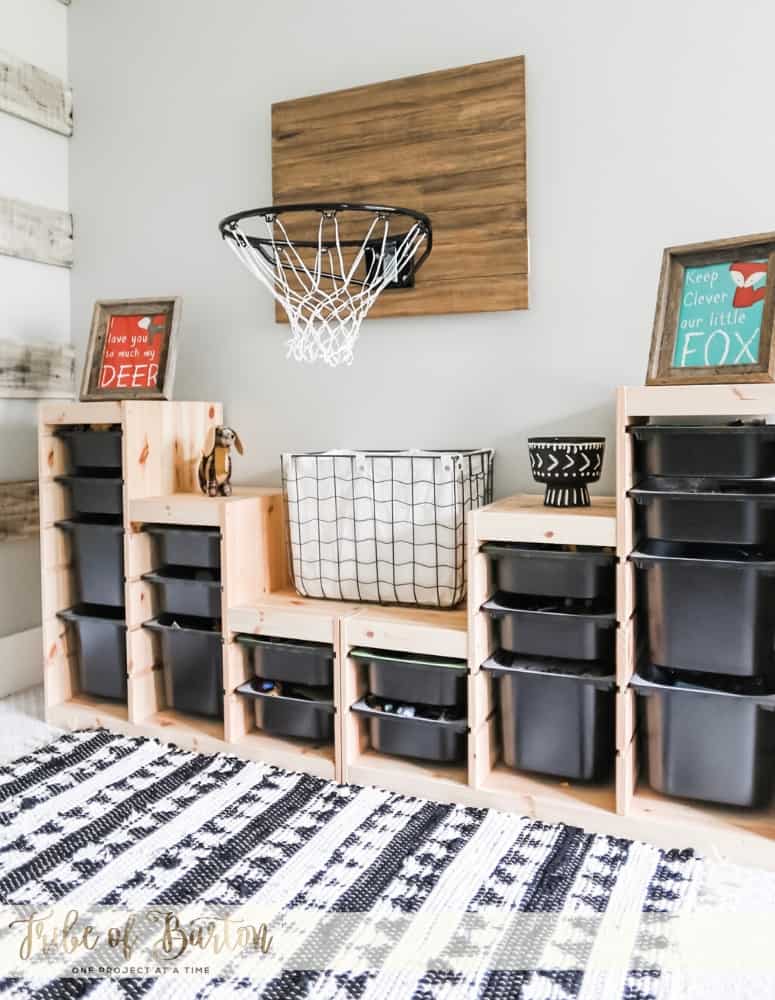
Do you use plastic buckets around your house? We have for years for different things. We use them to store items in. We’ve used plastic buckets for dugout organization in tee-ball (hey you dugout moms – I see you). And we use them to store toys. I decided with my son’s new big boy room I was going to paint his plastic buckets so they would match his room a little better.
There may be affiliate links in this post. Please read my policy on affiliate links (here) if you want.
If you are coming over from the Big Boy Post [HERE] then keep on reading to see how we changed the toy buckets in his room to match the new decor.
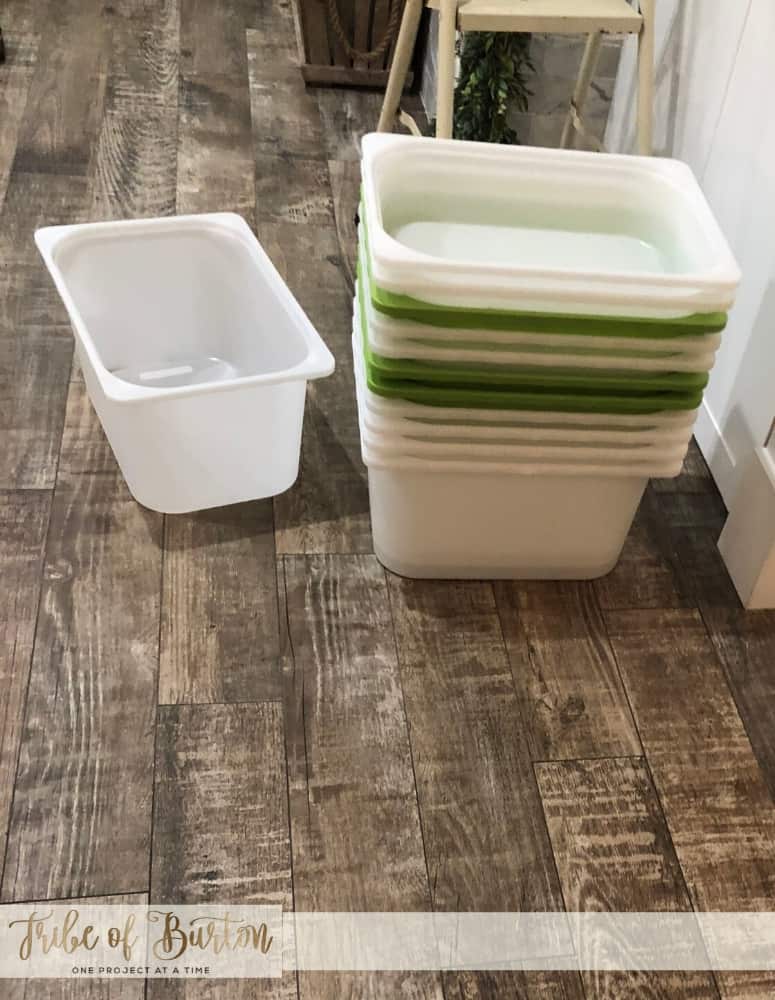
Sometimes over the years I’ve bought things on discount. I knew I could use the item but I also knew that it probably wouldn’t look great. But a deal is a deal, right??? Well that’s what happened when we took a trip to IKEA and I found the perfect toy storage unit for my son. The buckets we got were on clearance for some reason. So, I grabbed the buckets I thought we could use.
Changing the Look of Toy Storage
One day when I was sketching out my son’s new room… Okay I won’t say sketching. I’m NOT an artist by any means. But sometimes my words confuse Mr. Tribe of Burton so I was sketching out the new designs.
I knew I wanted mostly black and white items and his poor clear and bright green plastic buckets weren’t working with my idea. I loved the wood case they were in and didn’t want to paint it but I wanted to change the look of the buckets.
Those same buckets I got on clearance 2-3 years earlier. See you guys, sometimes I have good intentions on changing things. Then time happens and I don’t get to it. So, for 2-3 years I had those bright green buckets and they served their purpose. But it was time for a change.
Once we got done painting the buckets, I thought why did I wait so long. It was so easy! Keep reading to see what we did.
Supplies
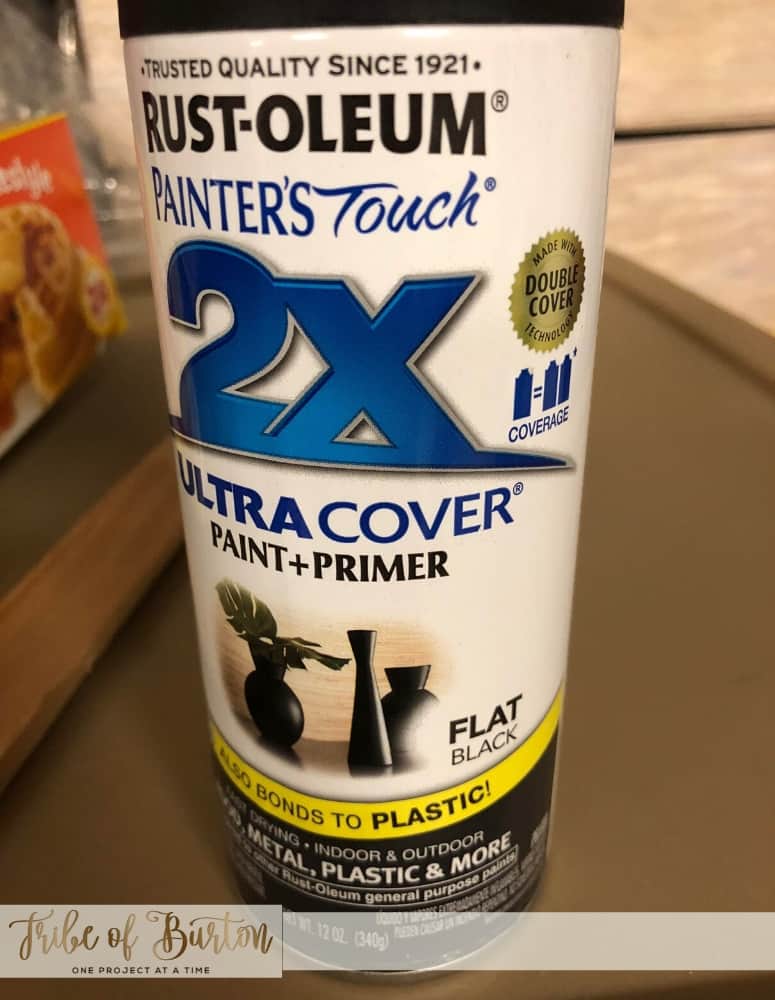
- Spray Paint [HERE]
- Plastic Bucket [HERE] Similar to the ones we have. We got ours from Ikea.
- Cardboard (so save those amazon boxes) or a drop cloth [HERE]
Painting Plastic Buckets
- Clean the buckets out. If they are dirty or dusty think about getting some dove soap [HERE] and giving them a good washing
- Let dry.
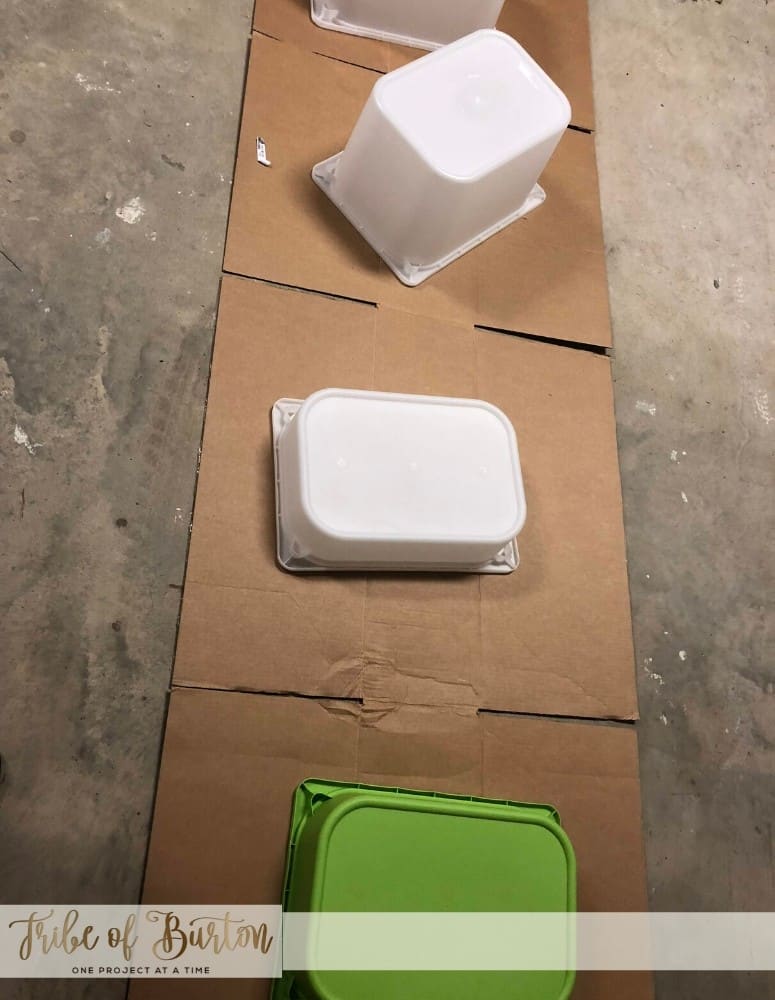
- Cut the cardboard so the buckets can lay on them
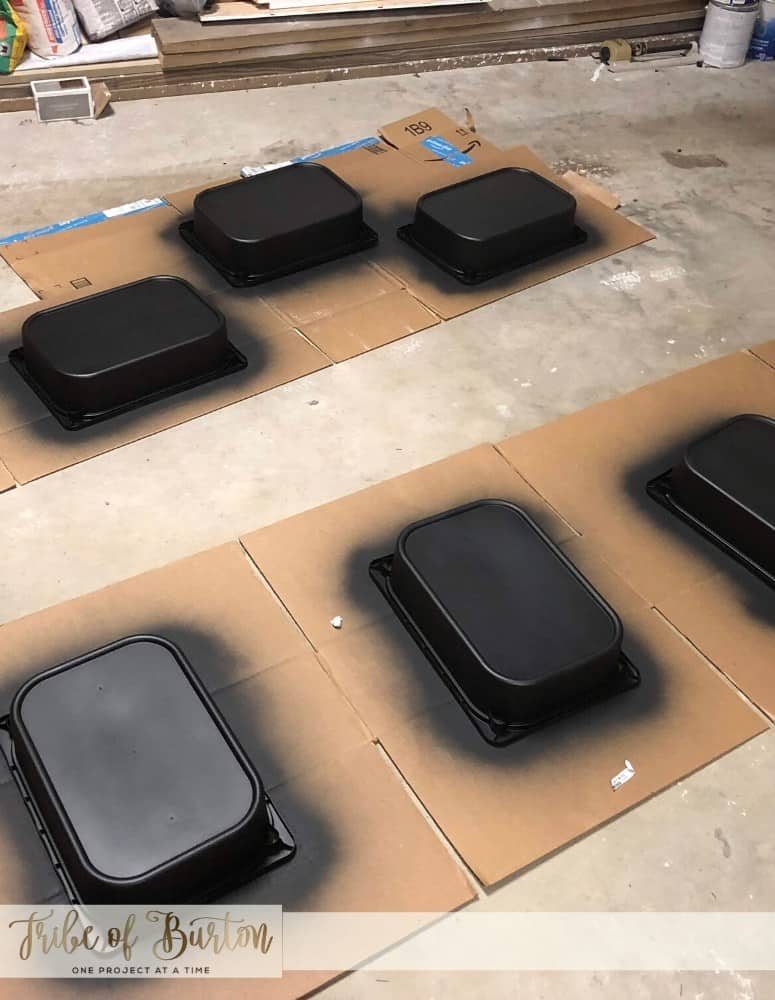
- Paint them
- Let dry
- Paint second coat
- Let dry for 24-48 hours so they can cure
Questions and Tips
- Check the weather – you want to make sure it’s not too windy and it’s a sunny day.
- Make sure after the final coat you let them dry really well so they can harden and you can use them
Did you paint the inside of the buckets? No, we did not.
How long does it last? Our buckets have been painted for over 2 years and they still look great
Hope you enjoyed this tutorial on painting plastic buckets. Have you ever painted plastic buckets before? If so let me know in the comments below.
If you want to see the full before and after of the big boy room [HERE] then go take a look.
Look at this CUTE Chalkboard Wall [HERE]
