DIY Bathroom Remodel
Last weekend we finally had the time to go in and update my mother in law’s bathroom. She had water damage and had half the vinyl floor pulled up and it needed to be fixed. Who doesn’t like a DIY bathroom remodel? My husband and I got there Friday afternoon at 4 and she wasn’t able to see the reveal until Sunday at 10am. We ran into some problems along the way (which always happens) but we pushed right through.
We wanted this to be an affordable bathroom remodel. Something that anyone could do. Most bathroom remodels are $10,000 or more. We were working with a limited budget. Before we got started, I spent a few weeks prior going over the entire DIY Bathroom remodel budget.
How To Budget a Bathroom Remodel
My advice to you would be to pick one item to splurge on then try to figure out other ways to update the bathroom look without spending a lot of money. We decided she needed new flooring so that was our Splurge. She had approximately 75 square feet of floor in her bathroom. We went with Vinyl Plank floor [HERE] – I got it on sale and it cost us $99. Always remember to buy an overage amount in case you have any mistakes or need more.
After picking out the floor I decided on the paint color and what else we would be doing. I got 2 gallons of paint at Lowe’s when they had a rebate. With the two big ticket items out of the way it left me to look over our budget of $400 to see where I had money to spend. I was able to find super cute light fixtures [ HERE ] and [ HERE ] and I got these lights [HERE] to go with them.
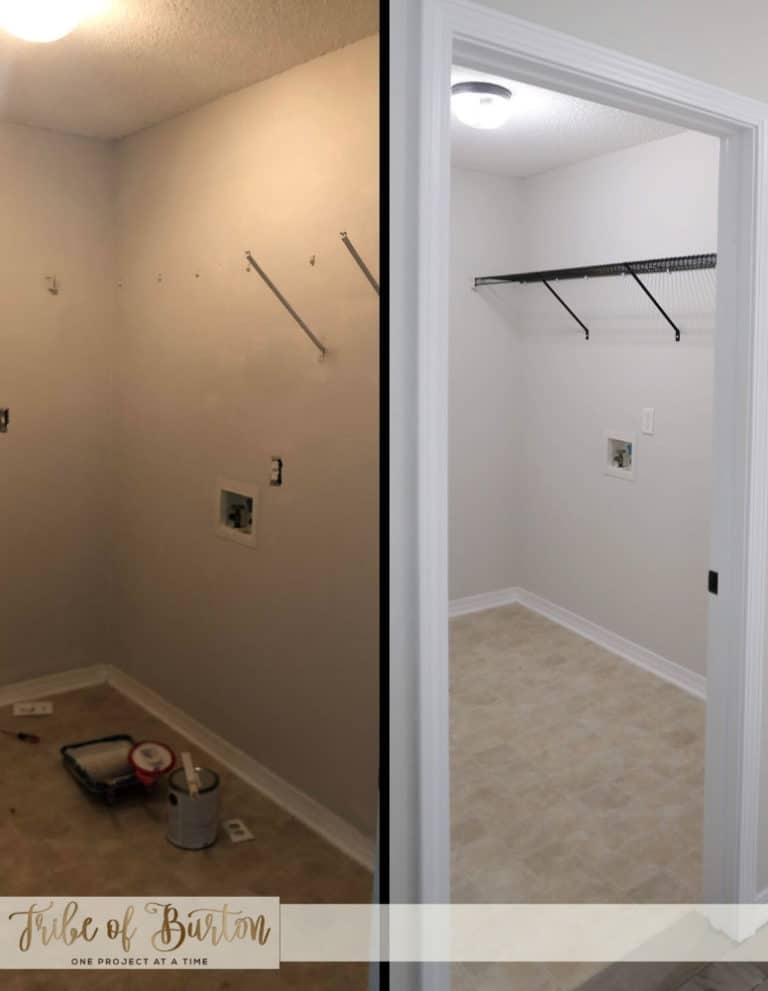
bathroom remodel before and after pictures
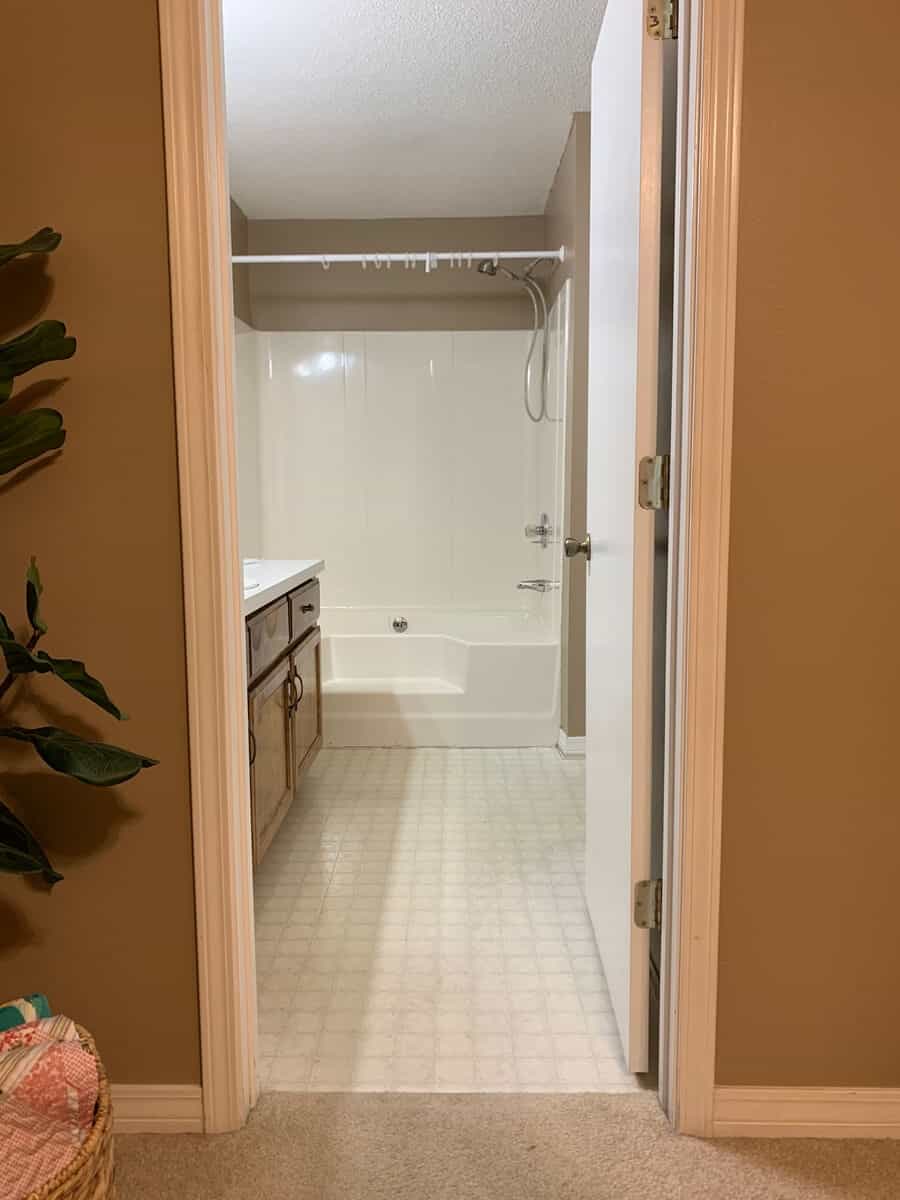
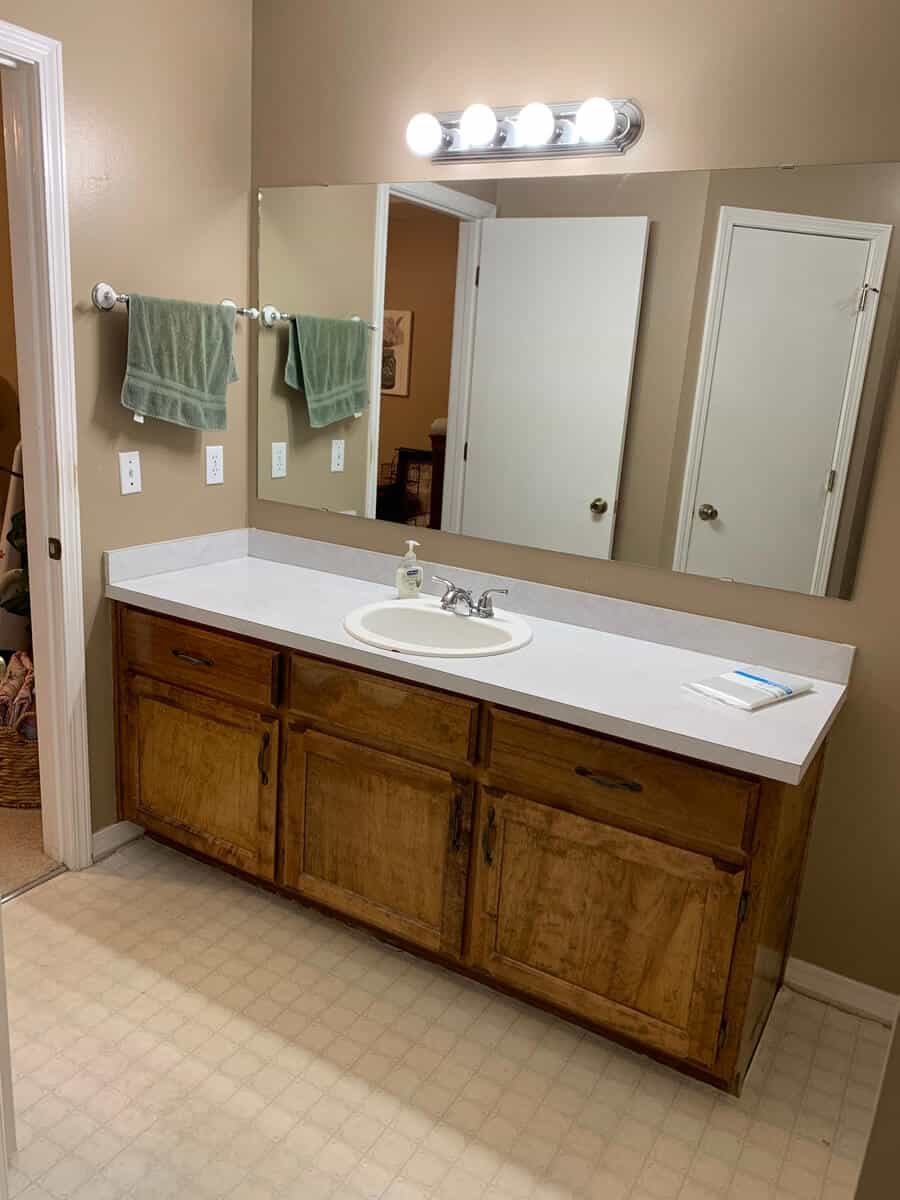
Here are a few before photos. She had taken all of her decor off the walls and got the bathroom cleaned out for us so we could get straight to work when we got there.
She gave us total control to do what we wanted. I had talked to her before and got a good idea of what she liked and what she didn’t. She told me the brown walls had to go. Take a look below to see what you think of the before pictures.
There may be affiliate links in this post. Please read my policy on affiliate links [here] if you want.
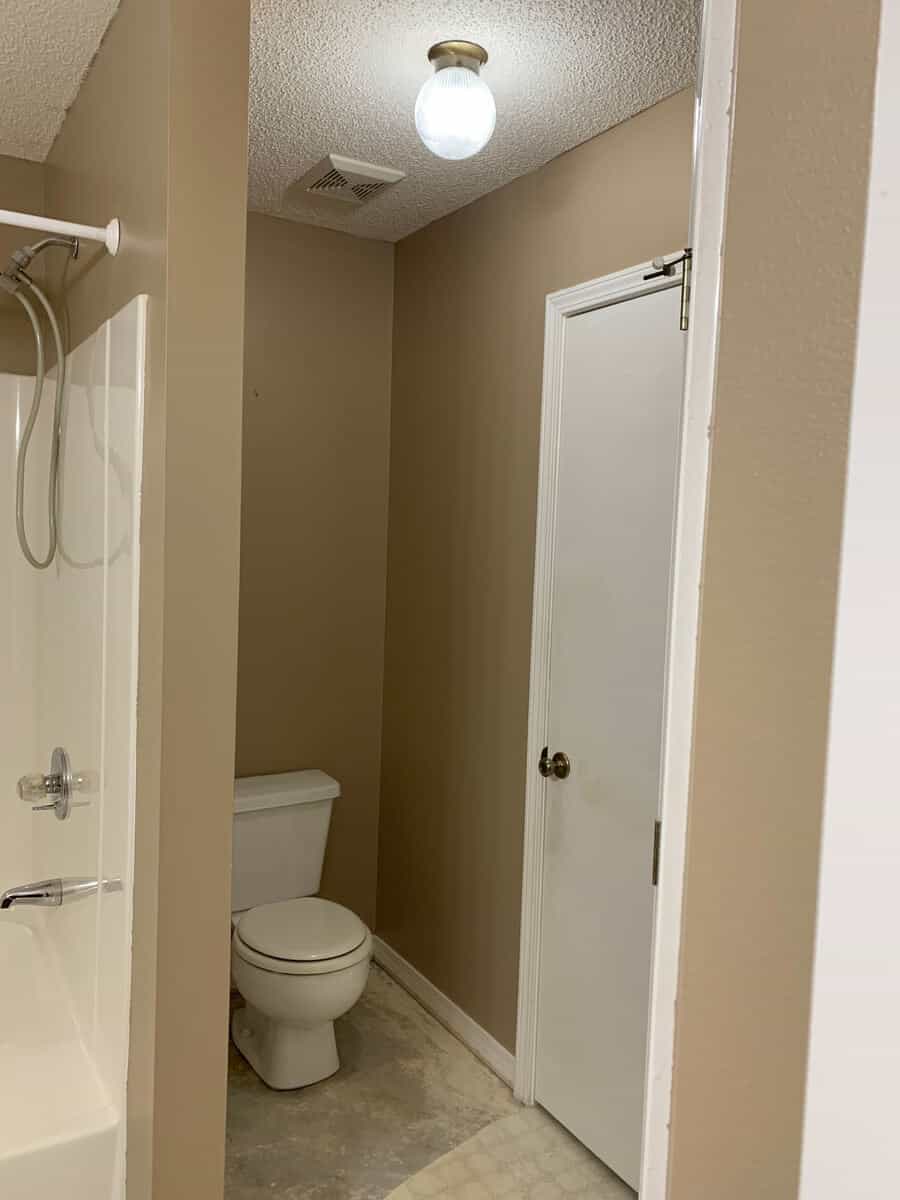
HOW TO REMODEL A BATHROOM YOURSELF
It’s a great size bathroom. The bathroom has odd shapes so my husband knew this would be an issue when updating the floors. He watched a lot of videos in the weeks leading up to the bathroom remodel. We were on a time crunch so we planned as much as we could ahead of time.
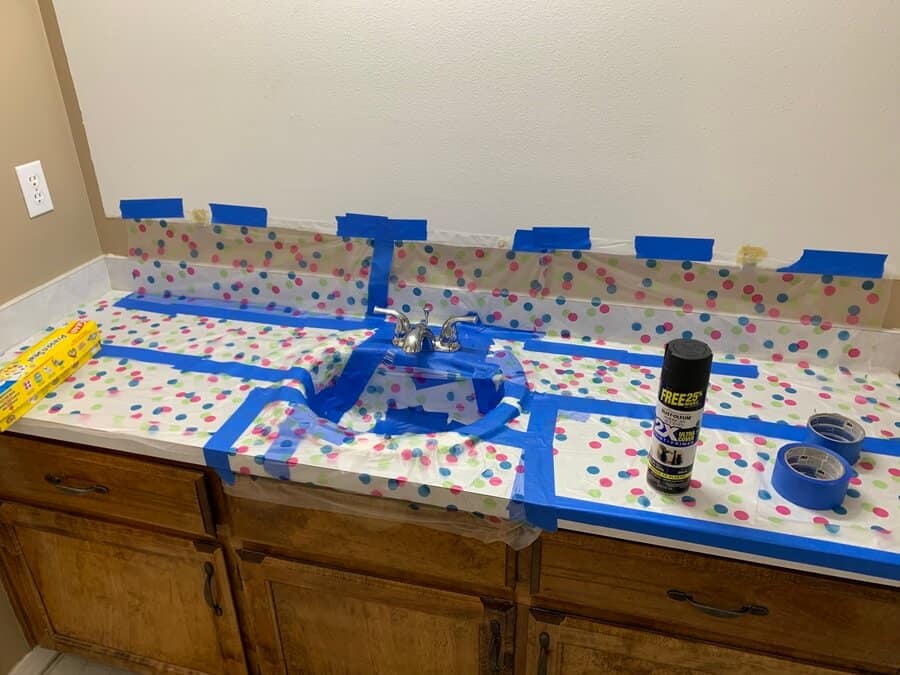
With any DIY or remodeling project I always like to make a list of everything I’m going to do then assign the work to different people. With this bathroom remodel I knew the first thing that had to be done was painting the faucet.
We taped it off with painter tape [HERE]. Then we used Glad press n seal [HERE] to finish off the process. We sanded it first with fine grit sand paper. Sprayed it with spray paint + primer we had on hand [HERE] and then finished it with Rust-oleum Spray Paint Lacquer [HERE]. Once we finished that we used a knife to cut the tape off.
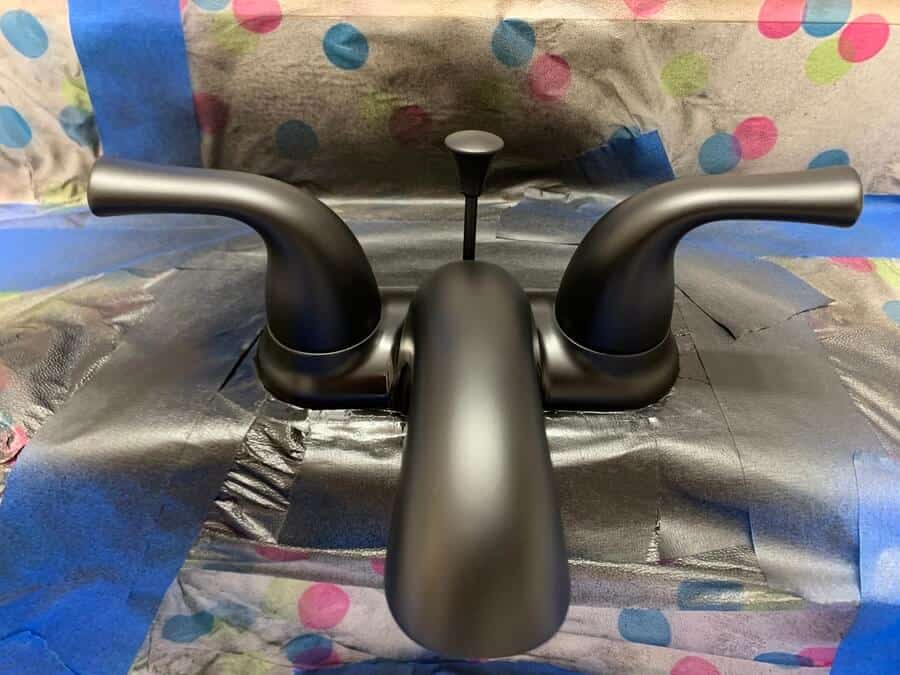
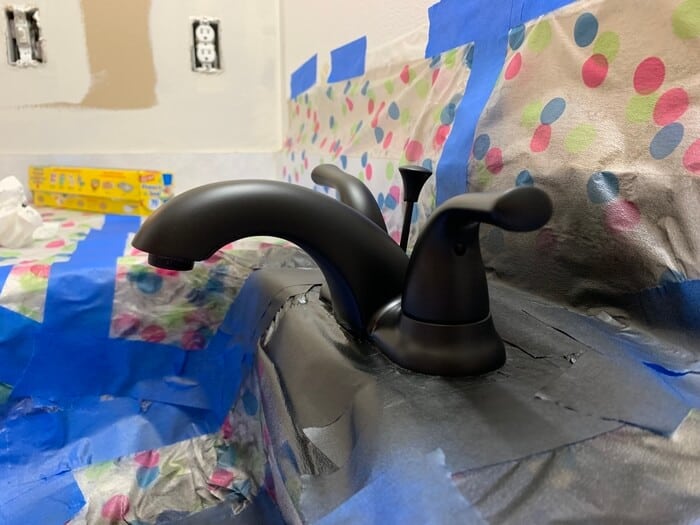
You can check out the shiny Faucet in the after photos. We laid some bubble wrap over it once we started the rest of the bathroom update. We let it dry 24 hours before using it with water.
Then we started working simultaneously. He worked on tearing out the vinyl while I worked on painting the walls. The total bathroom took 1.25 gallons of paint.
Once the paint dried, I started to stencil her wall. I used this pack of stencils [HERE] and I mixed Peppercorn and Bistro white together to come up with the stencil color. I had to find the center of the stencil and I took that line right up the center of the faucet so I would have my starting place.
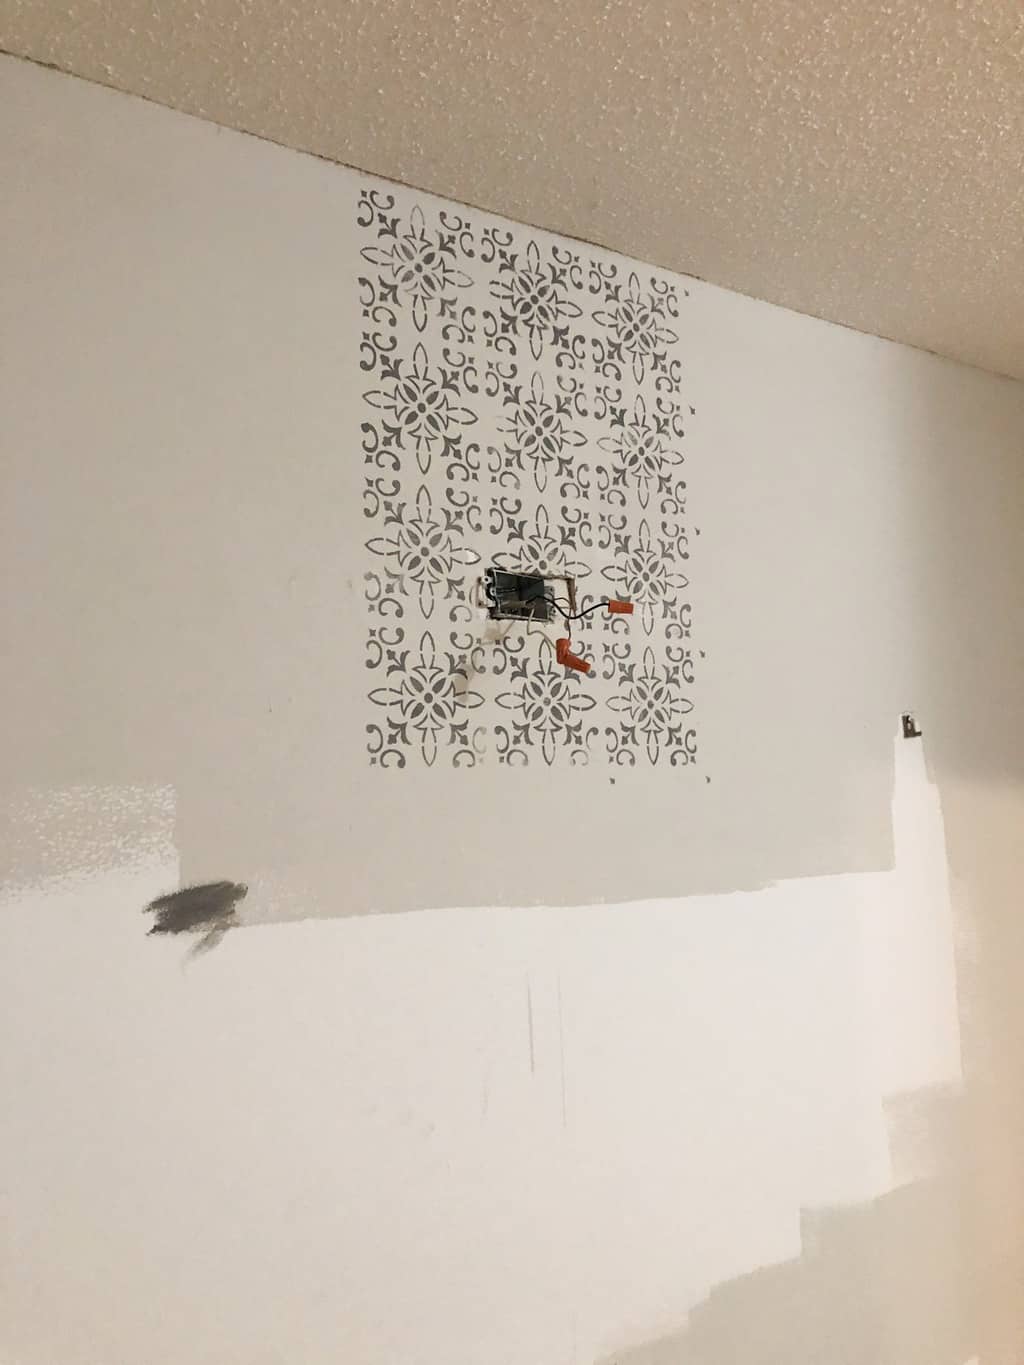
After I got the stencil up on the wall, we were able to replace the light fixture. The light fixture is when we ran into one of the problems. The electrical box was just floating in the wall. It was about 2″ from the stud and there was a drain vent pipe on the other side of it. Please be aware you are dealing with electricity and if you do not feel comfortable or know what you are doing, please call a professional. We had to end up using a different light in the end.
Once we got the light up, I stained the frame for the mirror and we got that hung up. I was able to start cleaning and decorating while my husband finished the floor and the transitions.
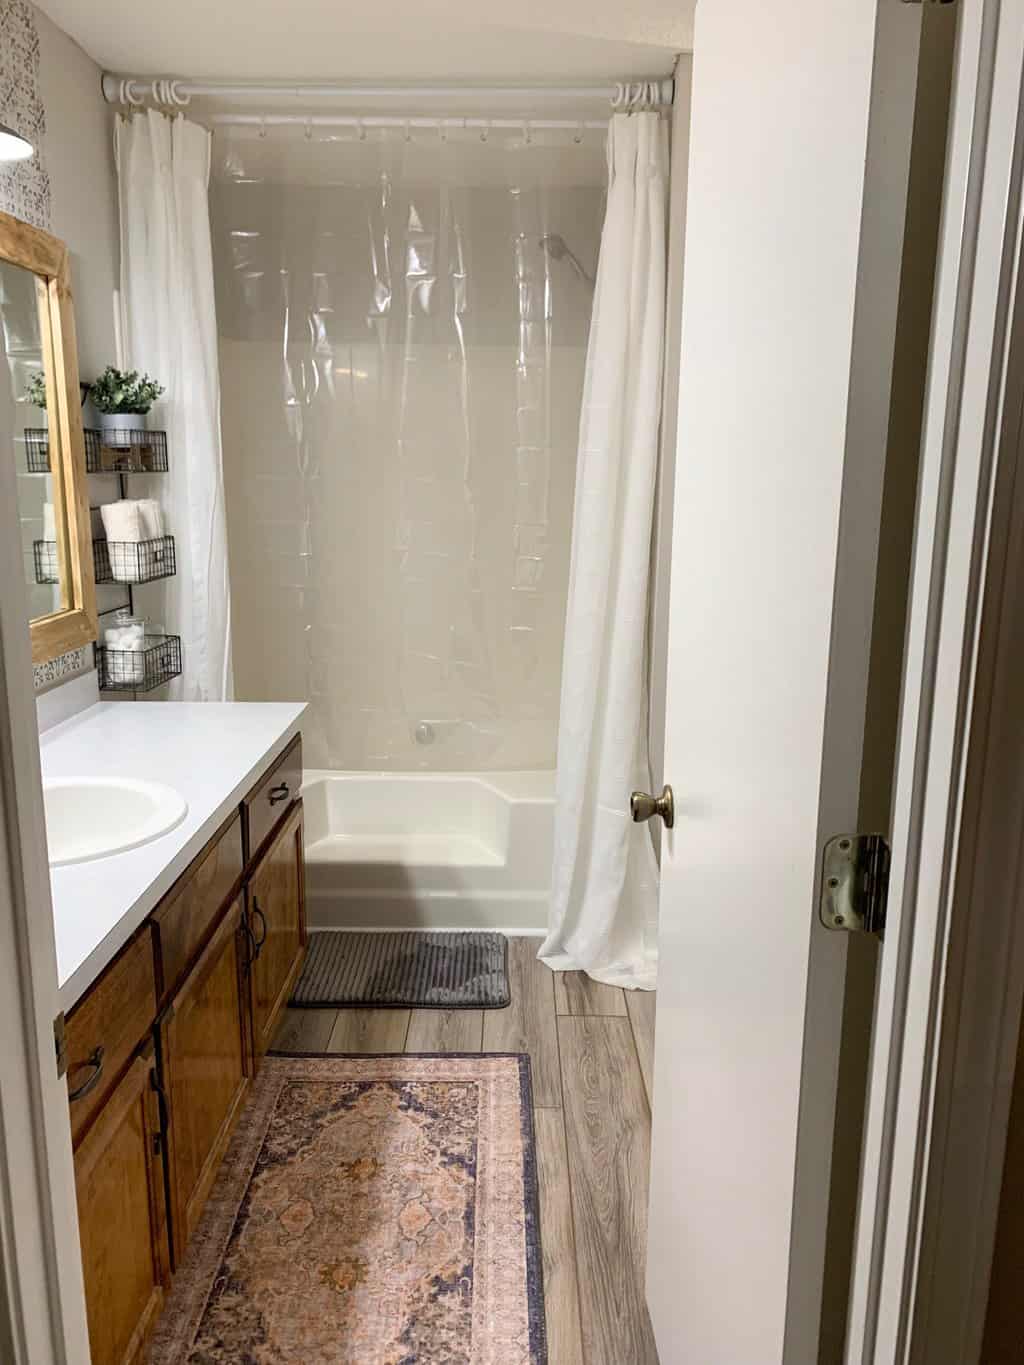
Bathroom remodel after pictures
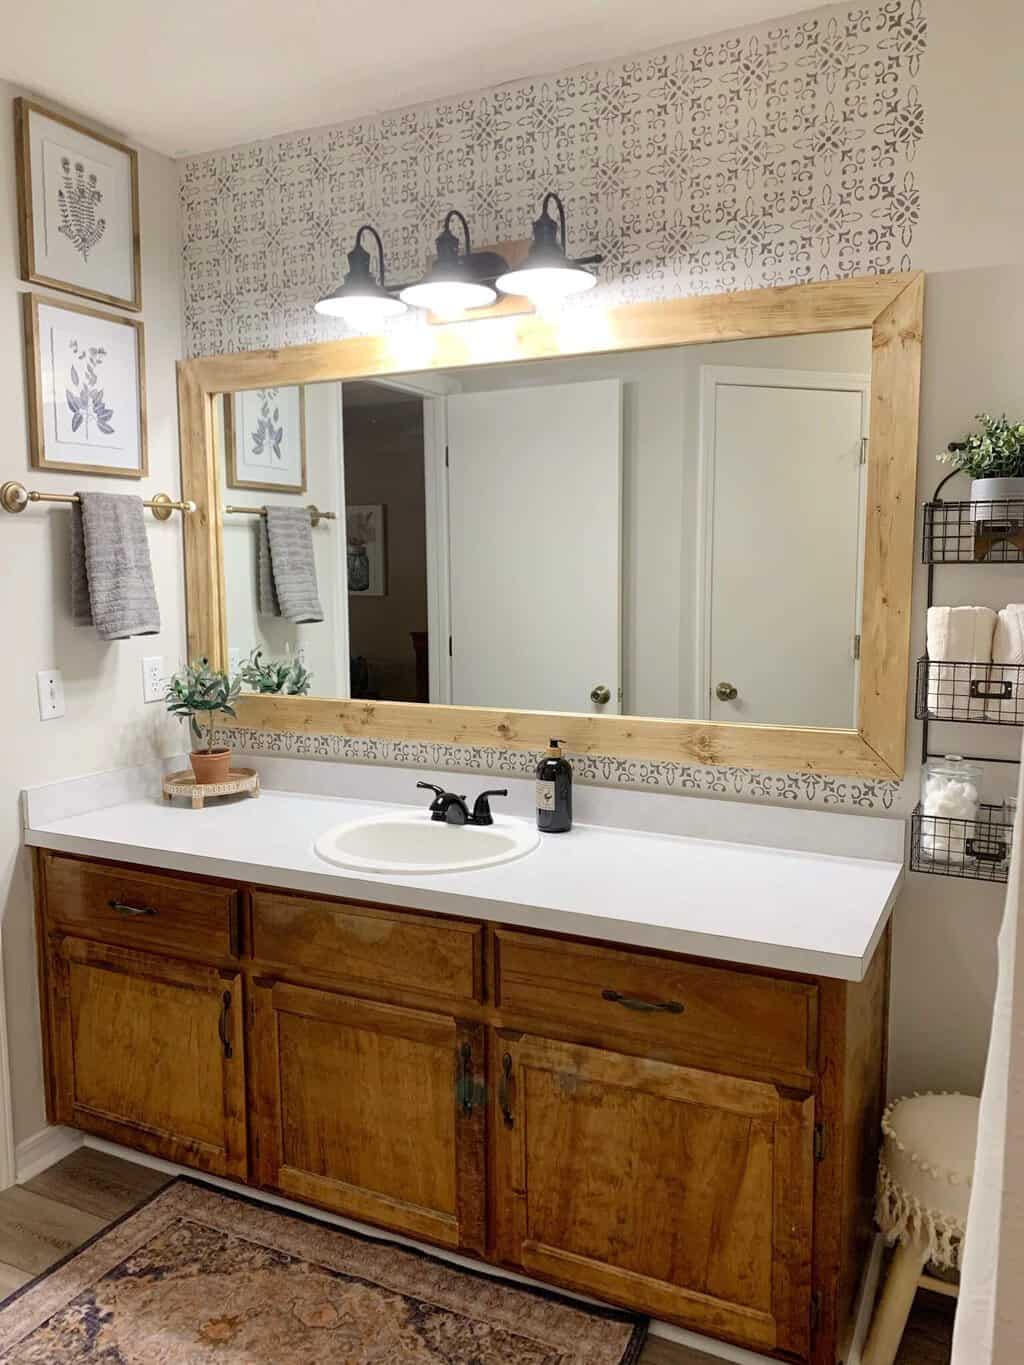
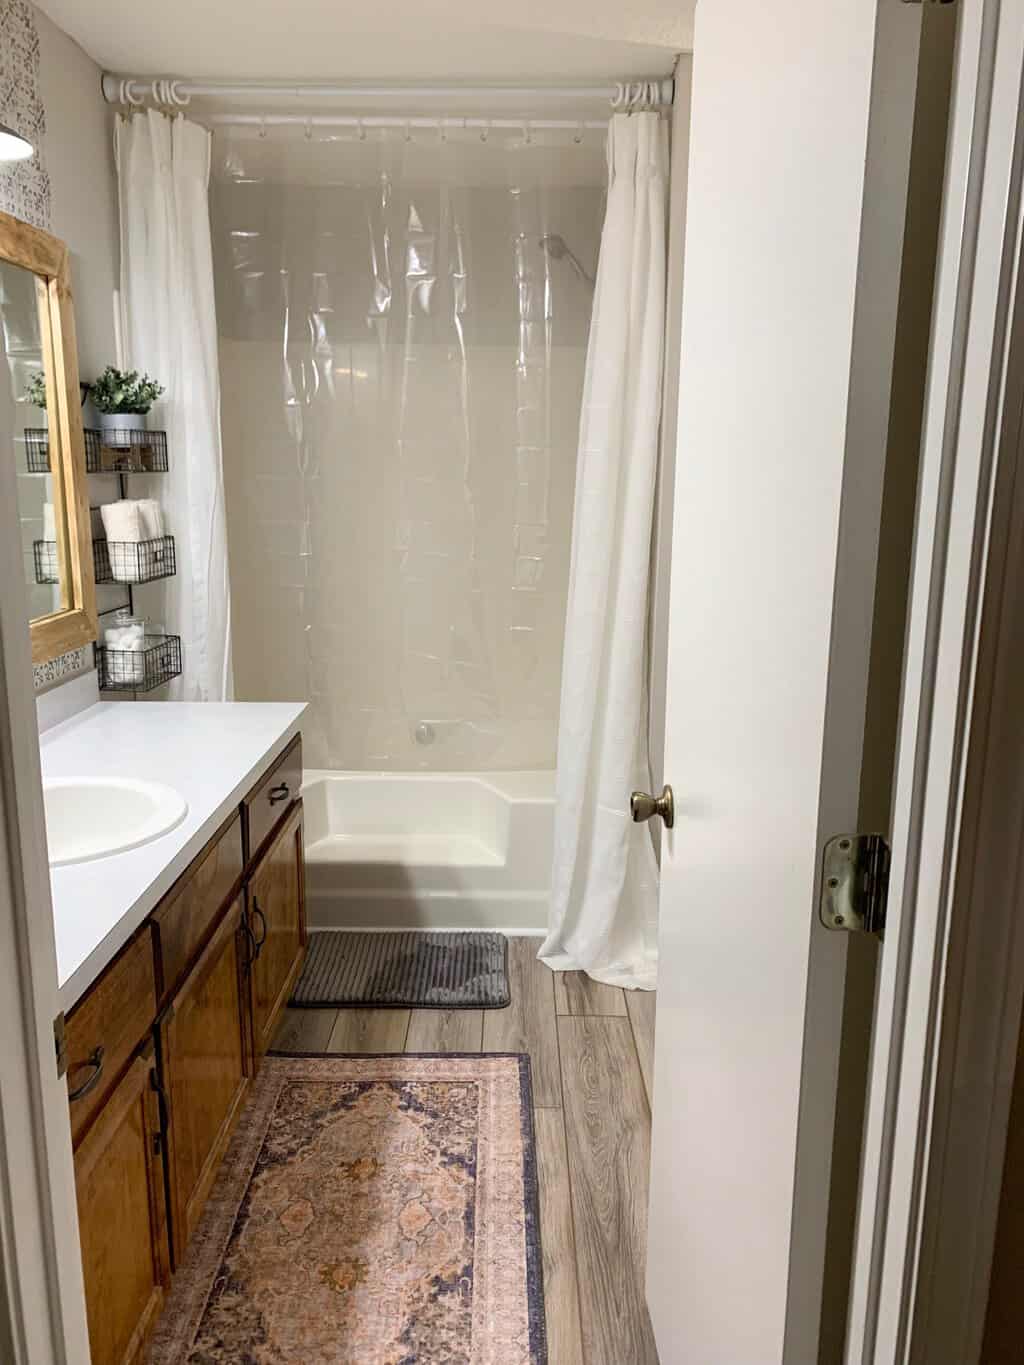
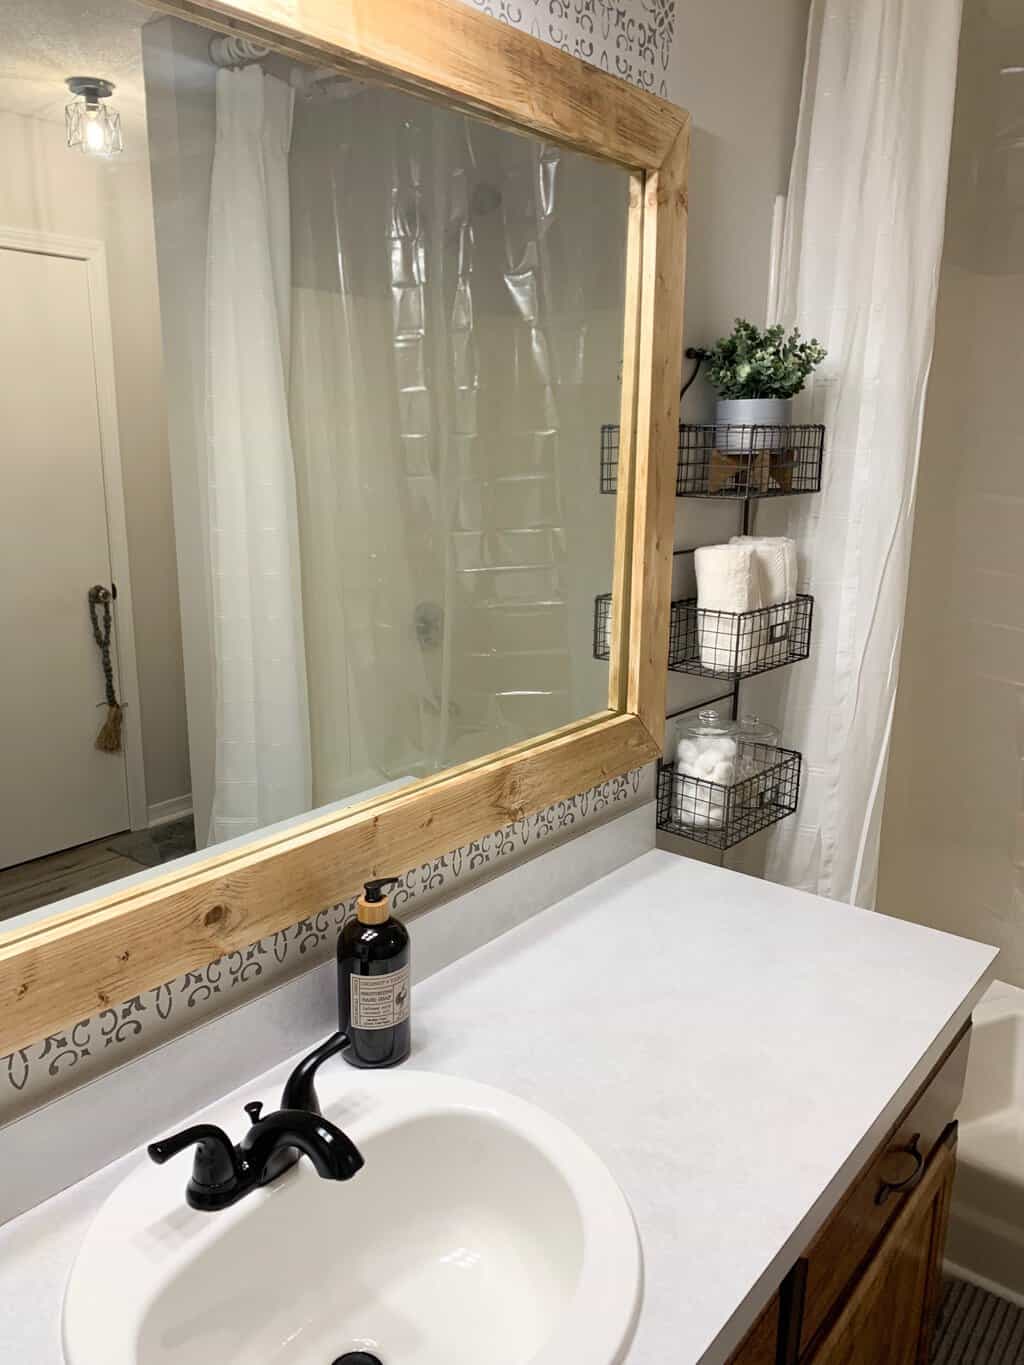
DIY COST TO REMODEL BATHROOM
Flooring – $99 [HERE]
Paint – $10 ($50 received $40 in rebates)
Stencil – $12.67 [HERE ]
Shower Liner – $14 [HERE]
Curtains – $31 (I found 96″ curtains at T.J. Maxx) These are similar [HERE]
Trim Pieces for Floor – $30
1×4 Mirror Trim Pieces – $16.68
Vinyl Transitions – $20 – Similar [HERE]
Foam Shower rug similar – $12 [HERE]
Bath mats – $40 – Similar items [HERE]
Misc Decor Items – $50 Hobby lobby and T.J. Maxx -Similar items [HERE]
Spray Paint and Lacquer – Used from another project [HERE]
Original Light – $29.49 [HERE]
Pendant Light – $10 [HERE] – we only used 1 light and had 1 left for another project
Edison Bulbs $16 [HERE] – we ended up using only one
Total $390.84
I hope that you see redoing a bathroom on a budget yourself can be done. Please tell me in the comments what part of your bathroom you would remodel?
Until next time! Check out some of my other Room DIY Remodels

