DIY Christmas Ornament
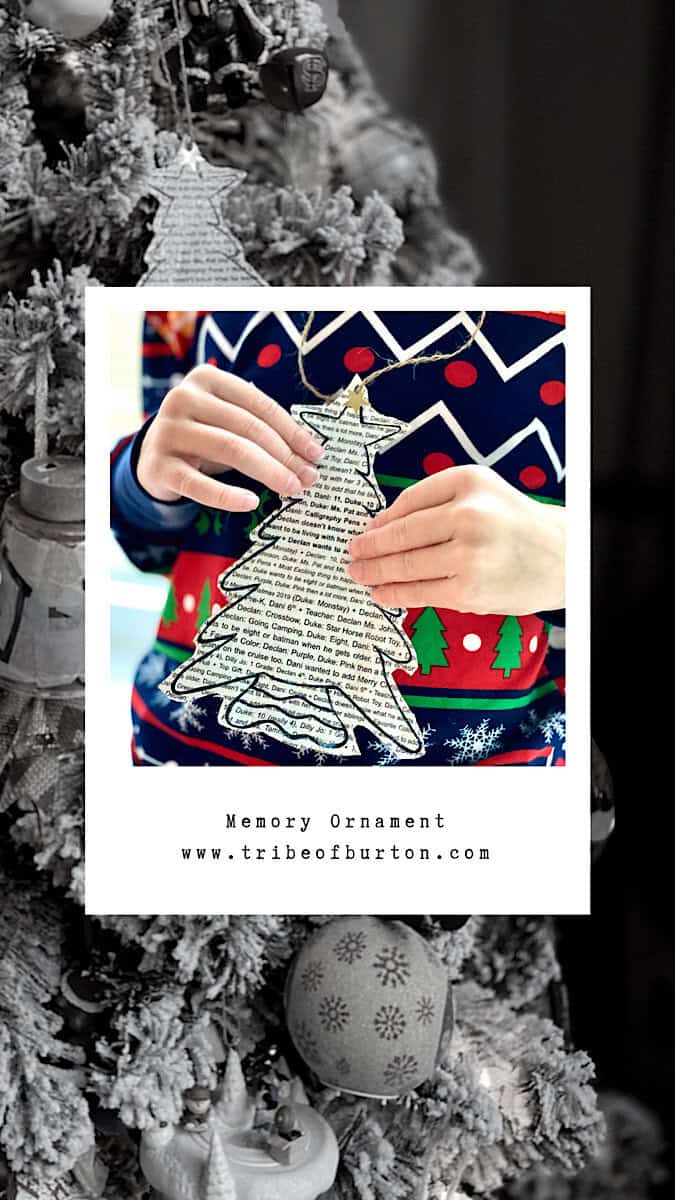
Last year I made a DIY Christmas Ornament for a mom who had lost a baby. The kids and I loved making the ornament for the mom. It was an amazing process and got me thinking. I would love to have a similar ornament.
But I wanted it to be different.
I just wasn’t sure how.
So during the month of August it came to me!
Instead of doing a “this year info chalkboard” like on the first day of school why not make a DIY Christmas Ornament? You know the ones I’m talking about right?! The ones that the kids hold up that tells who their teacher is. What they want to be when they grow up etc?! When I merged the two ideas it came out perfectly! And this happened to be our Advent Activity for today.
There may be affiliate links in this post. Please read my policy on affiliate links (here) if you want.
Supplies:
Plastic ornament
Paper, Pen, or Printer (either pen if handwritten or computer if typed out)
2 -4 tea bags
Mod Podge
Scissors
Foam brush
Twine/or ribbon (you can make your own with material. Read here)
DIY Christmas Ornament Instructions
1) I grabbed my computer and sat down with each kid in a very professional interview style. ( not really)
I asked them these questions. The only rule was they had to answer in 2 words or less.
- What is your name?
- How old are you?
- What year is it?
- What grade are you in?
- Who is your teacher?
- What is the top item you want from Santa?
- What was your most exciting thing to happen to you this year?
- When you become older what do you want to be?
- Do you have a favorite color?
2) As they answered I typed their response. An example would be:
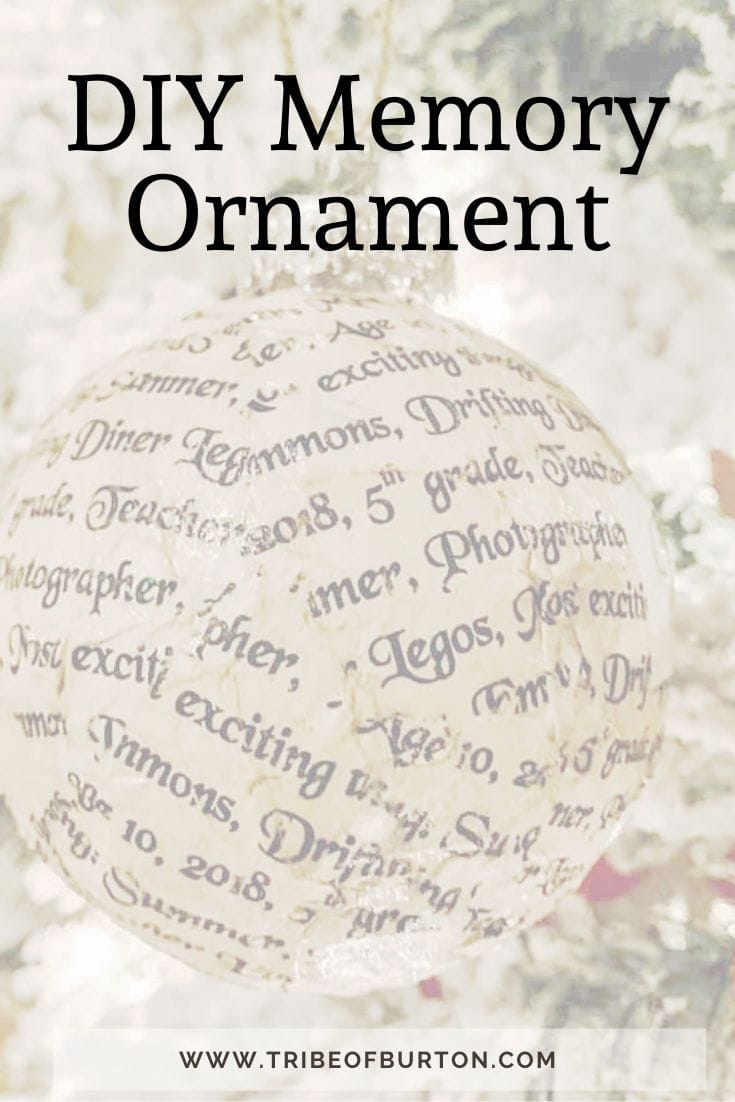
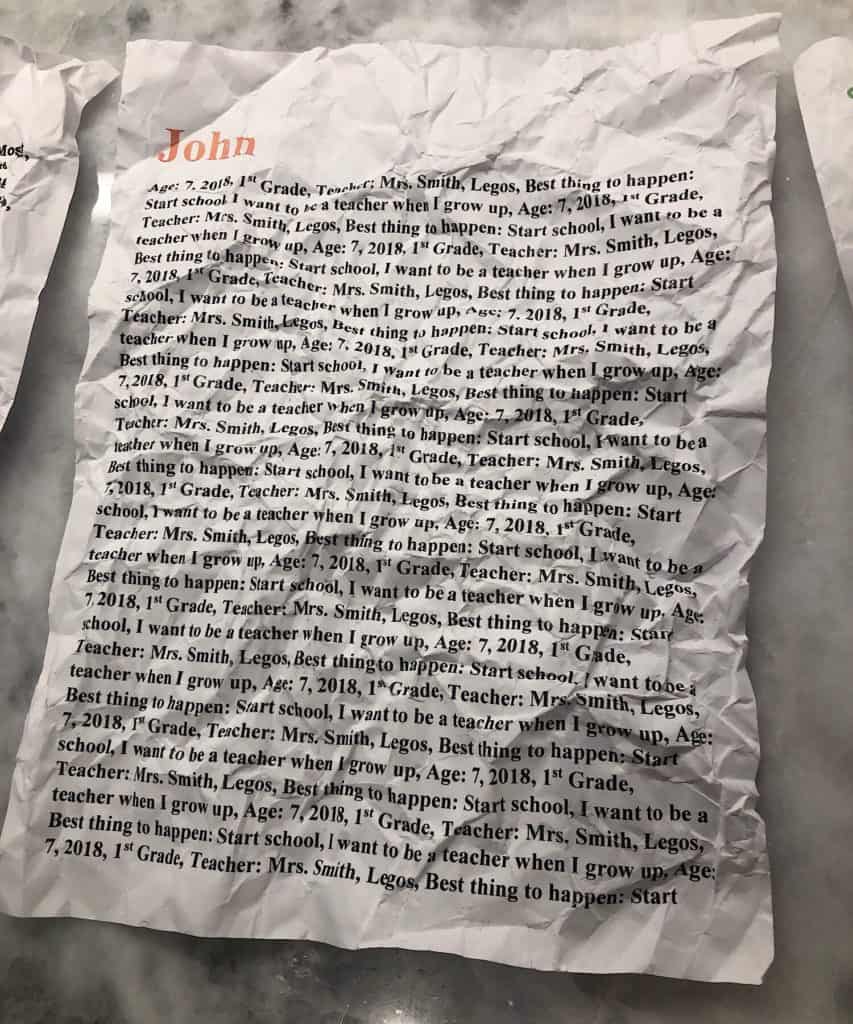
John Age: 7, 2018 1st grade teacher: Mrs. Smith, Legos, Best thing to happen: Start School, I want to be a teacher when I grow up.
3)I changed the font of their name only to 48 and to their favorite color.
4)Then I copied everything after their name and pasted it over and over until it filled up a piece of paper. (See below for an example of how it looks once printed)
Now get to work!
5) print
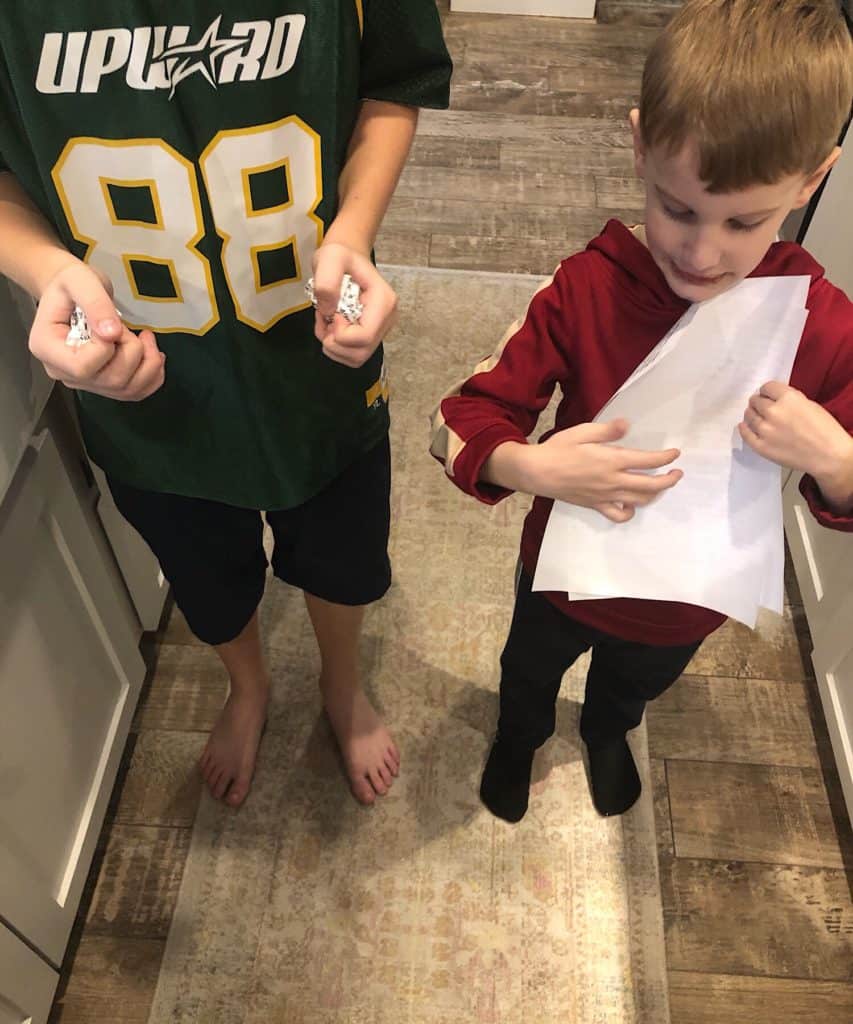
6) crumble up the piece of paper (see below)
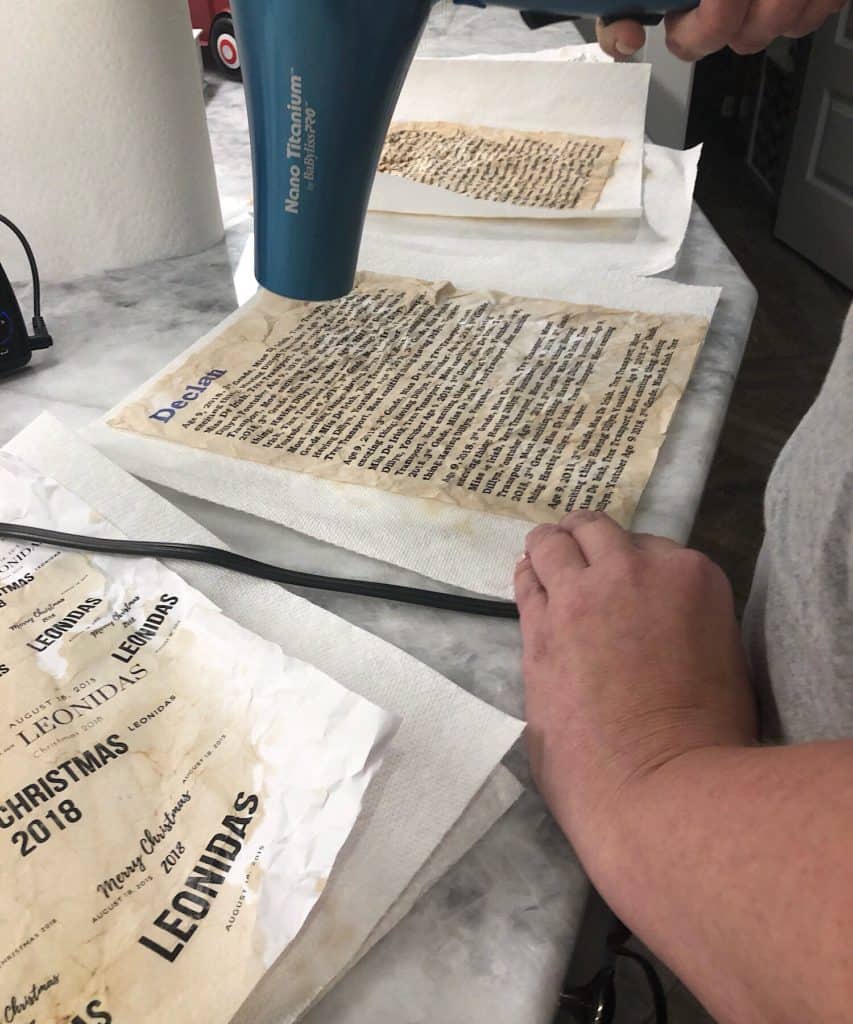
7) I wanted it to look old so I took 3 tea bags and brought them to a boil. Then I placed each paper with their answers on a cookie sheet (I did all 4 at once) and then poured a little of the tea on them. I let them soak until they changed colors (30 seconds). You can use more tea bags to make them darker. Or use colored paper.
8) I was in a rush so I used a blow dryer on low heat to dry the paper. I can’t wait to see how this DIY Christmas Ornament turns out.
9) I cut their name out and lay aside
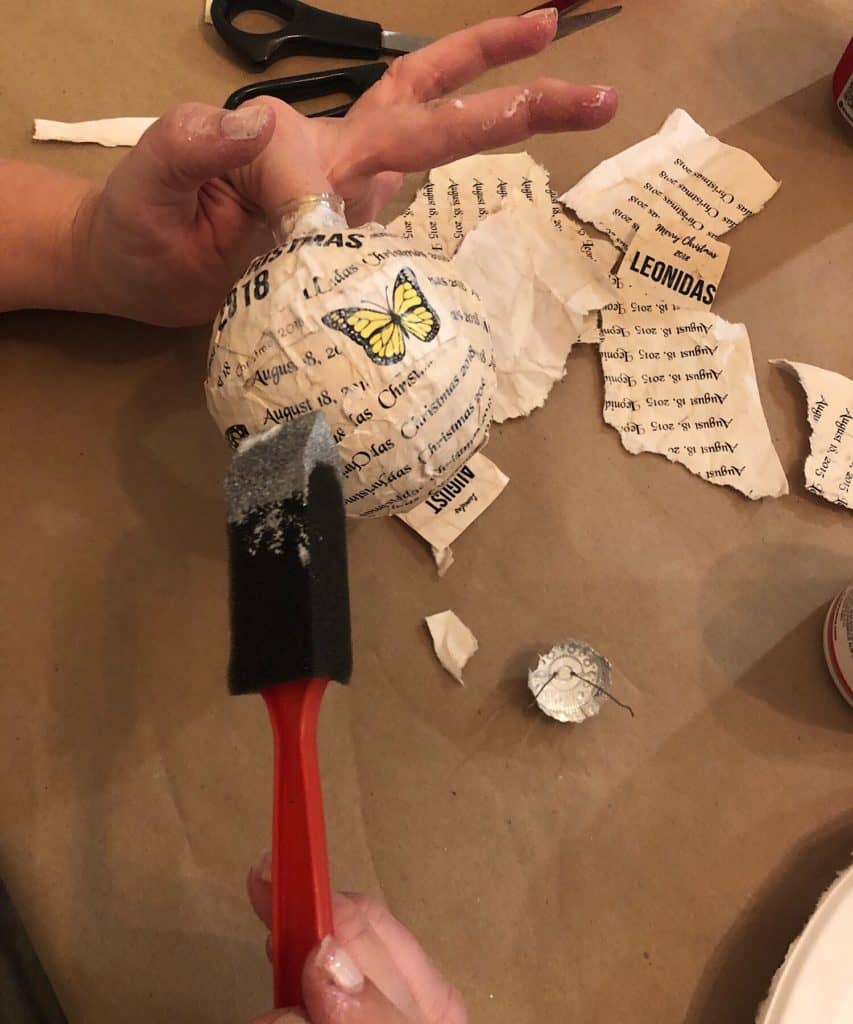
10) Start tearing the paper
11) pour Mod Podge onto a paper plate
12) start coating the back of your torn sheets in mod Podge
13) place the strips of paper on the ornament making sure the back of the paper is covered in glue
14) after the ornament is Covered place the child’s name somewhere on the ornament. And glue down with Mod Podge.
15) let dry enough that the paper doesn’t move around ( I let mine sit for a few minutes while I did the next one)
16) cover the paper with Mod Podge

17) let dry took about 20-30 mins. I cleaned up during this time.
18) use twine or ribbon to put on the ornament to hang the ornament on the tree.
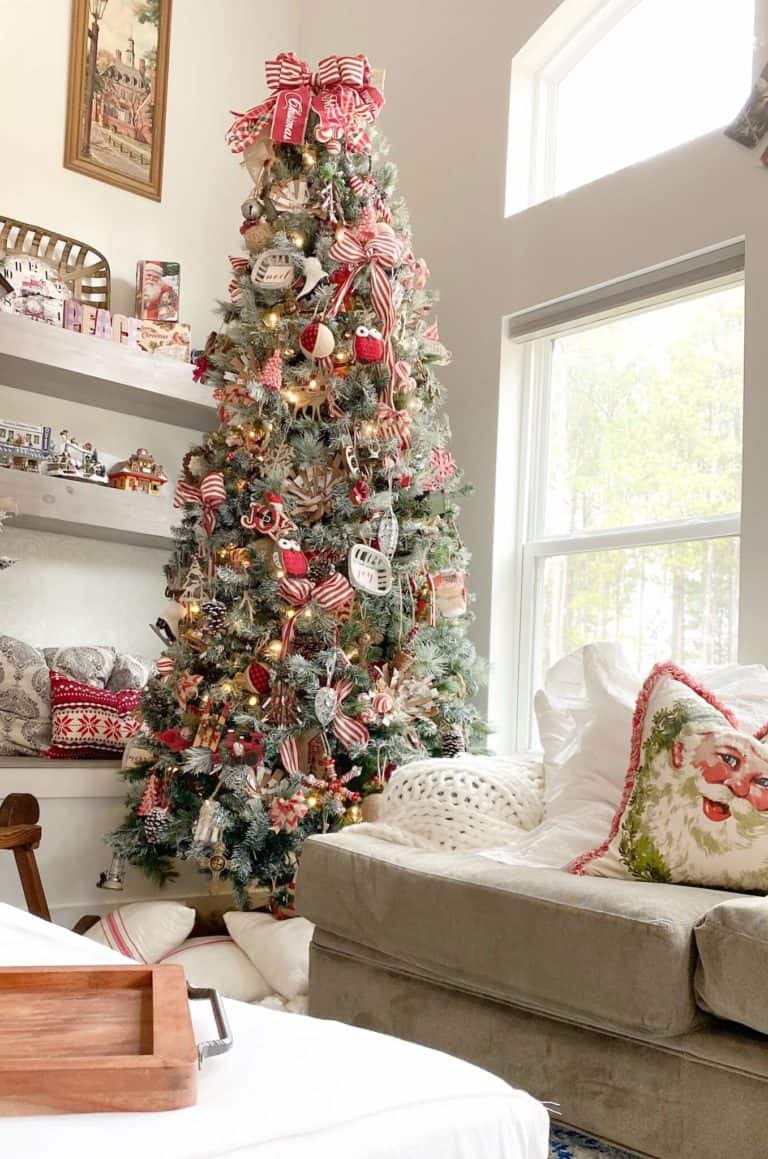
And that’s it! The actual process takes around 30 minutes (other than drying time) of actual prep time to complete this DIY Christmas Ornament! Here are some pictures of the finished products on our non flocked tree!

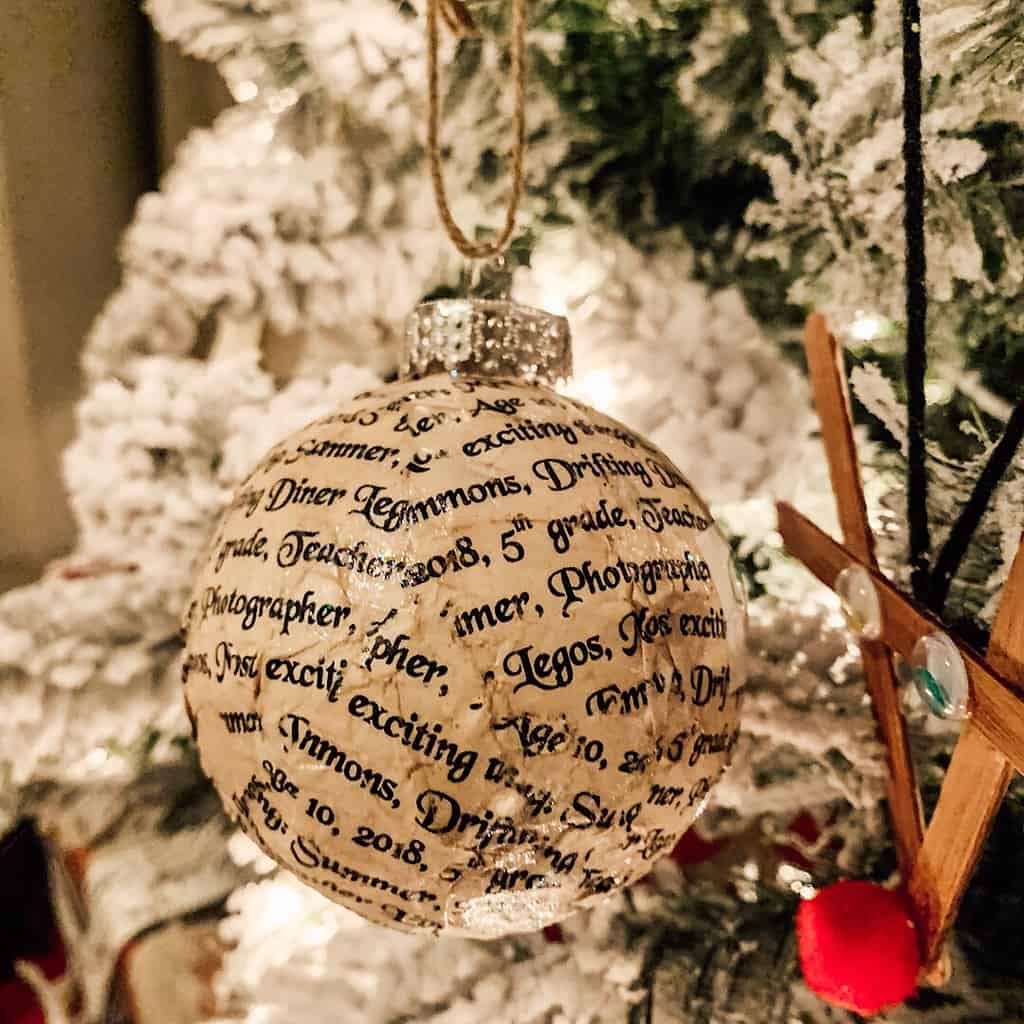

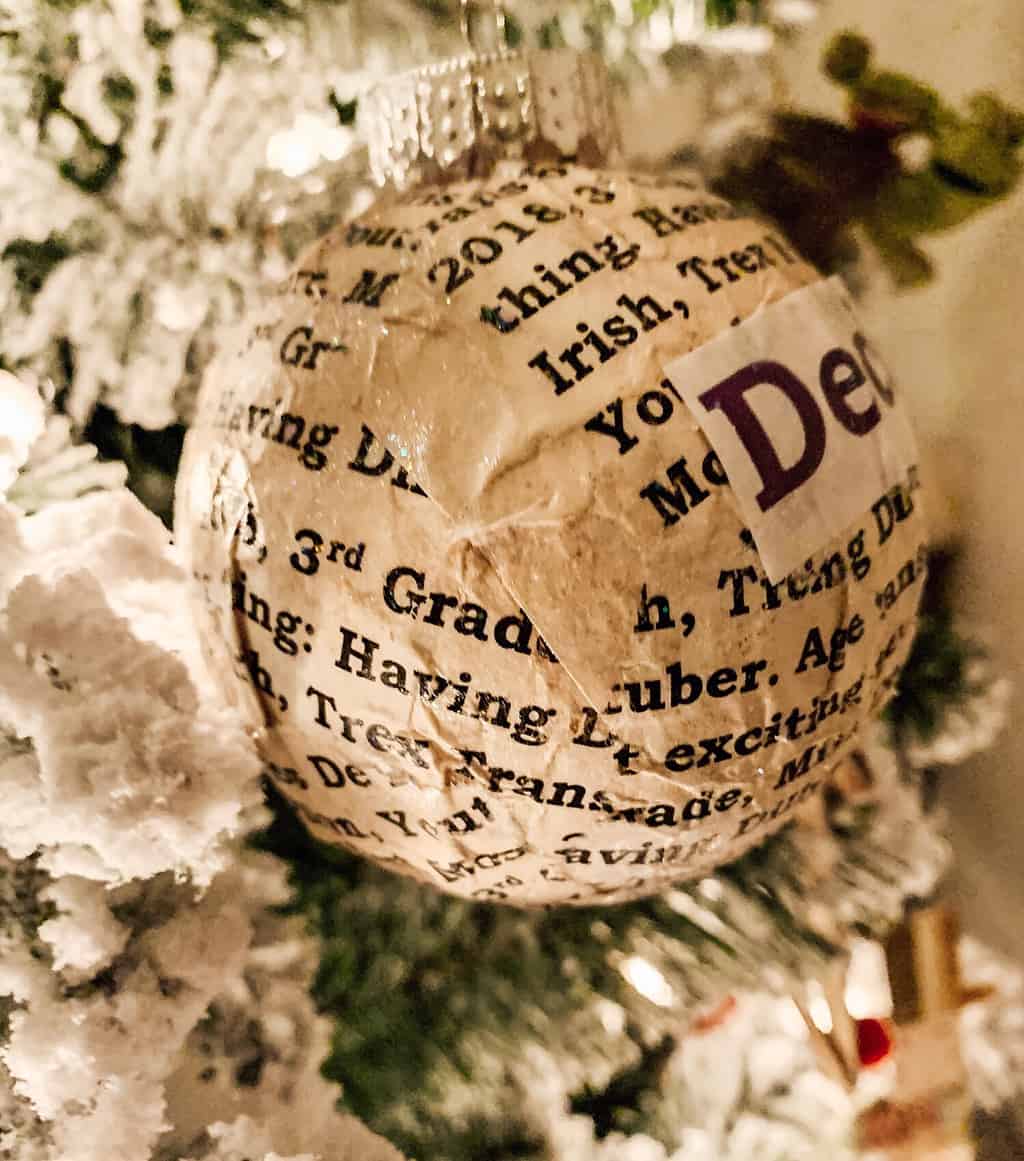
I hope you enjoyed this DIY! And if you decide to give it a try please tag me or comment below!
If you are looking for another great activity to do with your kiddos this holiday season click here.
Another fun inexpensive craft project for Christmas [HERE].
Have a Great day!

If you’re feeling hungry – go check out my friend Kippi’s Cookie Cake Recipe [HERE].
