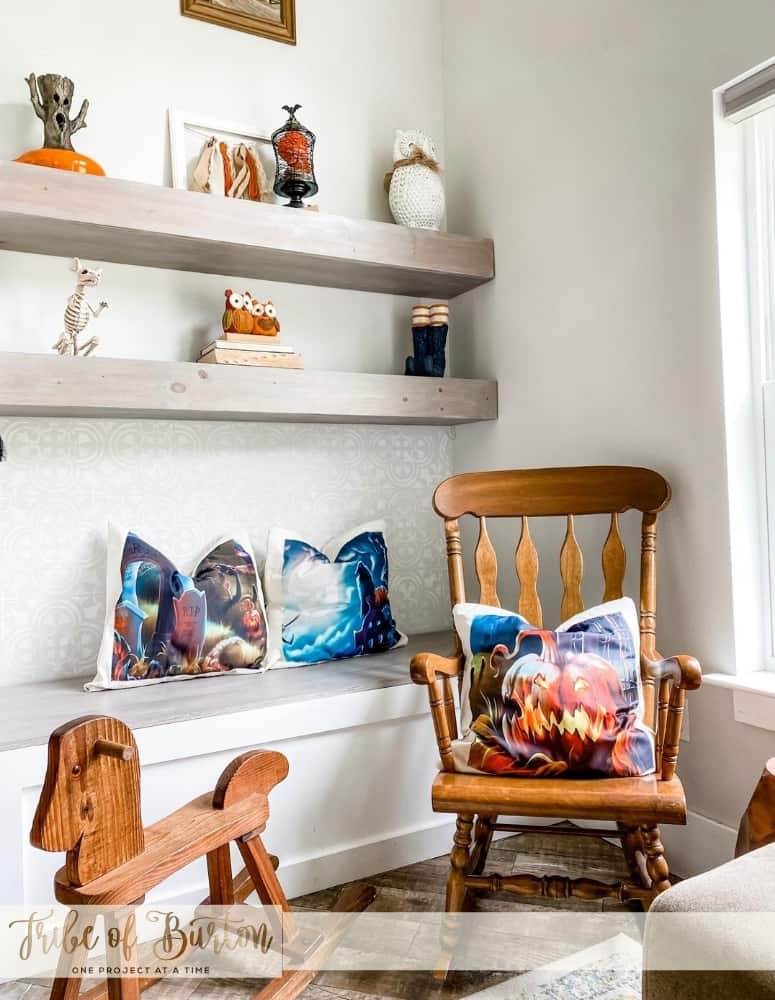
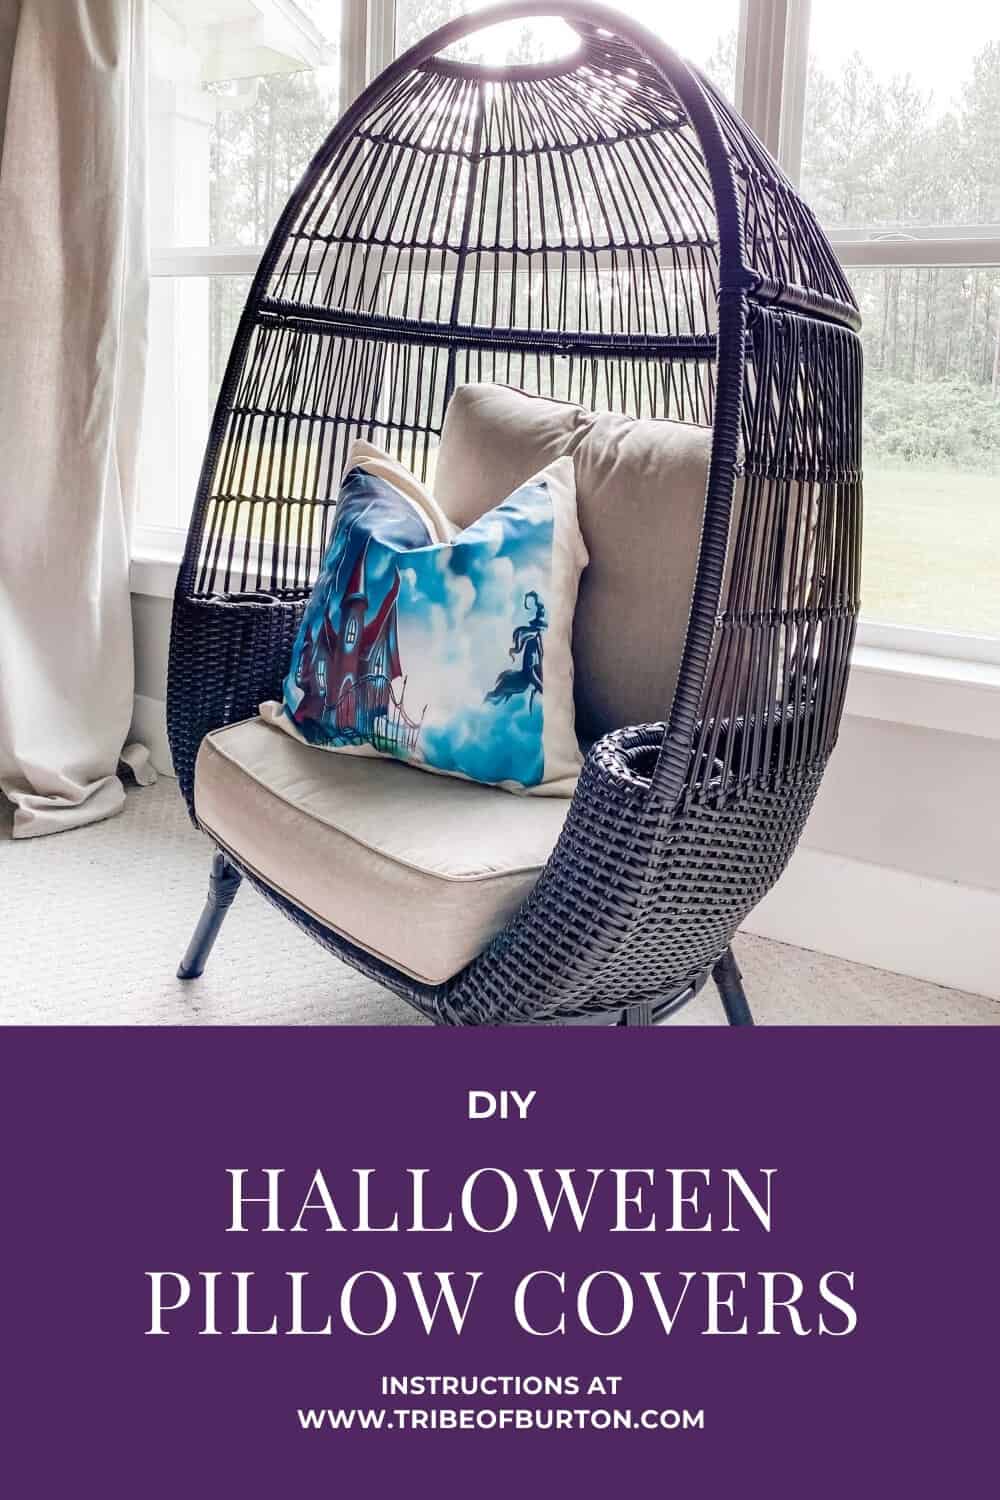
I decorate for Fall and Halloween together. Most of my pillows and pillow covers during this time of year only have Fall colors in them. I wanted to add some Halloween Pillow Covers this year to my rotation. I didn’t find any that I really loved and I didn’t want to have to wait for someone to make them so I decided to find a way to Make Halloween Pillow Covers myself.
There may be affiliate links in this post. Please read my policy on affiliate links (here) if you want.
Keep reading below to see how I made Halloween pillow covers in a few hours.
Simple halloween pillow covers
When I was originally searching for Halloween Pillow Covers, I came across a lot of cute ones. The issue I had was I wanted something simple and easy. The ones I saw on the internet to make weren’t that or they required vinyl machines (which I do have but don’t like to use) or having special embellishments which I didn’t have.
I looked around at the Halloween decor my daughter had already decorated the den with and went to Amazon to search. You can see [HERE] that I love to decorate for fall and Halloween. I love crafting when I have time. With two storms approaching the gulf and surgery coming up I didn’t want to spend a few days preparing these Halloween pillow covers so I had to make sure what I came up with fit into my budget and time restraints.
The possibilities are endless. I hope you will use your imagination and tell me in the comments below what kind of pillows you could make. I can’t wait to show you the ideas I have for Christmas (that will be next month).
Did I mention you can make 4 Halloween Pillow Covers for less than $25?
DIY Halloween Pillow Covers
- Pillow Insert
- Drop Cloth
- Tapestry or Tapestry or Tapestry or Tapestry or Tapestry
- Sewing Machine
- Fabric Adhesive
- Scissors
- Pins
instructions for diy Halloween Pillow Covers
- Gather Supplies
- Wash Drop Cloth and dry
- Iron Drop Cloth and Tapestry (use low heat on Tapestry and test a section first)
- Put on a fun movie. Might I suggest a Halloween movie?
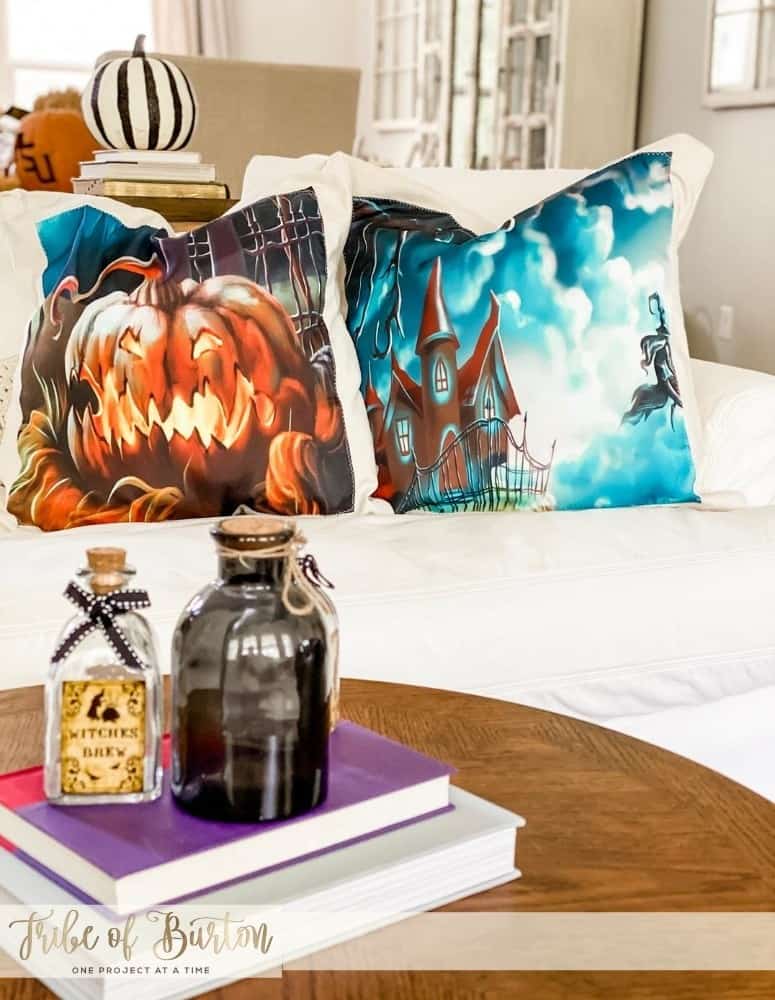
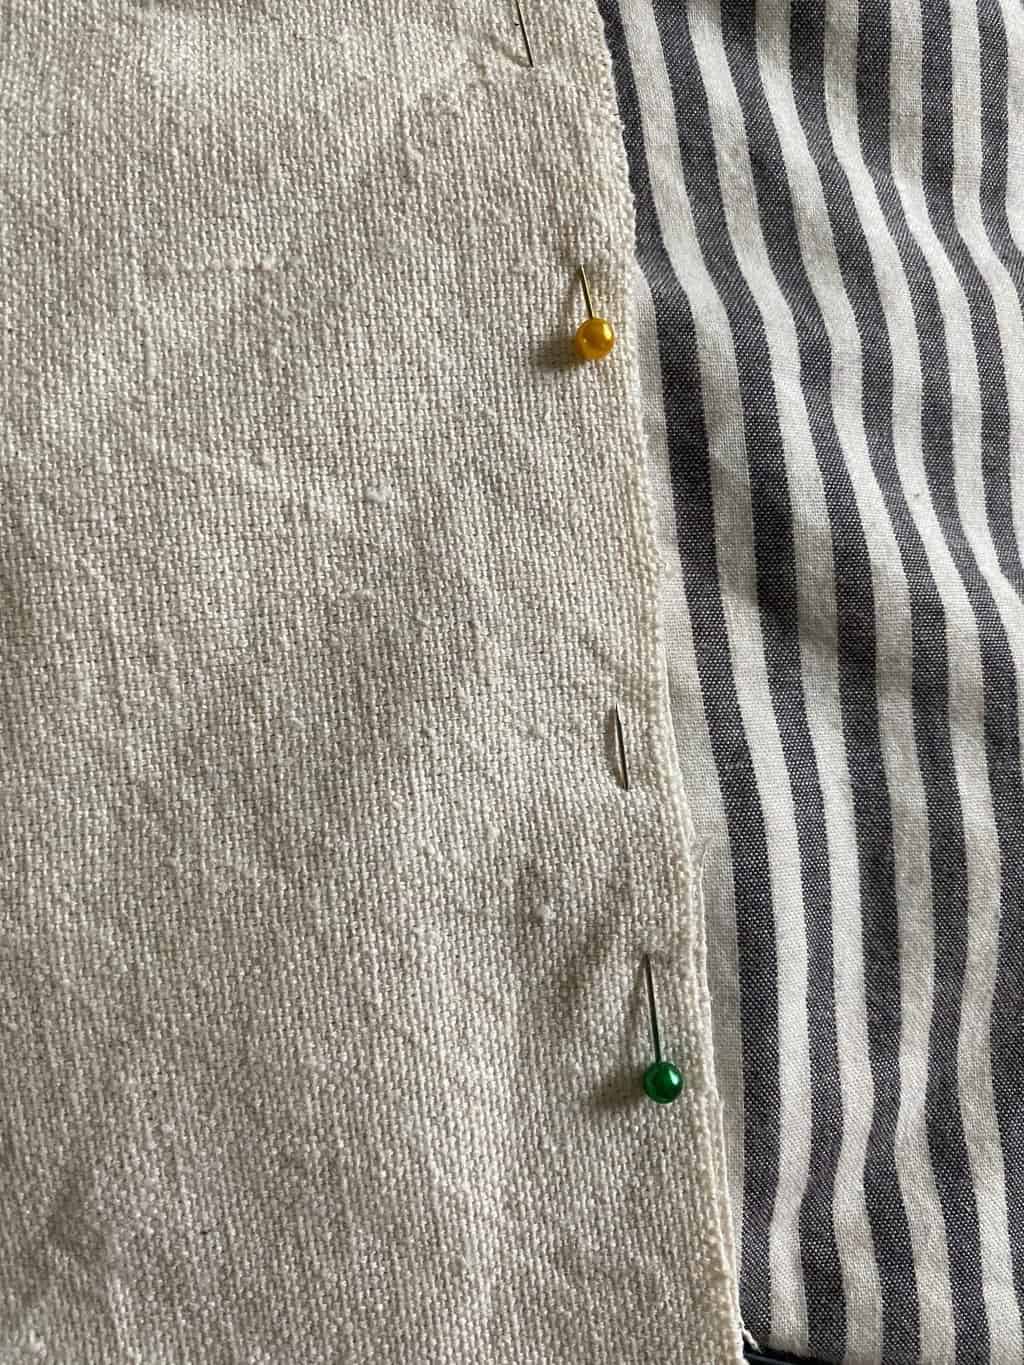
- Determine the size of the pillow cover and cut 2 pieces (front and back piece) from the ironed drop cloth. I used a 24″ square pillow. You will want to cut one square 25″ x 25″ and one piece 25″ x 26″. The larger piece will be the back of the pillow cover. If you use a different size pillow – cut one piece 1″ larger than the pillow and the second piece 2″ larger for the back.
20″ square pillow – cut 21″ x 21″ square and 21″ x 22″ rectangle - Take the back larger piece and cut it across the back on the long piece. I measured 12″ down and cut it across (think like an envelope).
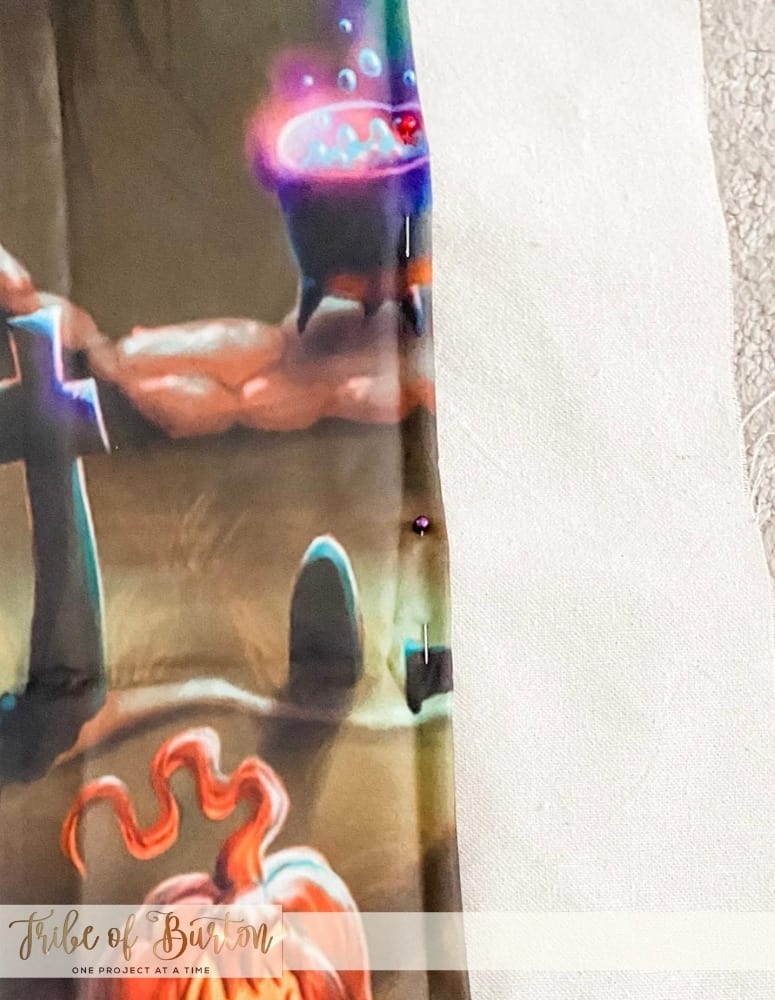
- Decide what scenes you want on your pillow and start cutting the Tapestry to fit the drop cloth pillow cover. I cut 19″ squares approximately.
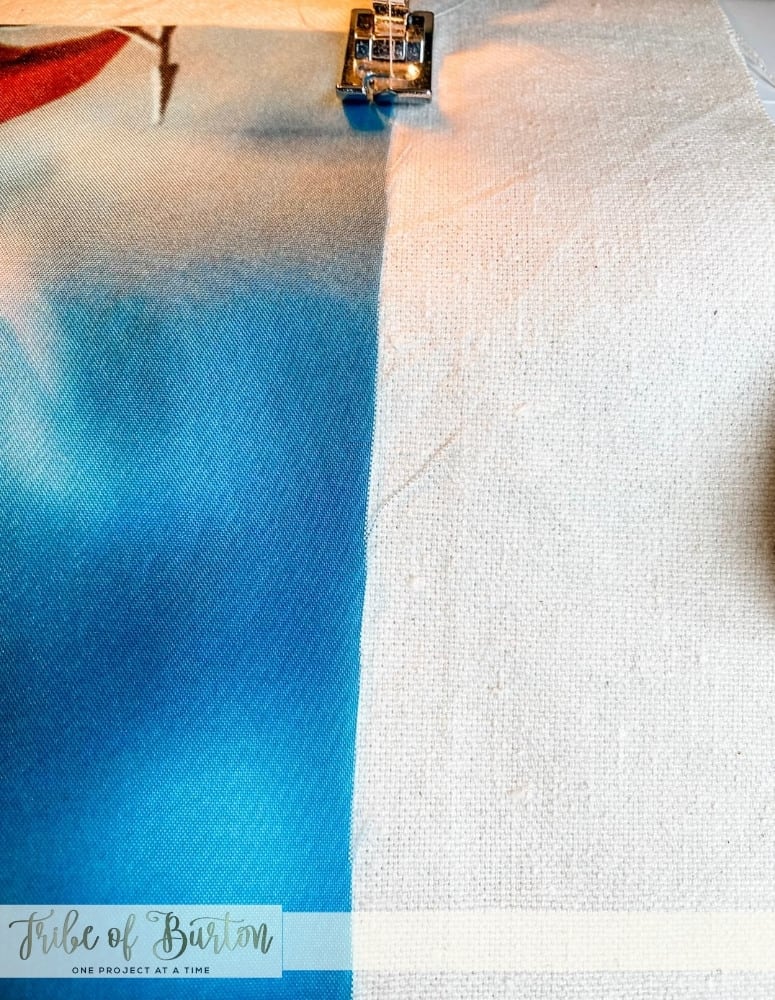
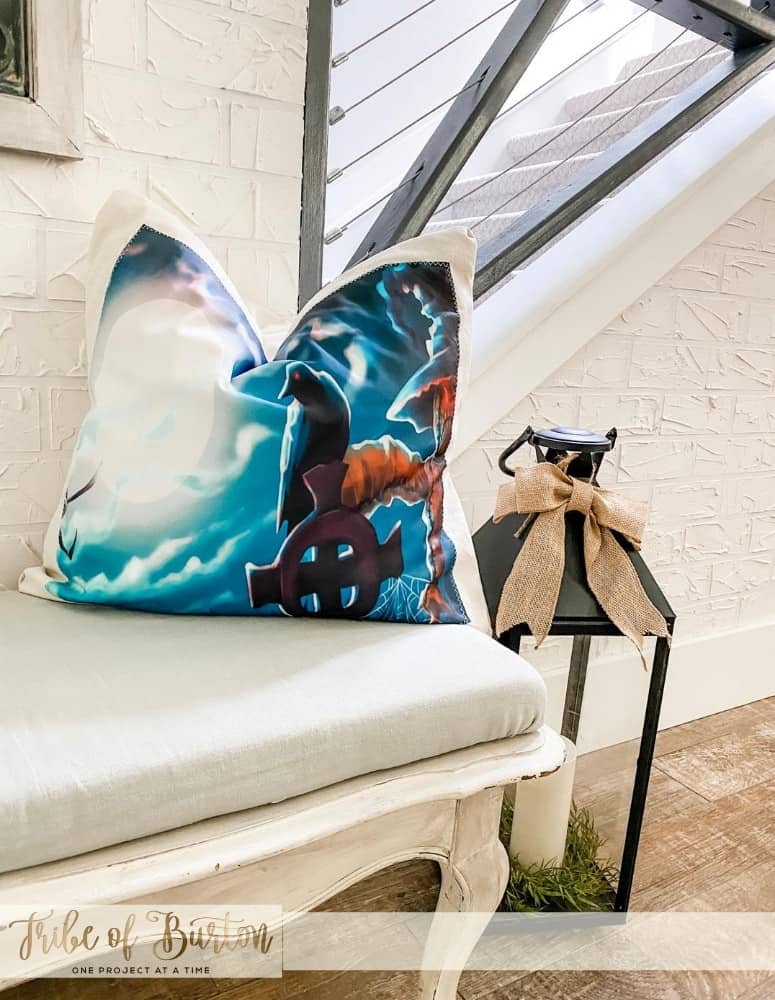
- Pin the scene or use Spray adhesive to put Halloween scene on the front piece drop cloth. Sew on to front piece.
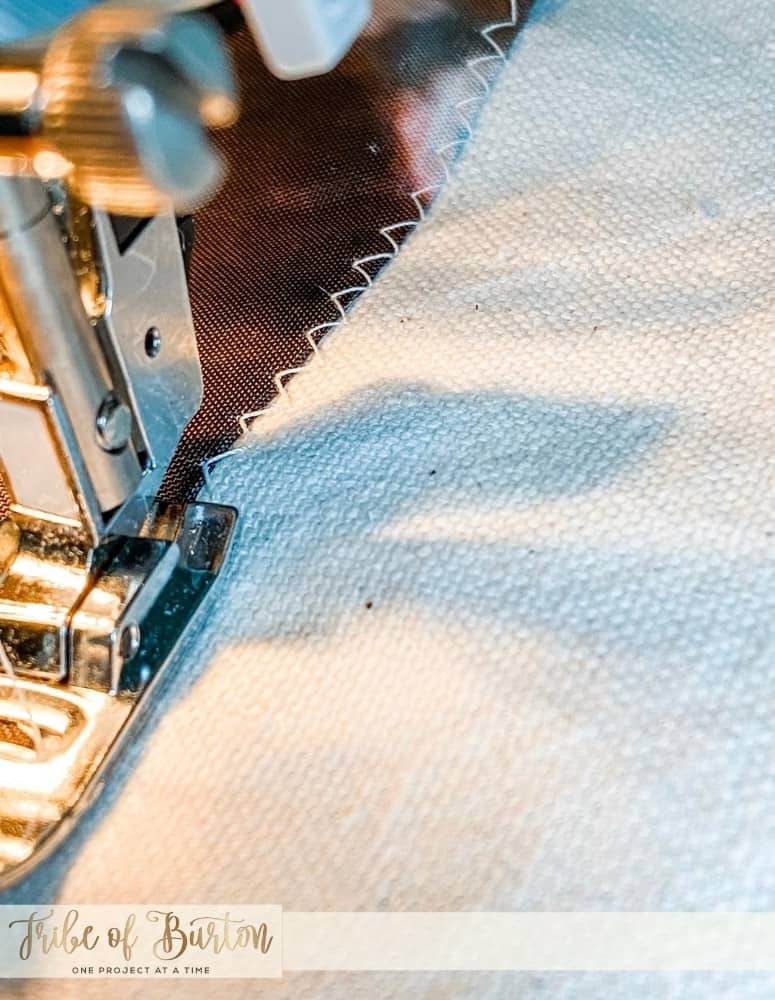
- Take the two drop cloth pieces that you cut for the back and sew a 1/4″ hem.
- Turn the 3 pieces right side in and pin together.
- Sew a 1/2″ seam around the outside
- Flip it right side and insert pillow.
Go check out a few other FALL DIYs I’ve done over the years [HERE].
Halloween Tour
Please check out these other blogs and their fabulous FALL DIYs.
Kippi At Home has some amazing Cupcakes and a cute Halloween Sign
Chas has some cute Halloween Outside Decor [HERE]
Jess has shared Spider Pom Pom Garland [HERE]
Rebecca from Zucchini sisters shares a Skeleton Mirror Tutorial [HERE]
Lia Shares some No Sew Trick or Treat Bags [HERE]
Olivia shares a Unicorn Pumpkin [HERE]
Agnes at Just That Perfect Piece shares a cute Halloween Spell Book [HERE]