What better way to update an older piece than by making it more modern? Over the last few weeks I’ve been in purge mode and found a few pieces that I used to love but didn’t fit with our decor anymore. Most I planned on donating but a few pieces I just couldn’t part with. So, I decided to paint them!
There may be affiliate links in this post. Please read my policy on affiliate links (here) if you want.
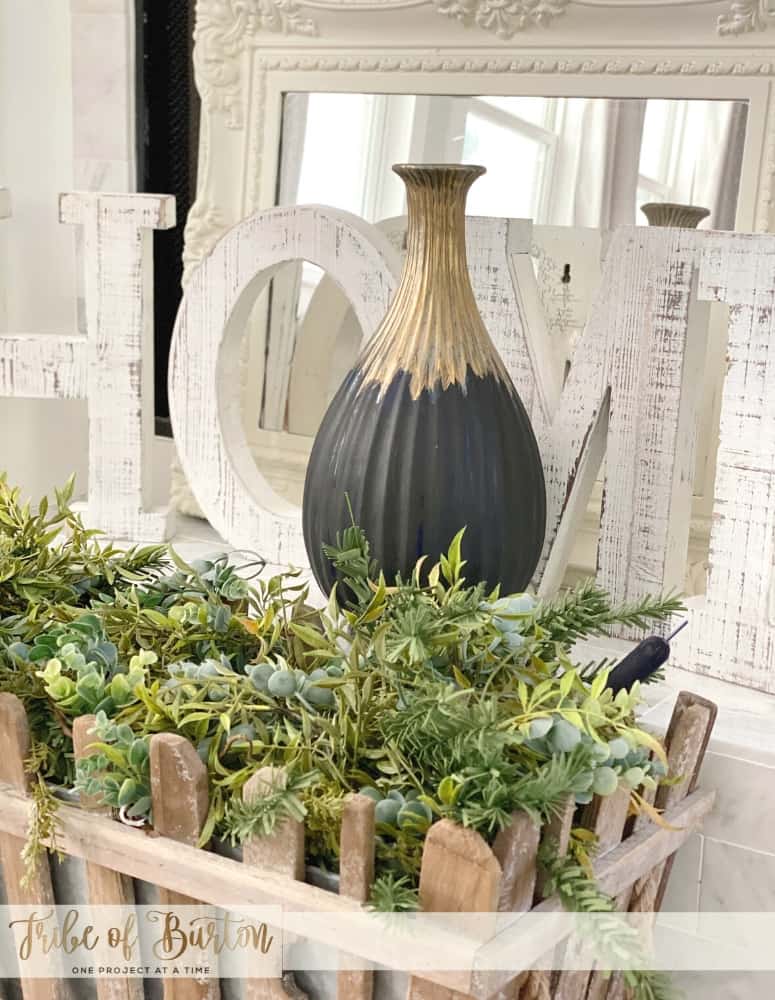
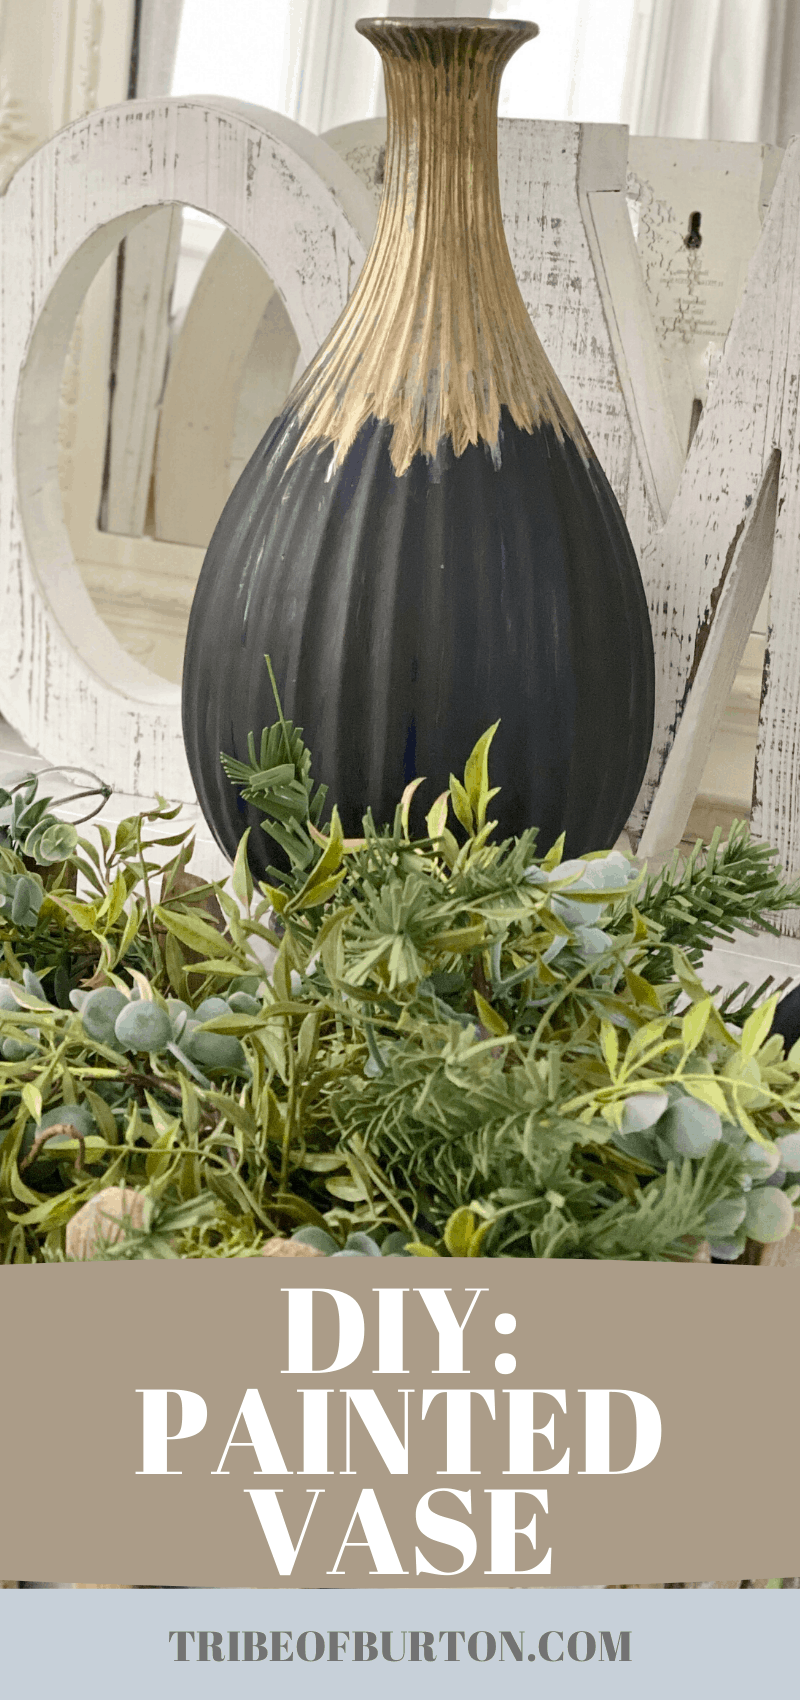
Keep reading to see how I transformed a pretty vase that wasn’t working in our current home. Since I wasn’t able to use it with our current decor, I decided to paint it so it would match our current decor. The win is I still get to see the vase every day.
updating your decor
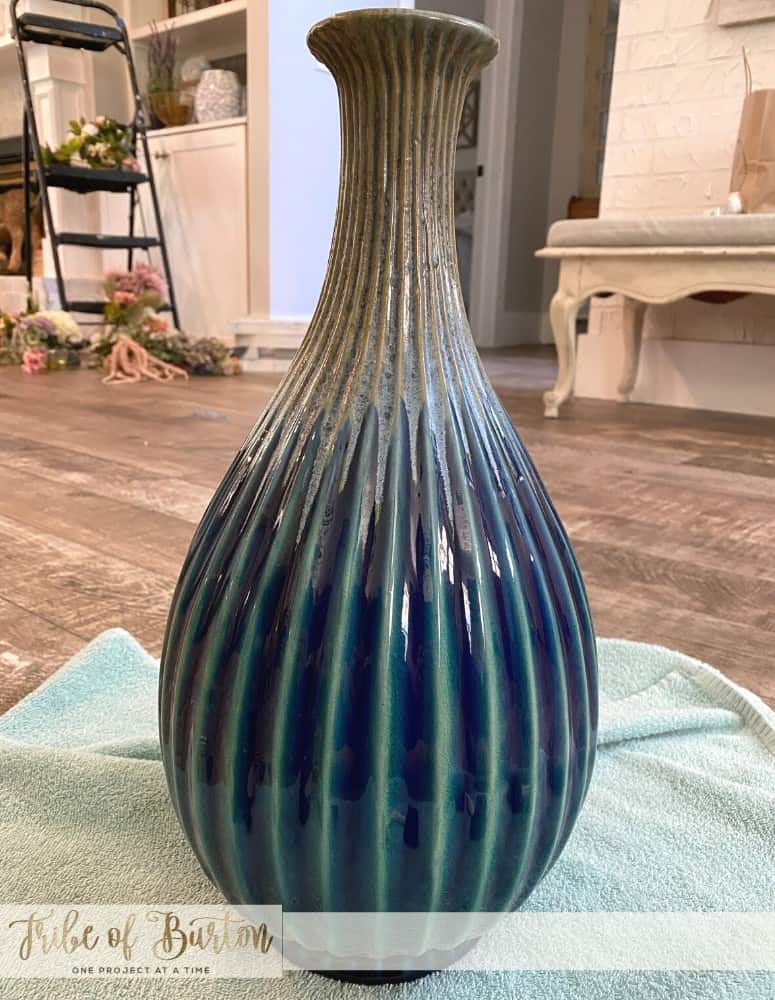
When we built our second home a friend bought me a vase for a housewarming gift. It was perfect and I loved it. We have carried this vase around with us from home to home the last 16 years.
I’ve been in purging mode the last 6 months or so and really had nowhere for this vase to go. However, I couldn’t let go of it. Last week I was rearranging decor and thought I love the style why not paint it? So that is what I did!
I encourage you to re-purpose items in your house if you can. And if you are like me and your taste changes a lot then painting something is easy enough to do that you can have a new look on an old piece in under an hour.
I already had chalk paint and brushes so I was ready to paint within five minutes of making that decision.
Instructions
First clean the item you want to paint – let it dry
Shake your chalk paint up if it’s old to make sure it’s mixed really well. I then pour out a little bit onto a paper plate. Then apply your first coat. I didn’t want the entire vase to be the same color so I painted the bottom black first.
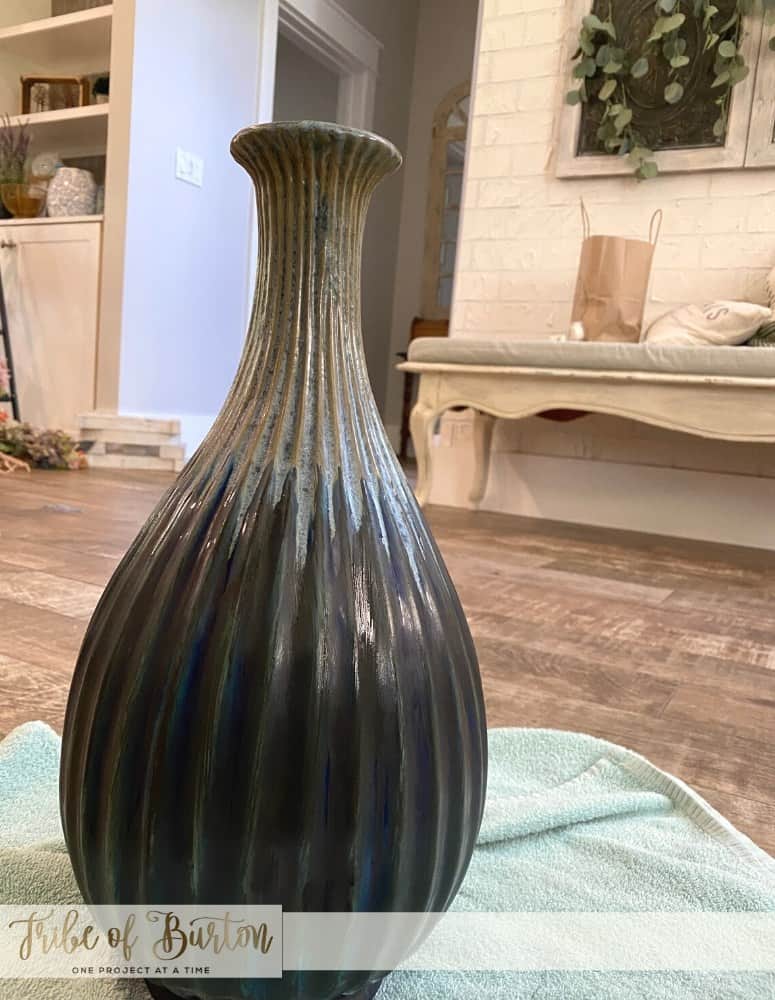
Once I painted 3 coats of black and let them dry, I moved on to the gold part at the top.
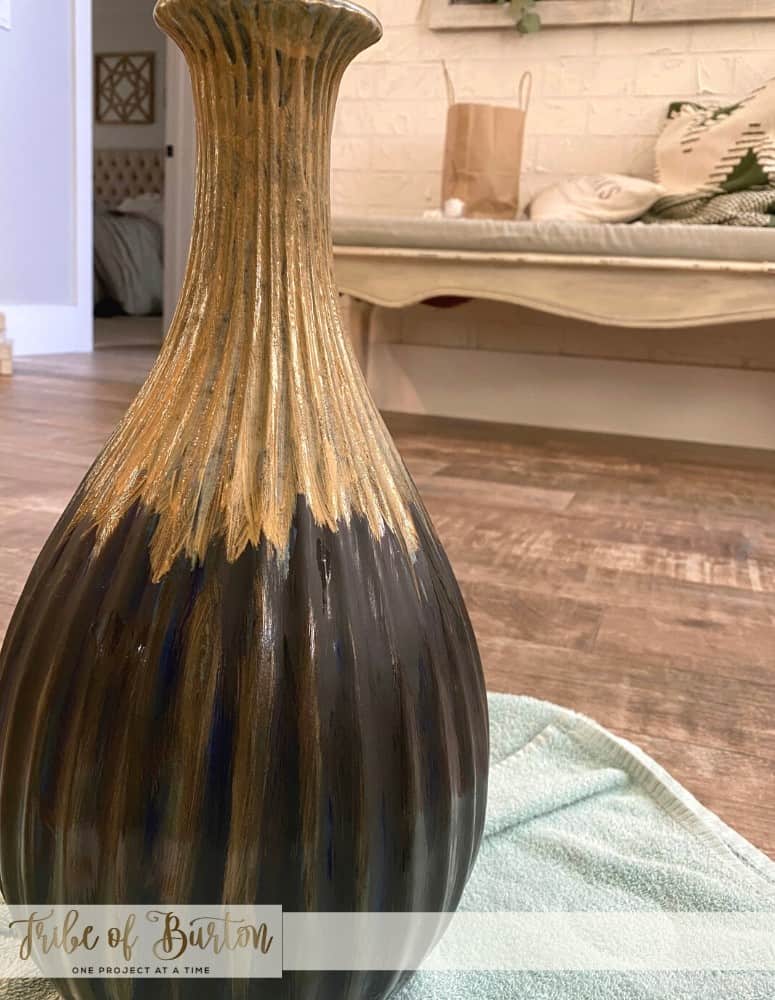
The gold metallic paint needed 2 coats and did not dry as fast as the chalk paint. So, I left it on the floor to dry while the baby was napping.
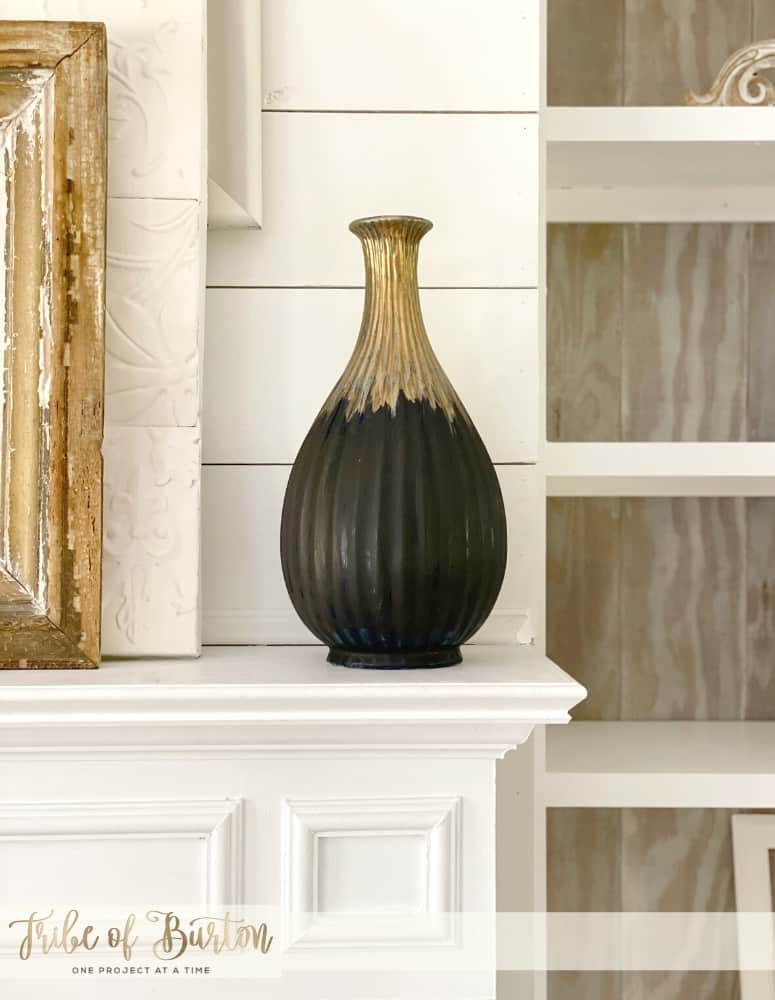
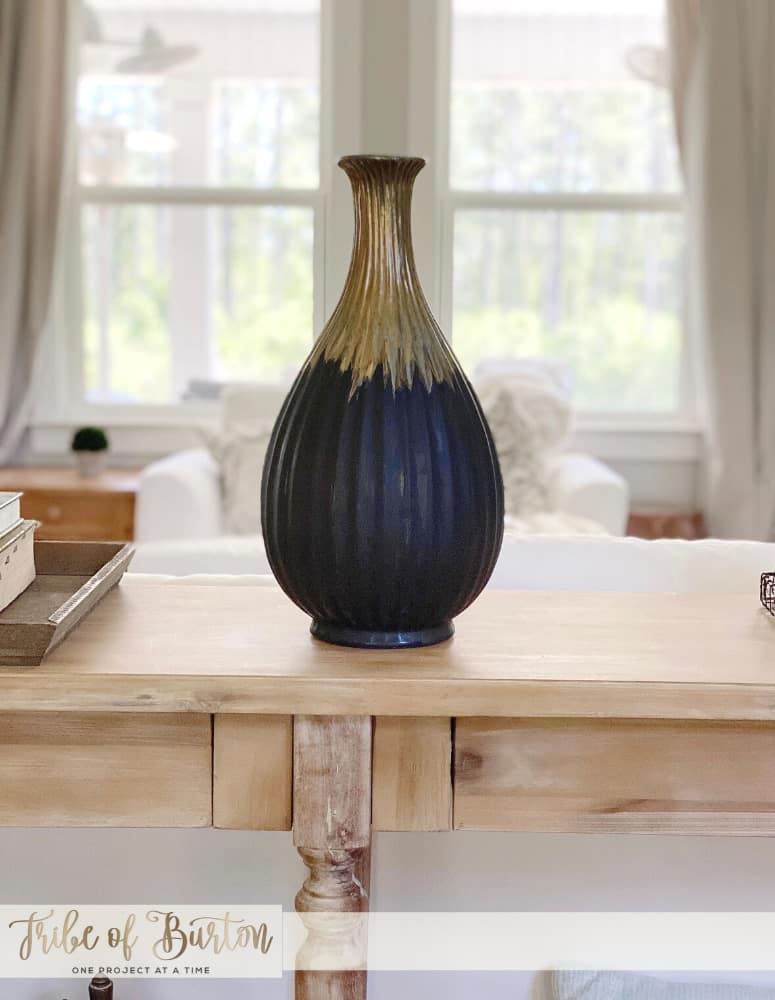
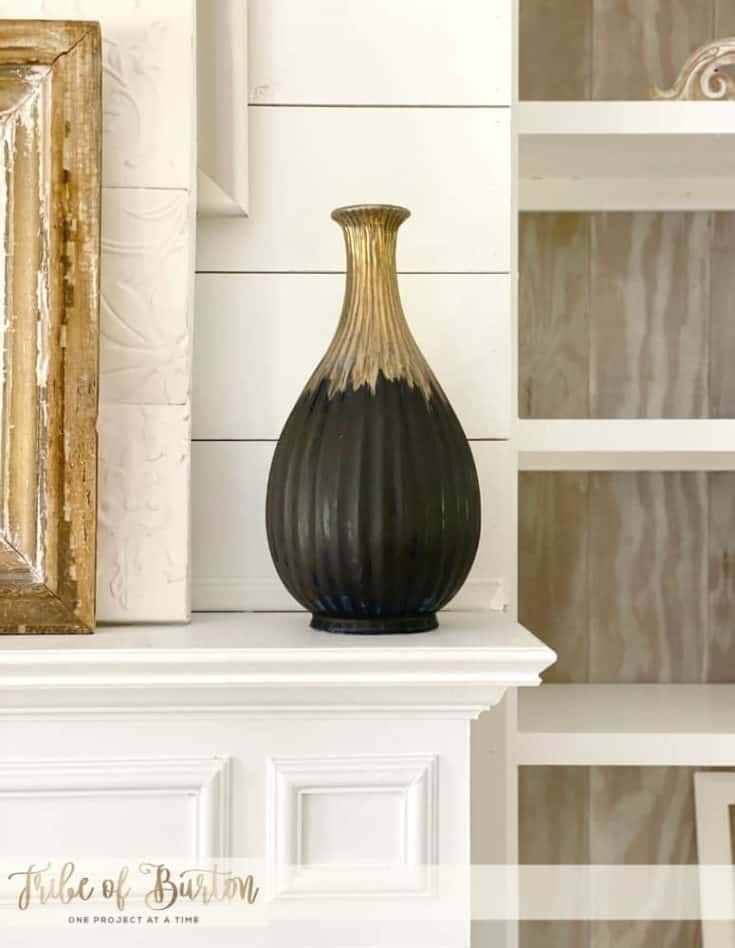
Take a look at the finished photos below.
TIPS:
- Chalk paint is normally pretty easy to clean up. But as always, I recommend to use a drop cloth or old towel to paint on.
- Let the item completely dry before you start the next layer. I got started too soon and it was taking off the first layer of paint
- If you don’t like the color then start over with a new color
Items needed
- Make your own chalk paint [HERE] or buy some chalk paint. If I have to buy chalk paint this is the kind I like [HERE]
- Drop Cloth [HERE]
- Paint Brushes [HERE] or Sponge Brushes [HERE]
- Vase [HERE]
- Gold Paint [HERE]
Questions:
- Do I have to prep the item? Sometimes, but most of the time I just start painting. Always make sure the item you are painting is free of dust and dirt. Wipe it down.
- Is it hard to make your chalk paint? No, it isn’t. I love being able to make any color I want in a matter of minutes
Want to move on to another DIY project – if so check out another fun project [HERE]
Painting a Vase
Materials
- Chalk Paint
- Sponge Brush
Tools
- Paint Brush
- Sponge Brush
Instructions
- Clean off Vase
- Paint a thin layer of Chalk Paint
- Let Dry
- Keep painting thin layers until desired look is achieved
- Let dry over night before putting it on furniture
Notes
*As always do a test spot first to make sure it will work
Kirsten
