Faux Brick Tutorial
Many days I sit in our living room looking around at our house
and many days I feel like our house is missing something.
One day about three weeks ago I had a brilliant idea
insert Michael rolling his eyes at this point…
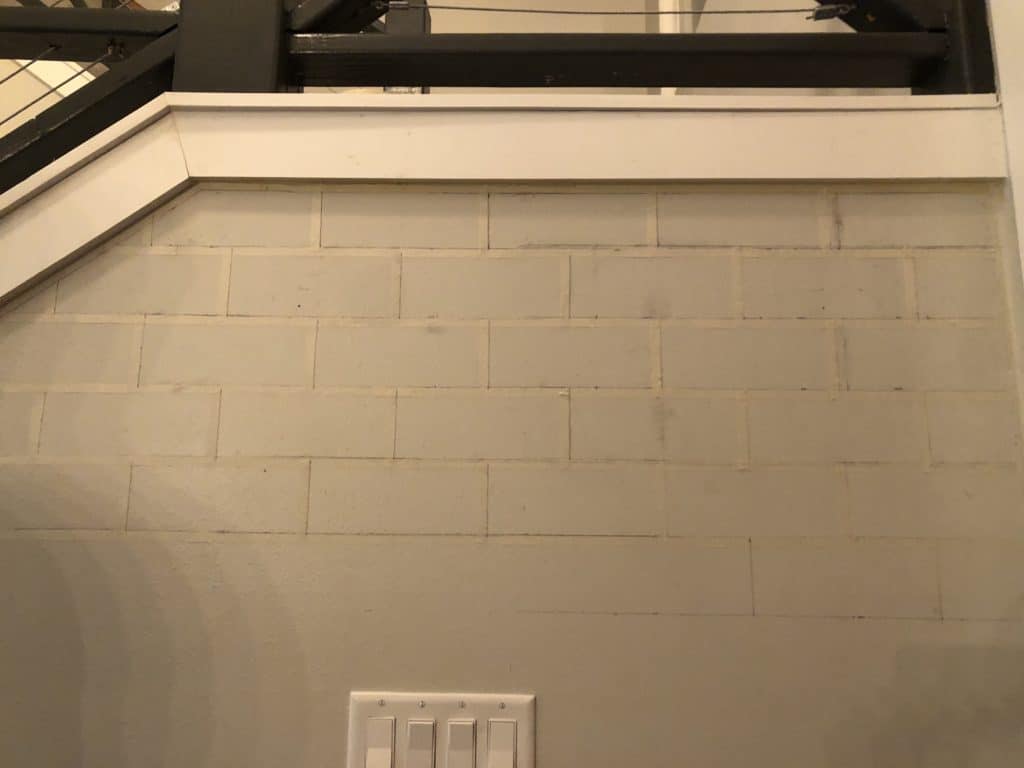
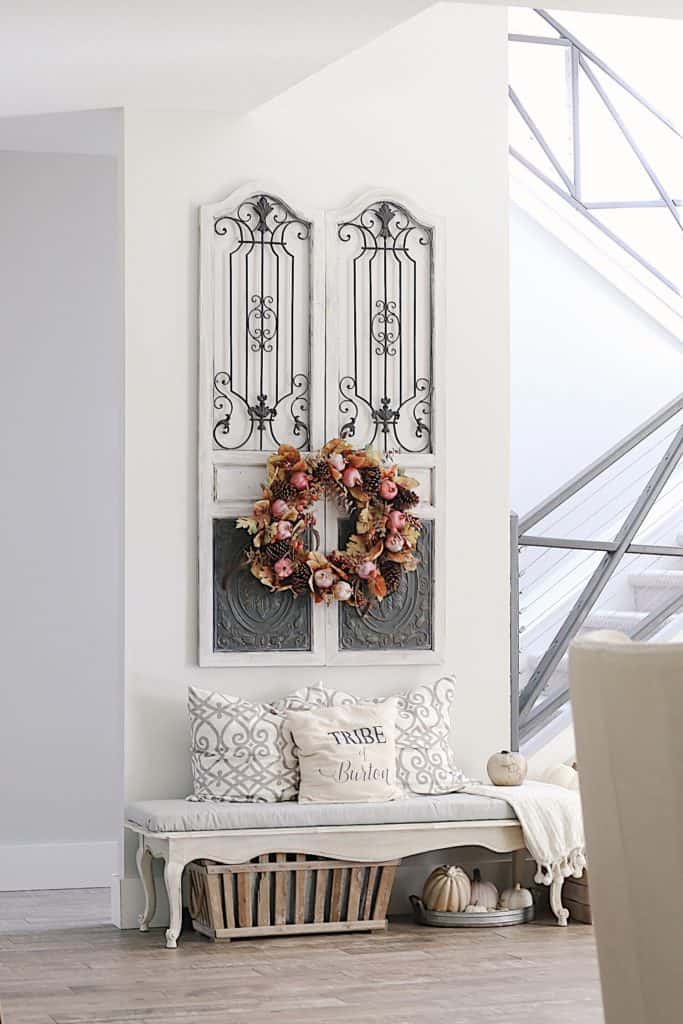
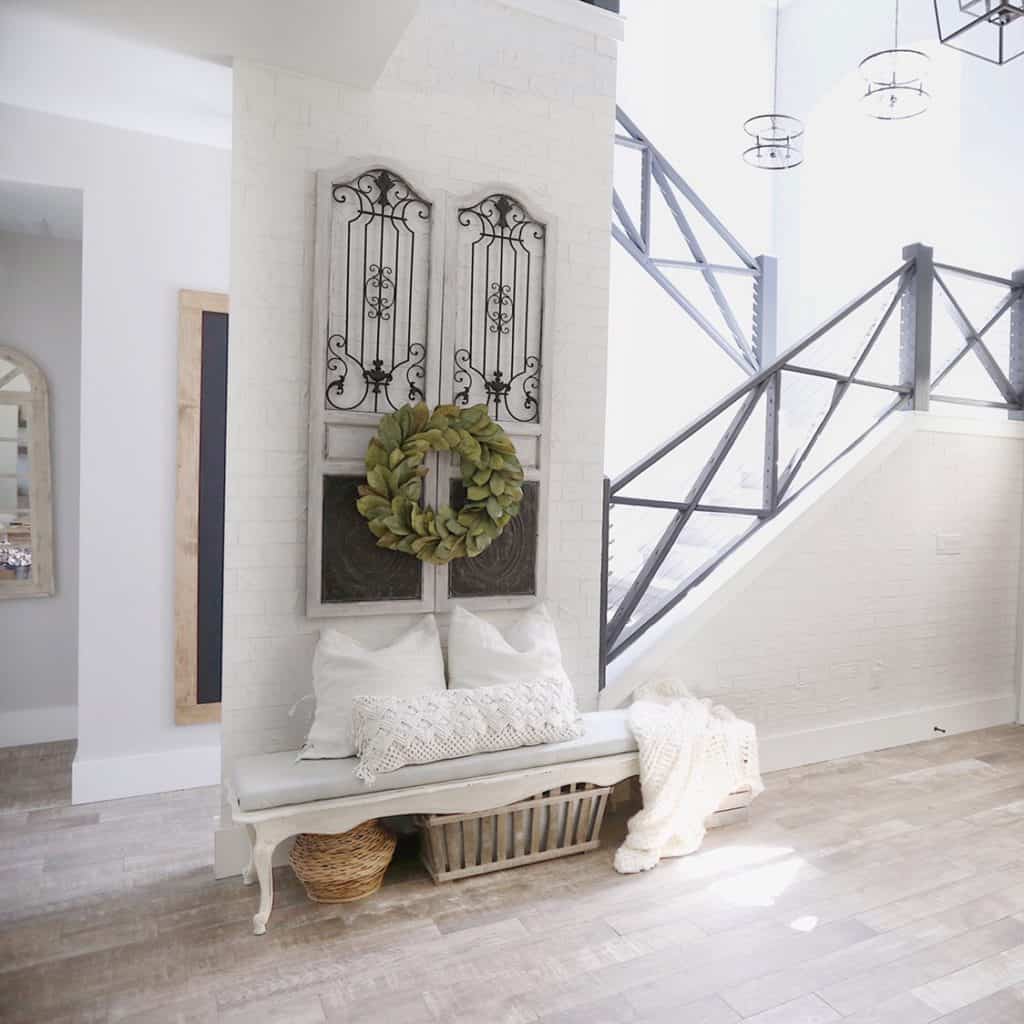
The entryway wall was very plain
and I thought we needed to add to it…
The best way to do this would be to do a wall feature
of either ship lap
OR
something else.
That’s when I remembered stumbling across the Instagram account
the_rusticpallet (Jessica Jelly) a couple years ago.
I remember being up in the middle of the night
and coming across her feed
it was beautiful
I loved everything about it
but what stuck out the most was her brick archway leading into her kitchen.
I remember watching her videos about it
and looking at her pictures
and learning everything I could about that particular project…
never in a million years
did I think I could do it…. but I thought I can at least try
so that’s what I did.
But first
I took a poll on Instagram…
70% said to do Shiplap on the wall
30% said to do faux brick.
I tend to go against the norm so I did go with the Faux Brick.
I will be adding videos and pictures to my highlights on Instagram as well.
How to:
Step one: take everything off your wall
Step two: gather supplies (click here)
pencil, a level, a ruler, half-inch masking tape, joint compound, joint tool.
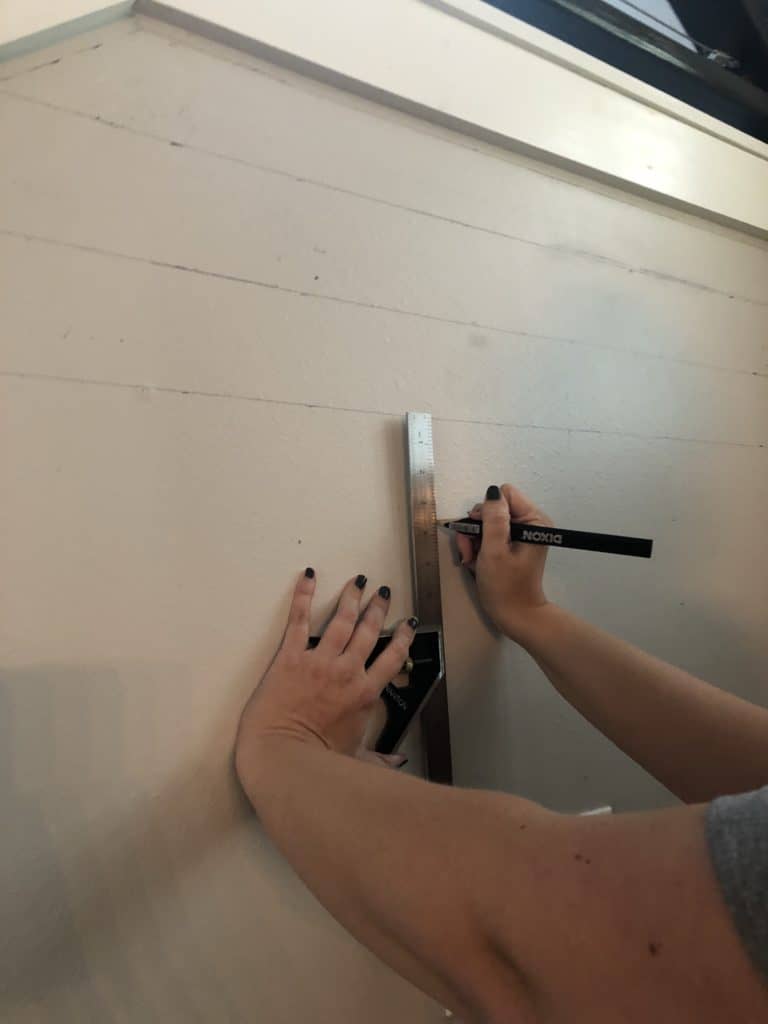
Step three: I started on one end of my wall. I measured 3.5” down and marked that all the way across the top. This allowed me to draw my first horizontal line. I got my level to make sure this line was level. Used a pencil to mark my line. Then I did this all the way down the wall.
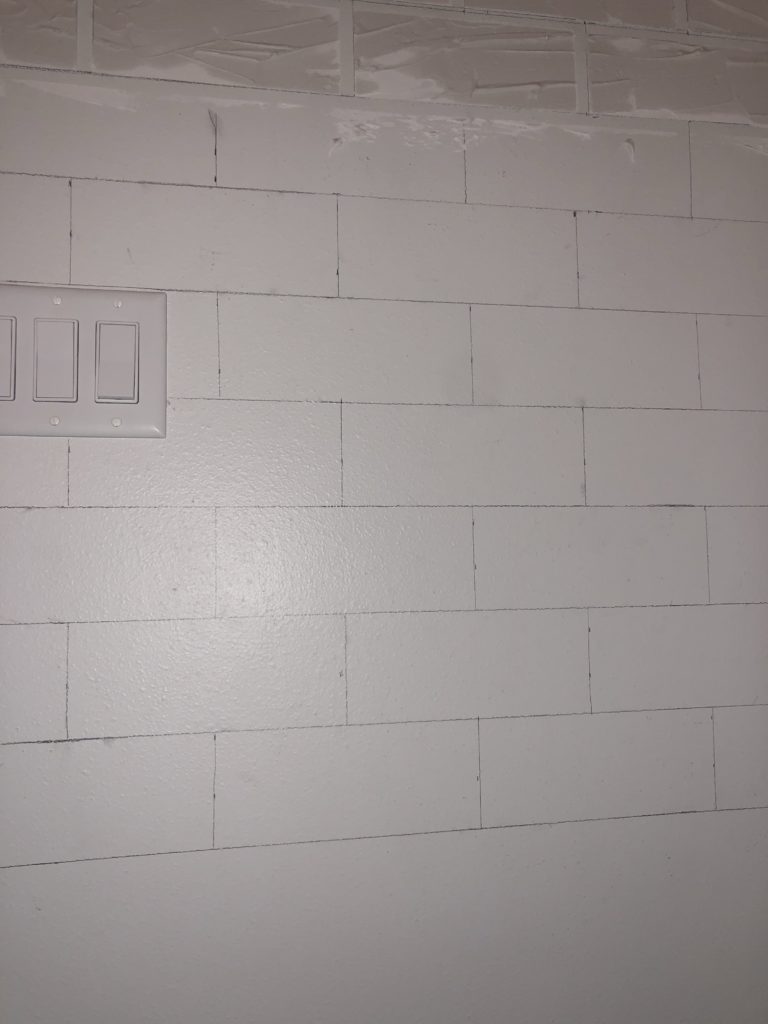
Step 4: getting your vertical lines up. I started on the right and the first line I measured 8.5” away from the wall and marked. Then continued 8.5” all the way down the wall. Tada your first outline of bricks are up! For the 2nd row and every other row from here on out you will want to start at 3.5” and Mark…. THEN do 8.5” all the way down the row after that. This allows your bricks to align correctly.
Step 5: tape off all your lines (tip. Tape all the long rows down first. Then tape the vertical short rows on top of the horizontal lines. This helps speed up the removal process)
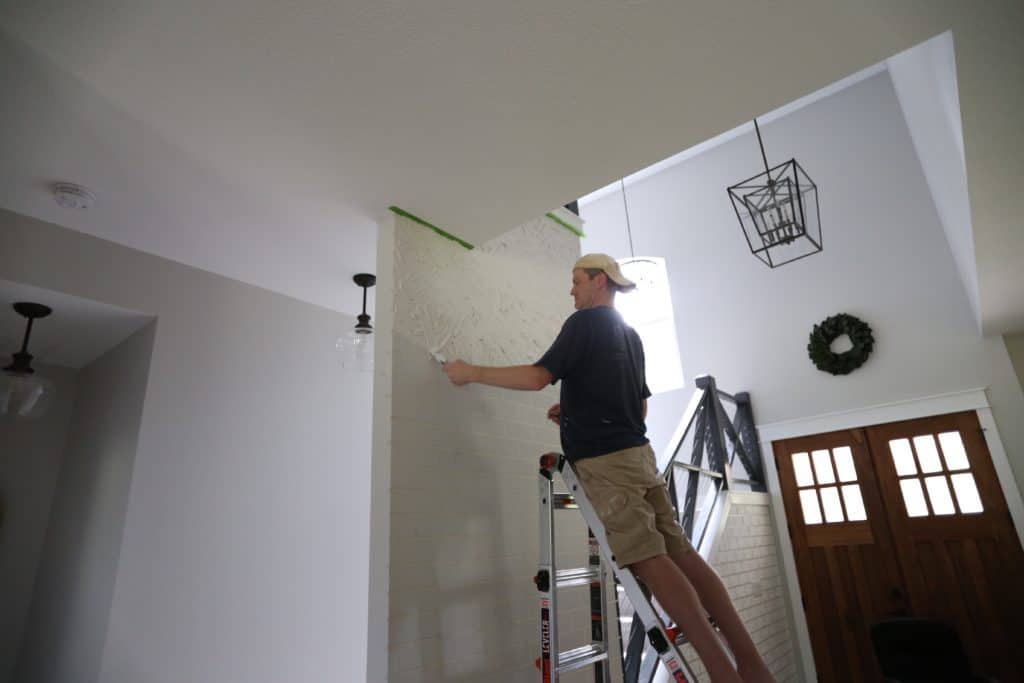
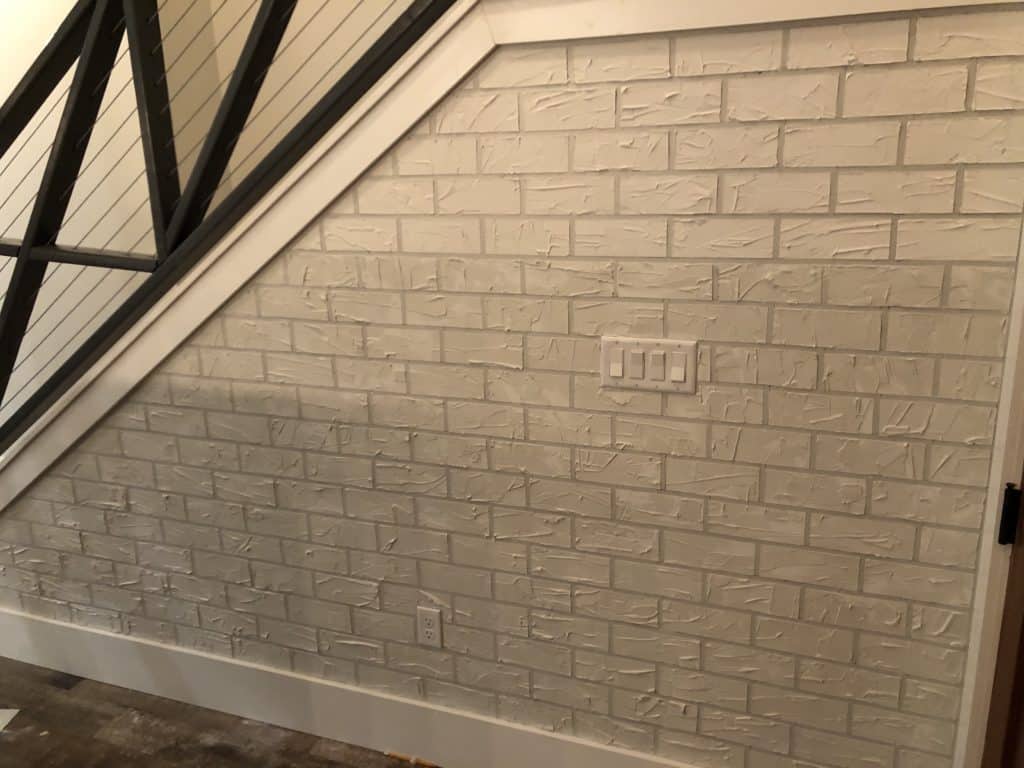
Step 6: you’re ready to go! Take your joint tool and scoop out the compound and slather on the walls. Make sure to cover the tape! We did ours in about 4 feet by 4 feet sections. Ours did not go from pink to white when it dried. It was white from the start so we just made sure it wasn’t drying too fast. Once we completed a section we would take the tape down. This part gets messy. I had a cardboard box lid. And just laid tape on that as I took it down.
After that I would wash my hands and start on another section.
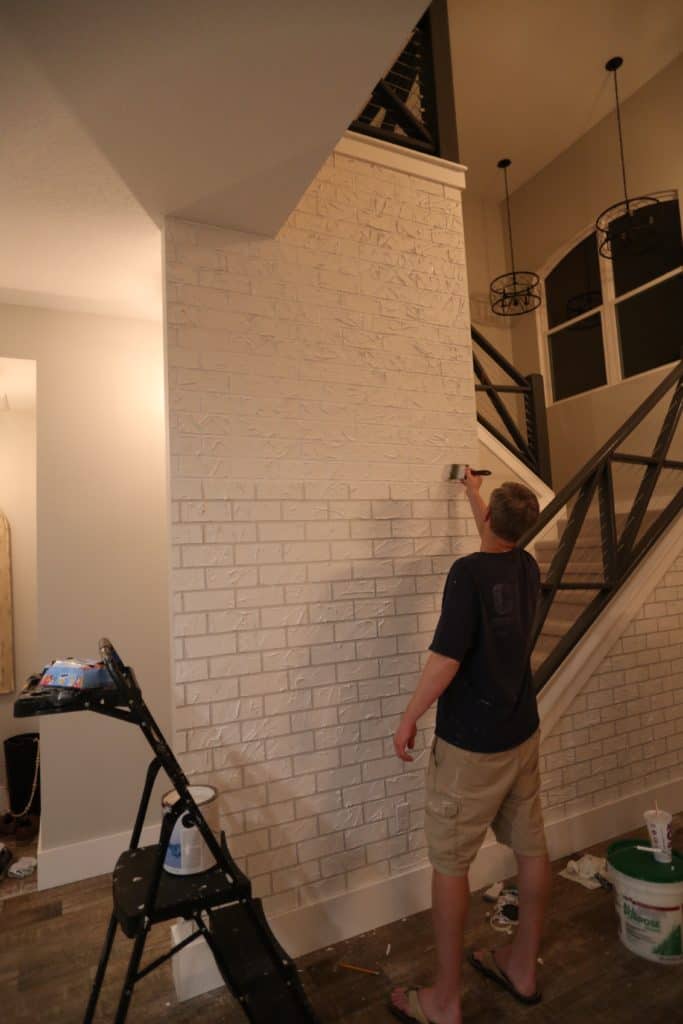
Step 7: Paint once the wall has dried for 24 hours. We used a paint and primer in one and a cheap brush and painted the grout lines and the faux brick. I went with white but a lot of people use different colors.
Waited another 24 hours until we hung anything up on the wall.
I would recommend a drop cloth if you are messy.
This project took around 20 hours
with 2 of us working on our own some of the time and together some of the time.
If we would have worked together the entire time it could have easily been a weekend project.
It cost less than $30.
Joint compound $14.98
Half inch tape -3 rolls @ $1.29 =$3.87
Pencil (we had on hand)
Level (we had on hand)
Cheap paint brush – we had on hand
Paint primer in one – $22 and we used 1/4 of it for this project. $5.50
Joint tool thingy $2
It was really such an easy project
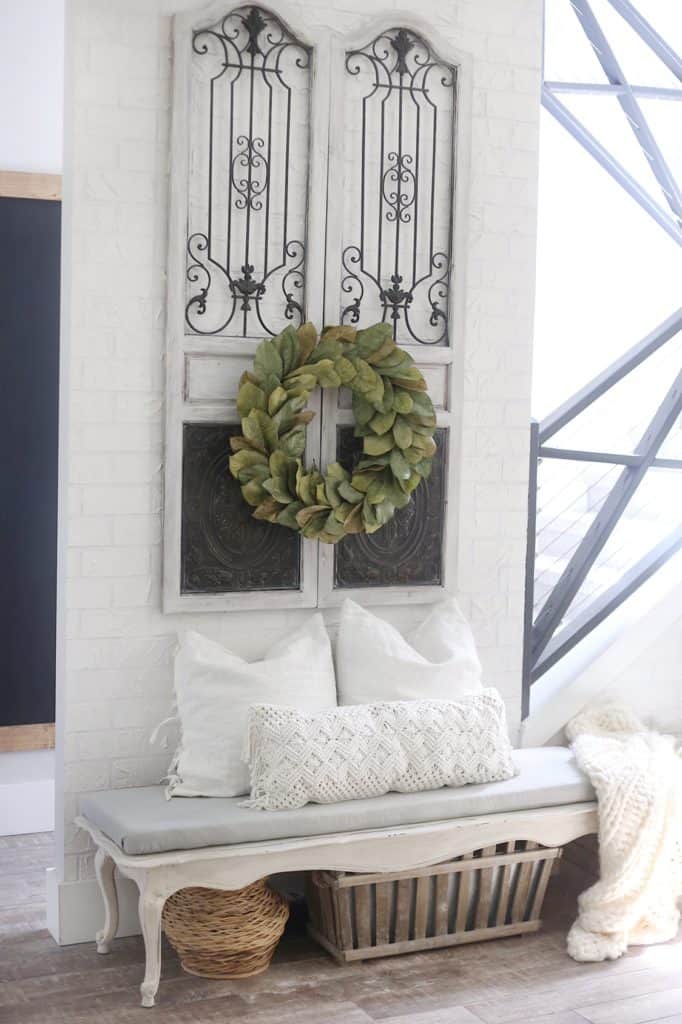
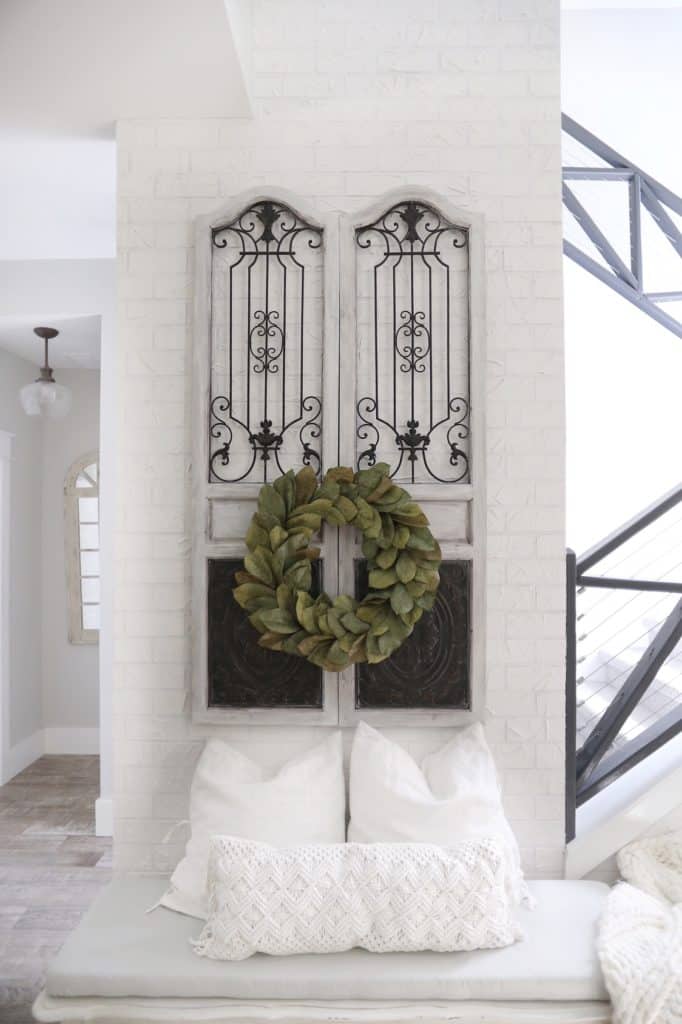
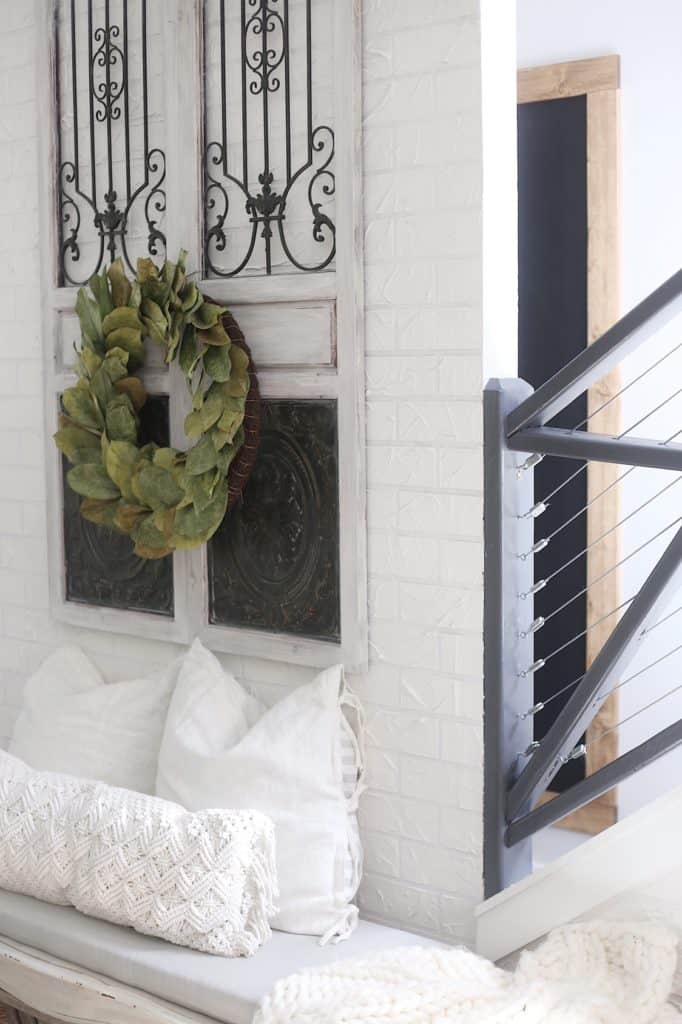
And it has turned out so amazing.
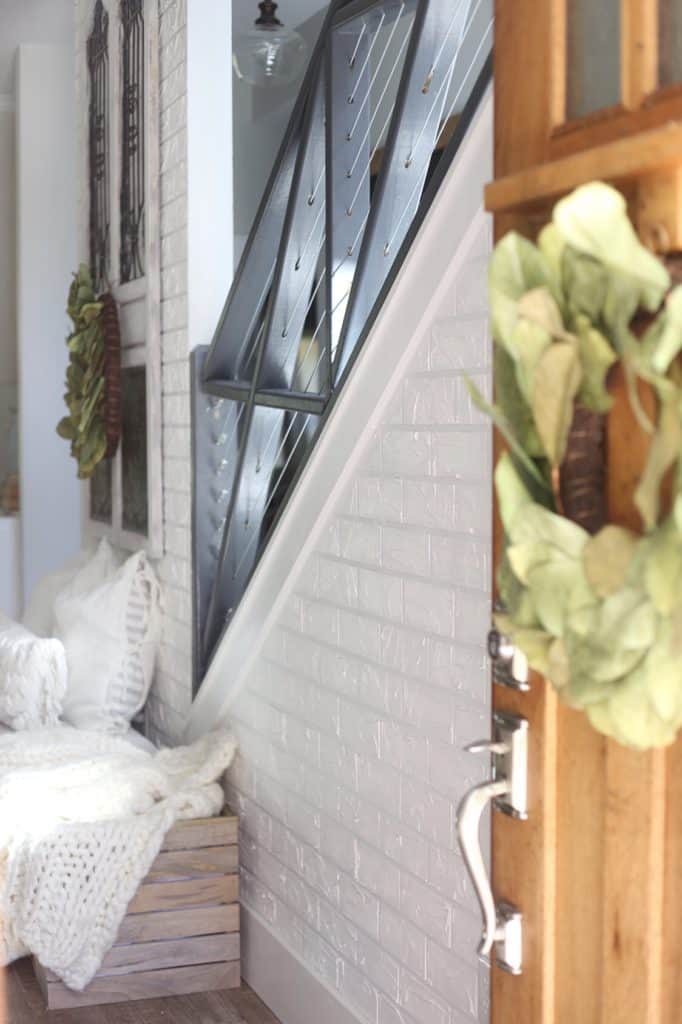
Everyone that has came over has stopped just to look at it when they walk in
So it’s definitely eye catching and it gives the entryway a little more personality than before.
Check out the before and after and let me know what you think.
If you decide to do this project be sure to tag me in it!
Before:
After:
