DIY Christmas Ornaments

NO NEW CHRISTMAS DECOR CHALLENGE
A few months ago I told my Husband I would say no to buying extra Christmas Decor. I took it upon myself to use all the old decor I had from the year before. I knew I had to rethink each item’s purpose so it would feel new. It was like I went shopping in my closet and had to look at all the Christmas Decor and Christmas Ornaments with a new set of eyes.
Last year I had a tree full of ribbon [HERE]. It was gorgeous and it was beautiful to look at during the day or when we were watching our favorite Christmas Movie. By the way… What is your favorite Christmas Movie? And do you watch it only at Christmas time or anytime during the year?
Each year I have my tree up by Thanksgiving. When do you have your tree up? We get so busy from mid-November until after Christmas so it only makes sense to see those DIY Christmas Ornaments in all their glory a few weeks early.
I couldn’t decide how I was going to do a DIY Christmas Ornament with limited items and I wanted it to fit in with our rustic Christmas tree this year. (40 person tree blog hop is next week – check back to see a wide variety of Christmas trees).
Most of the Christmas Decor ideas come to me while I’m sleeping or extremely tired. Because it’s so easy to get inspiration from other people I try to stay off all social media during those times so I can be original. There are many times when something is just too good to pass up so I reach out to the person I saw the idea first and ask them if I can use it. Be sure to let me know if you have any good ideas…I would love to see them.
There may be affiliate links in this post. Please read my policy on affiliate links (here) if you want.
Current Year DIY Christmas Ornaments
Homemade Christmas Ornaments Supplies List
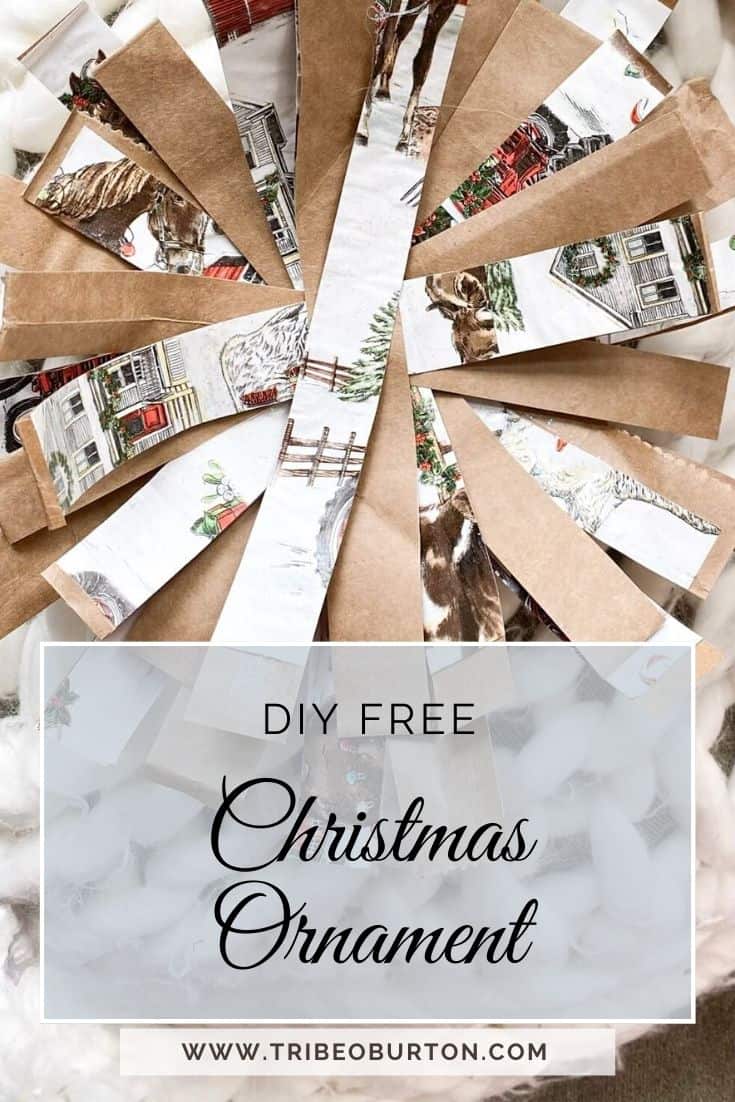
All of these items I had laying around my house. I had old wrapping paper from last year, free bags from Publix and glue! I understand that everyone will not have some of the items so I’ve included a basic supply list for you to be able to make your budget friendly ornament at home.
- Mod Podge
- Glitter Mod Podge
- Foam Brush
- Glue Stick
- Scissors
- Wrapping Paper – Rustic
- Wrapping Paper – Fun
- Brown Paper Bags
- Hot Glue Gun
- Added: Wouldn’t this be a fun one? Wrapping Paper – Grinch
***Someone mentioned you could use Tacky Glue for the DIY Ornament. I have not tested this method but would love feedback if you have some of it lying around.
Christmas Ornament Instructions
When I had the vision to create these ornaments this year, I thought it would be simple, but it took a few tries before I got it right. As with anything feel free to modify the ornament for your liking. You do you! And if you do modify the ornament please let me know what you changed up! I always love featuring readers in the blog.
- Cut the Publix shopping bags into 4 sections (on the fold)
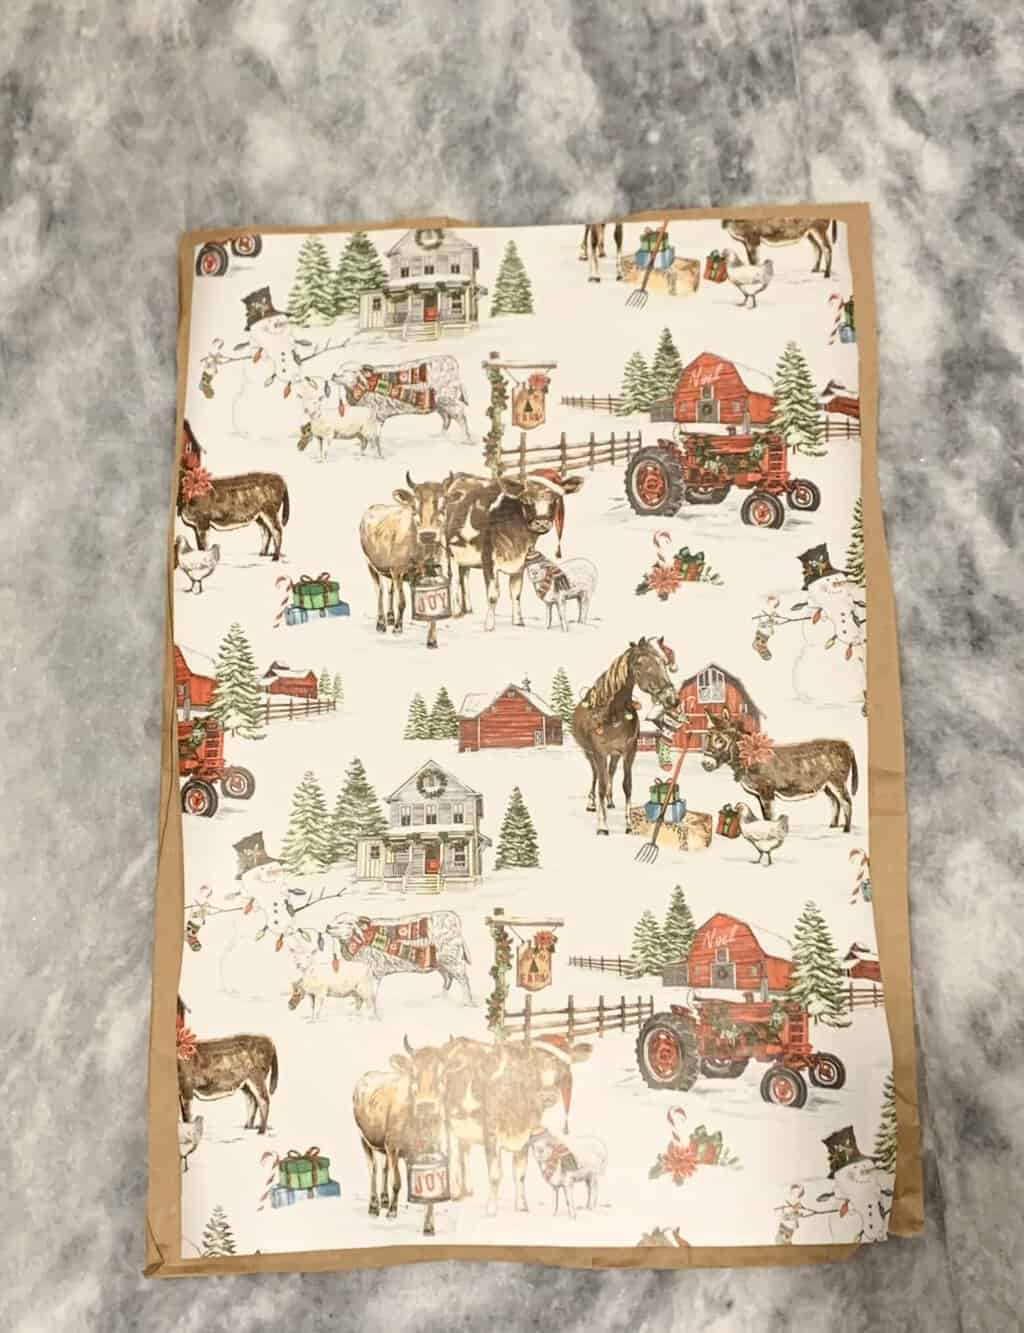
- Cut wrapping paper to lay on top of the Publix shopping bag
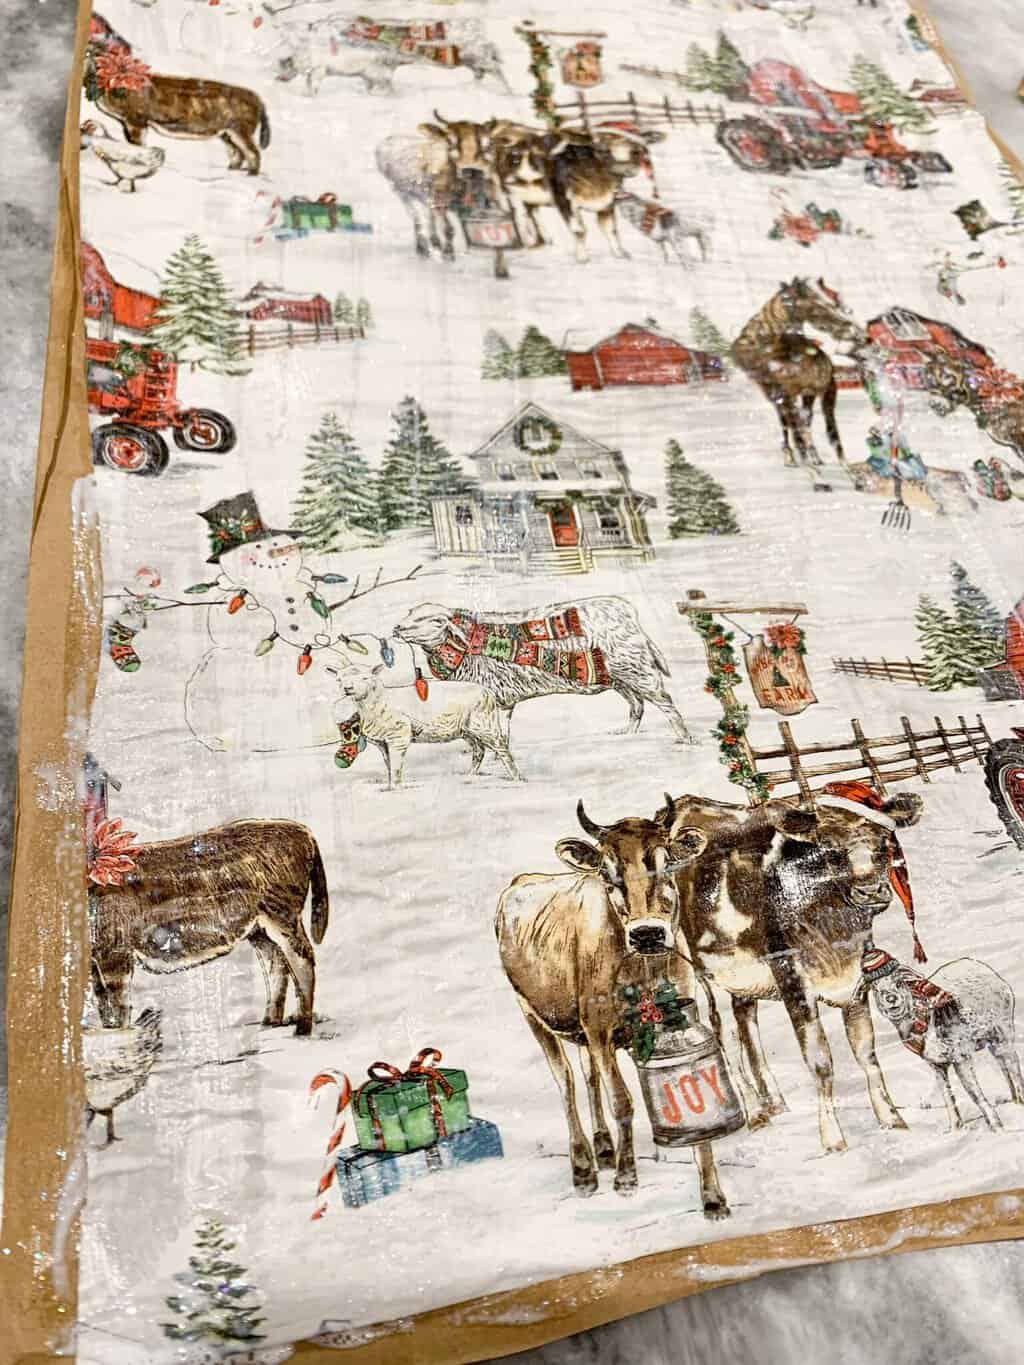
- Glue wrapping paper to brown shopping bag. I used Mod Podge but you could use hot glue, glue sticks or tacky glue
- After it dries – take Glitter Mod Podge and apply over the wrapping paper. If you want it to sparkle.
- Let Glitter Mod Podge dry. It took around an hour.
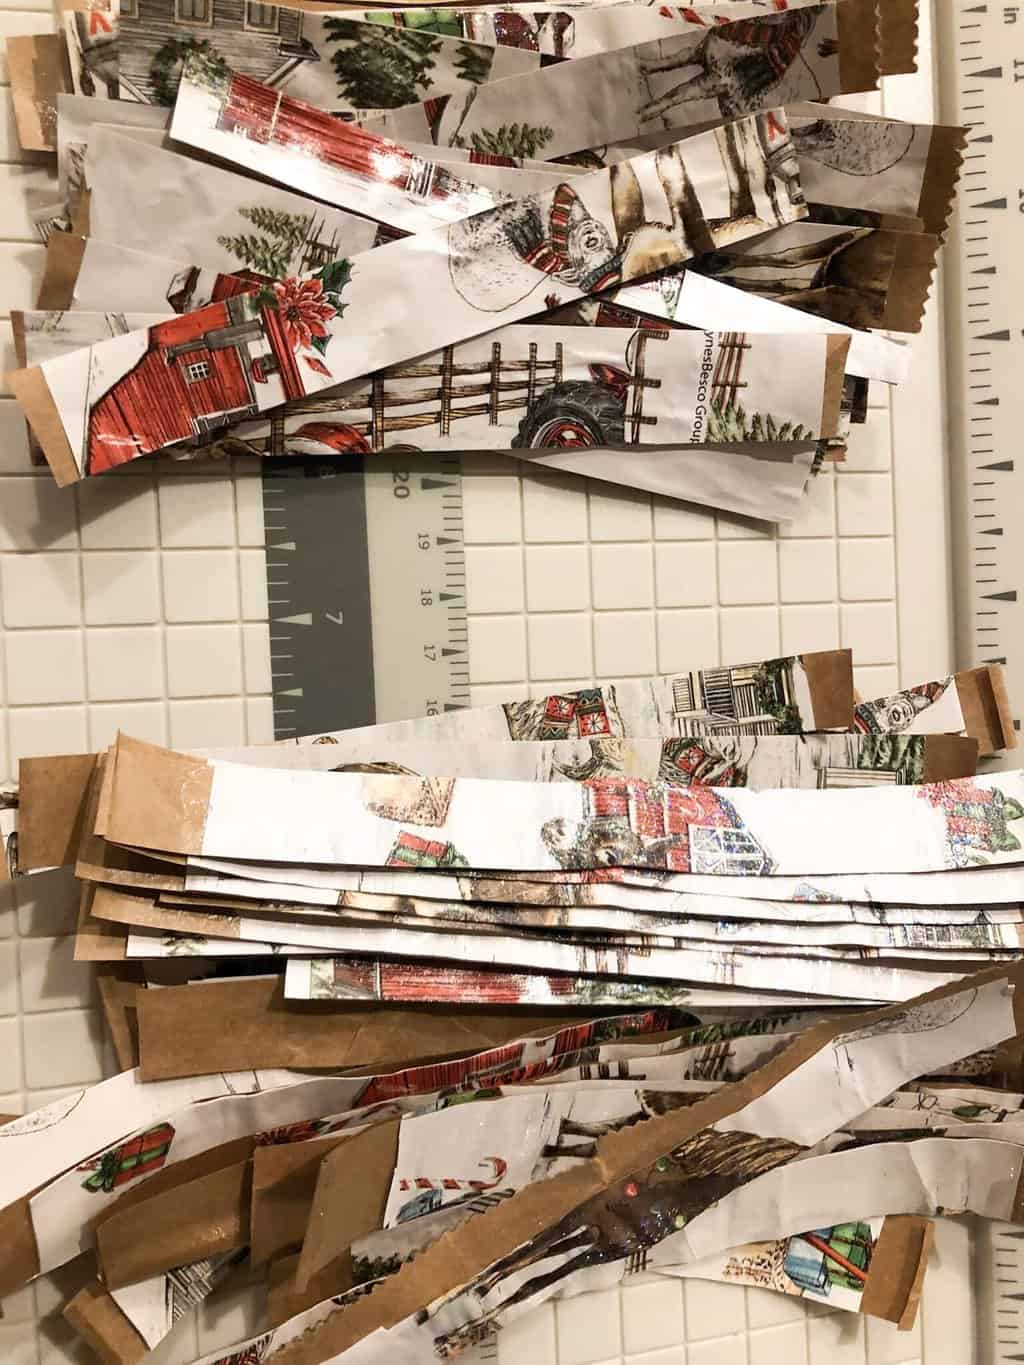
- Fold the Wrapping Paper/Bag in half and cut on the fold. You will have two pieces
- Cut into strips. I cut one section into long strips 1/2″ – 1″ wide and the other half I cut into short strips 1/2″-1″ wide.
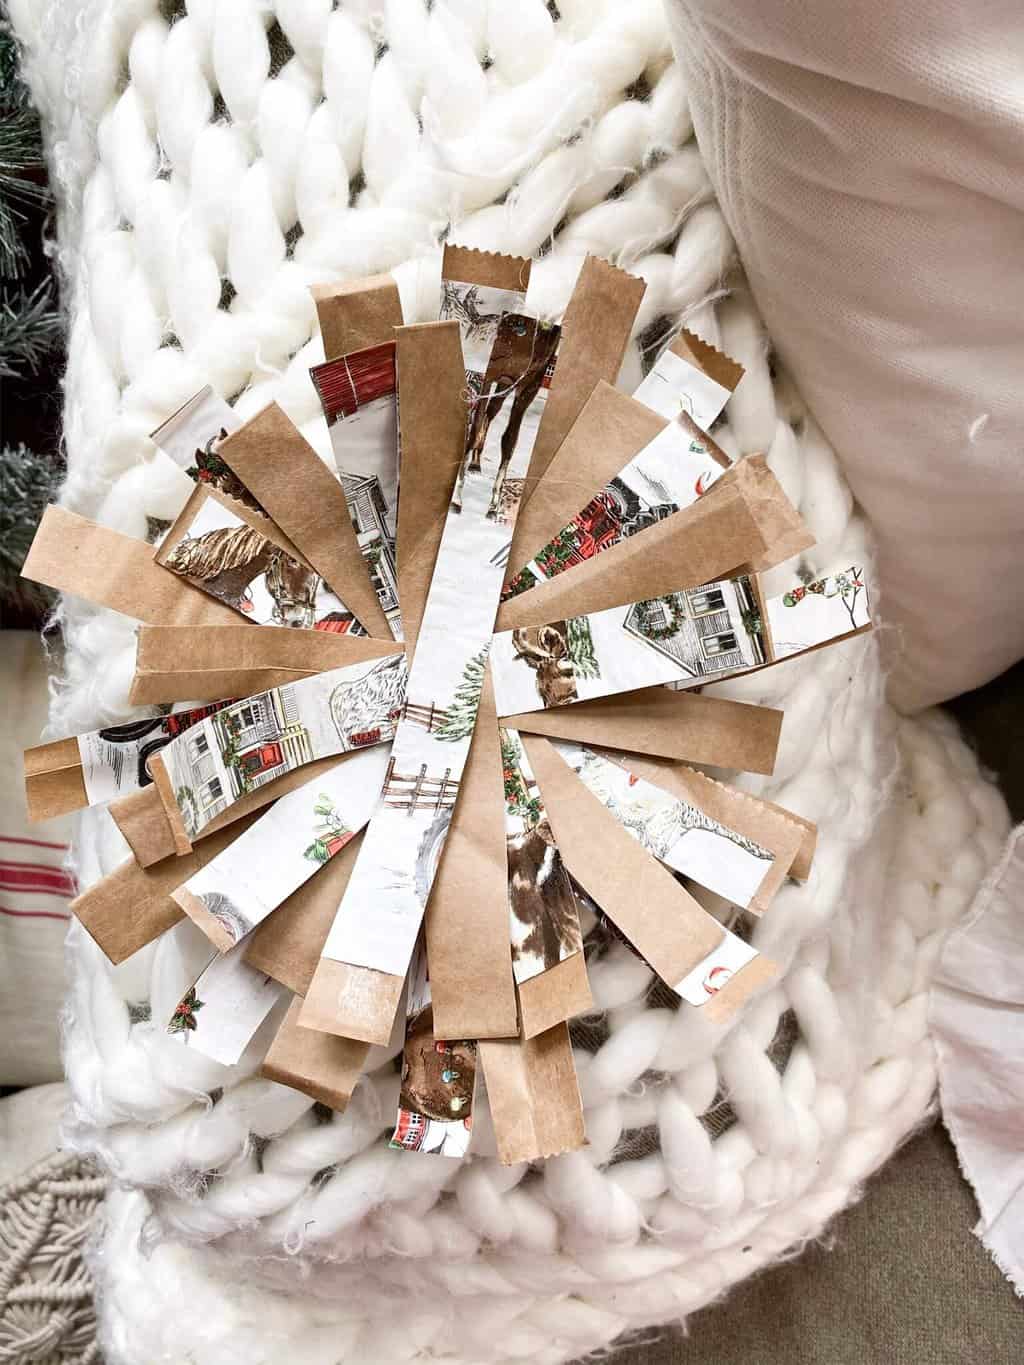
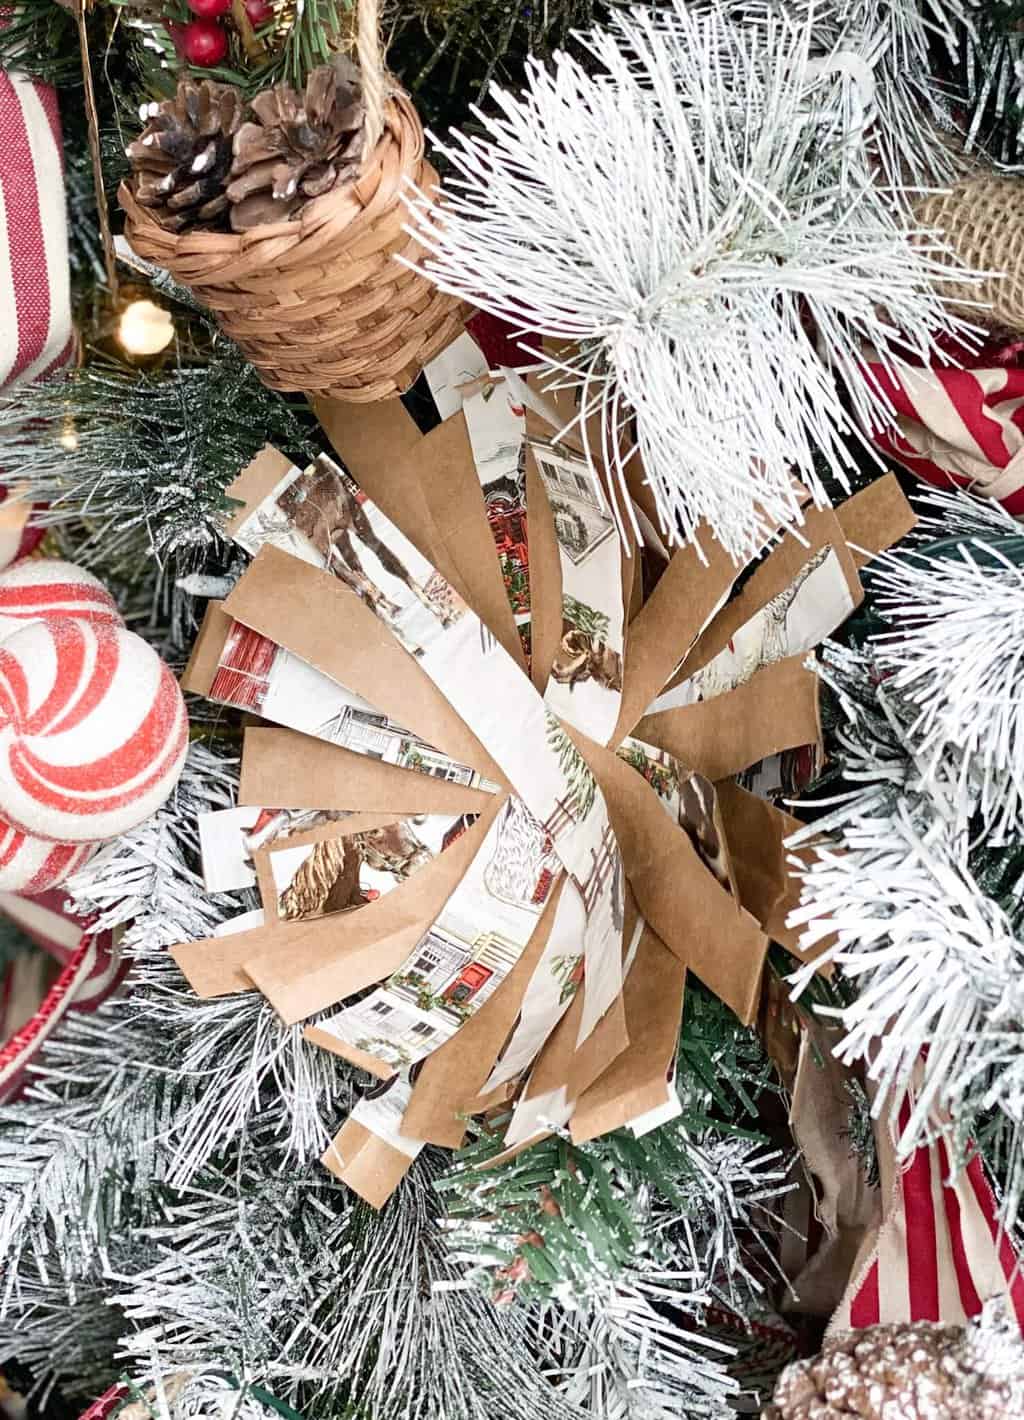
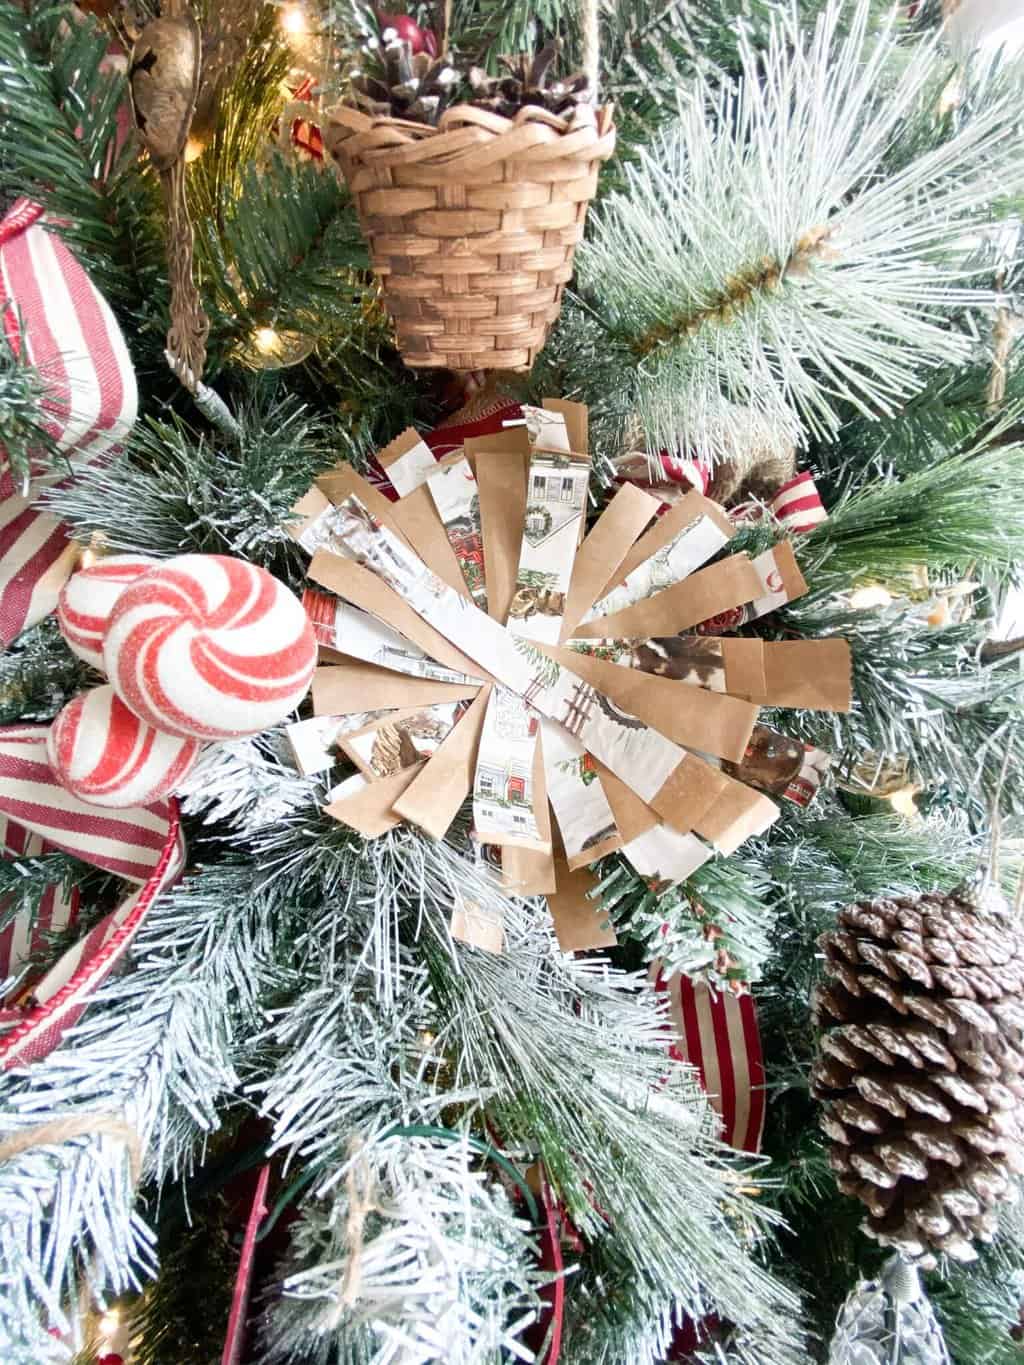
- Randomly stack them in place and use Hot Glue Gun to stick them together or regular glue. (I decided to flip them so you could see the brown paper bag showing on part of it to give it that rustic charm)
- Once the glue dries – it’s time to put them in your tree!
href=”https://tribeofburton.com/last-minute-free-christmas-gift/” target=”_blank”>If you want a great Last Minute FREE gift you can give your child then take a look [HERE].
Christmas Home Tour [HERE]

If you want to take a look at last years DIY Homemade Ornament [HERE] please let me know what you think! A great way to get those personalized memories for your children.
